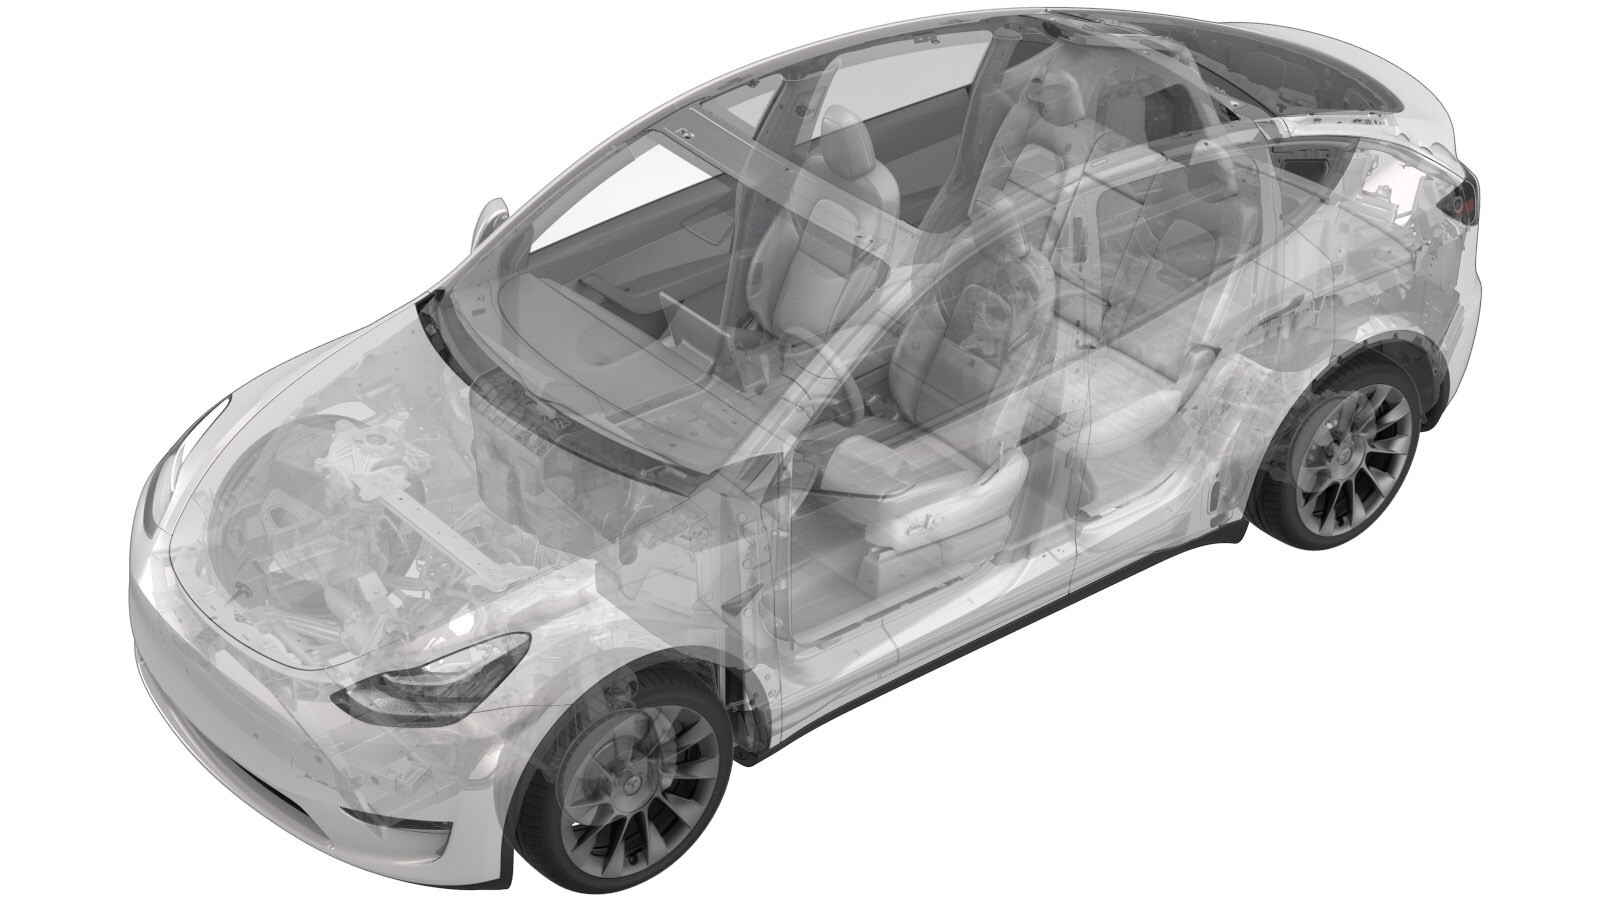
Radhausverkleidung – Vorne – LH (Strukturpack) (Ausbauen und Ersetzen)
 Korrekturcode
12010912 0.36
HINWEIS: Sofern im Verfahren nicht ausdrücklich anders angegeben, spiegeln der obige Korrekturcode und die FRT den gesamten für die Durchführung dieses Verfahrens erforderlichen Aufwand wider, einschließlich der damit verbundenen Verfahren. Schichten Sie keine Korrekturcodes, wenn Sie nicht ausdrücklich dazu aufgefordert werden.
HINWEIS: Unter Richtzeiten erfahren Sie mehr über FRTs und wie sie erstellt werden. Um FRT-Werte rückzumelden, senden Sie bitte eine E-Mail an ServiceManualFeedback@tesla.com.
HINWEIS: Siehe Persönlicher Schutz, um sicherzustellen, dass Sie die richtige persönliche Schutzausrüstung tragen, wenn Sie das folgende Verfahren durchführen. Siehe Maßnahmen zur Ergonomie für sichere und gesunde Arbeitsmethoden.
Ausbauen
- Raise and support the vehicle. See Fahrzeug heben – Zweisäulenhebebühne.
- Remove the LH front wheel. See Radbaugruppe (Aus- und Einbauen).
- Raise the vehicle to a comfortable working height.
-
Remove the rocker bolt and aero shield bolts (x2) that attach the LH front wheel arch liner to the HV battery.
TIpUse of the following tool(s) is recommended:
- 10 mm socket
- Lower the vehicle partially.
- Remove the LH front fender garnish. See Verzierung – Kotflügel – Vorn – Links (Ausbauen und Ersetzen).
-
Remove the push clips (x10 and metal clips (x5) that attach the LH front wheel arch liner to the vehicle.
AnmerkungMetal clips are located behind the rotor.TIpUse a prytool to get cutters under the metal clip.
-
Release the LH front wheel arch liner from the studs (x5), and then remove the liner from the vehicle.
Montieren
-
Position the LH front wheel arch liner into the vehicle and onto the studs (x5), and then tuck the liner behind the front aero shield.
-
Install the push clips (x10) and metal clips (x5) that attach the LH front wheel arch liner to the vehicle.
AnmerkungUse a socket to press the metal clip into the liner evenly.
- Install the LH front fender garnish. See Verzierung – Kotflügel – Vorn – Links (Ausbauen und Ersetzen).
-
Apply Loctite 222 to the aero shield bolts (x2), and then install the aero shield bolts (x2) and rocker bolt that attach the LH front wheel arch liner to the HV battery.
 12 Nm (8.8 lbs-ft)
 6 Nm (4.4 lbs-ft)AnmerkungTorque the rocker bolt to 12 Nm and the aero shield bolts (x2) to 6 Nm.TIpUse of the following tool(s) is recommended:
- 10 mm socket
- Install the LH front wheel. See Radbaugruppe (Aus- und Einbauen).
- Remove the vehicle from the lift.