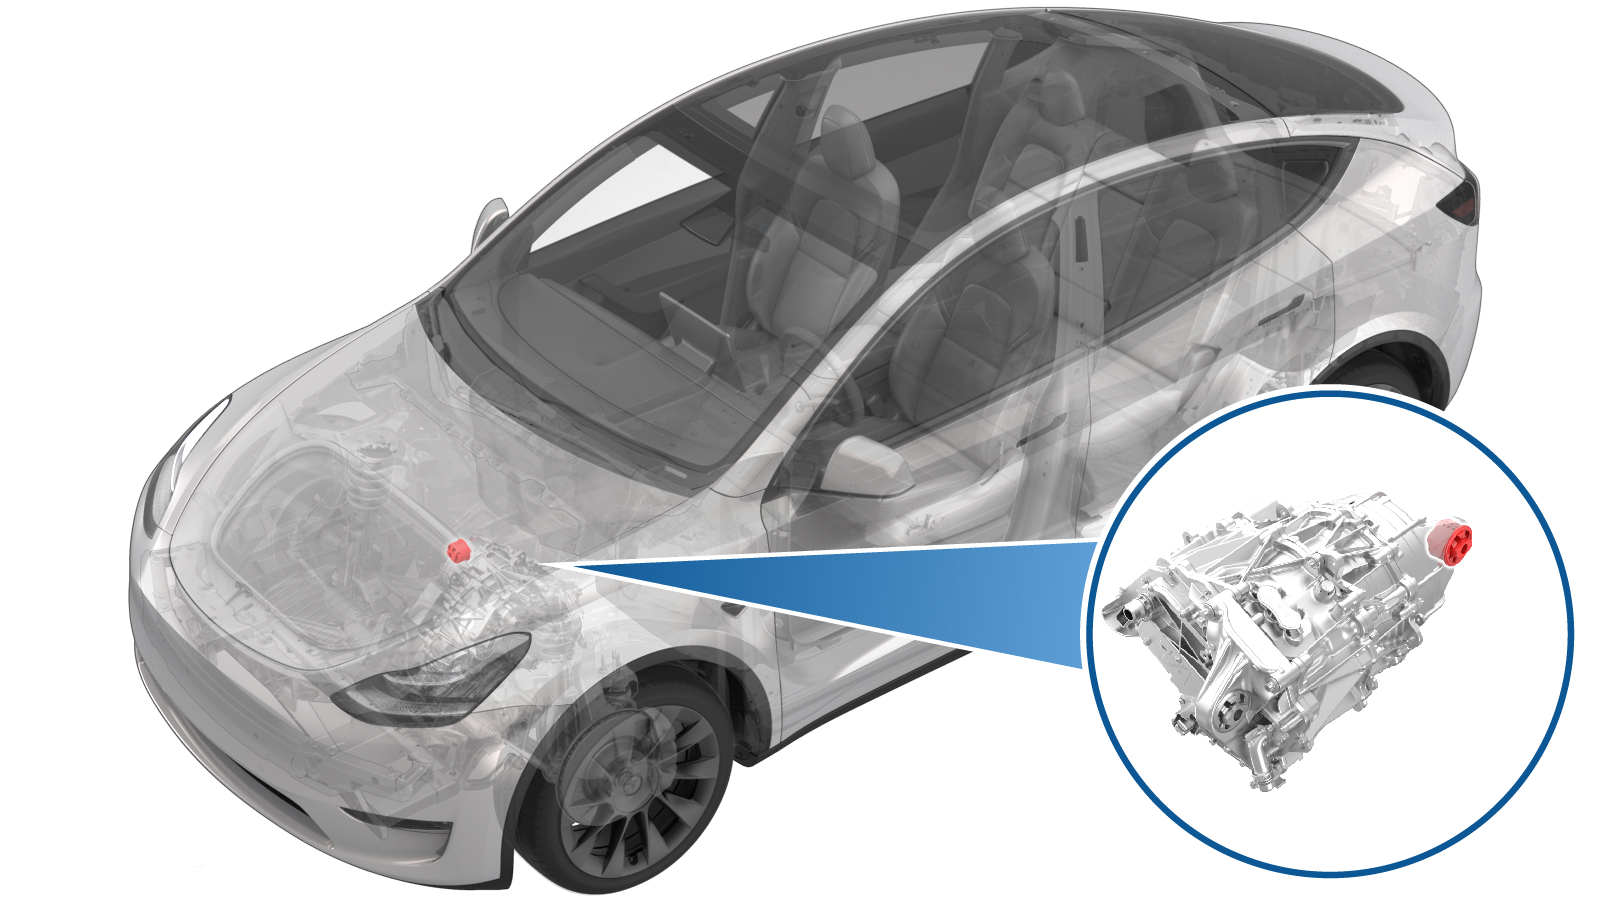
Buchse – Antriebseinheit vorn – RH (Ausbauen und Ersetzen)
 Korrekturcode
39011102 2.70
HINWEIS: Sofern im Verfahren nicht ausdrücklich anders angegeben, spiegeln der obige Korrekturcode und die FRT den gesamten für die Durchführung dieses Verfahrens erforderlichen Aufwand wider, einschließlich der damit verbundenen Verfahren. Schichten Sie keine Korrekturcodes, wenn Sie nicht ausdrücklich dazu aufgefordert werden.
HINWEIS: Unter Richtzeiten erfahren Sie mehr über FRTs und wie sie erstellt werden. Um FRT-Werte rückzumelden, senden Sie bitte eine E-Mail an ServiceManualFeedback@tesla.com.
HINWEIS: Siehe Persönlicher Schutz, um sicherzustellen, dass Sie die richtige persönliche Schutzausrüstung tragen, wenn Sie das folgende Verfahren durchführen. Siehe Maßnahmen zur Ergonomie für sichere und gesunde Arbeitsmethoden.
- 2025-04-04: Added step to refer to the suspension alignment tables to define whether an alignment check is required and, if so, what type of alignment check is required.
Ausbauen
- Remove the front subframe assembly from the vehicle. See Hilfsrahmenbaugruppe – Vorn (Dual Motor) (Ausbauen und Ersetzen).
-
Install the bushing tool on the RH
front drive unit bushing.
AnmerkungUse cups "K", "B", and "I" when assembling the special tool, as shown.
Abbildung 1. Other assemblies hidden for clarity -
Turn the bearing-side bushing tool nut
with a wrench while holding the opposite nut in place.
ACHTUNGApply torque only to the bearing-side bushing tool nut.
Abbildung 2. Apply torque only to the nut highlighted red -
When the bushing has been pushed out
of the front drive unit, separate the bushing tool, and then remove the bushing.
Montieren
-
Richten Sie das Buchsenwerkzeug ein, um die neue Buchse hineinzudrücken.
AnmerkungUse cups "L", "J", and "C" when assembling the special tool, as shown.AnmerkungMake sure the rubber tab is visible at the top of cup "J".
Abbildung 3. Cups "L", "J", and "C" used to install the bushing Abbildung 4. Rubber tab visible at the top of cup "J" -
Turn the bearing-side bushing tool nut
with a wrench until the bushing flange makes contact with the front drive unit.
ACHTUNGApply torque only to the bearing-side bushing tool nut.AnmerkungWhile installing the bushing, make sure the rubber tab remains visible at the top of cup "J".
Abbildung 5. Apply torque only to the nut highlighted red - Trennen Sie das Buchsenwerkzeug, und entfernen Sie es von der Antriebseinheit.
-
Make sure the bushing alignment lug is
oriented to 12 o'clock.
Abbildung 6. Other assemblies hidden for clarity - Install the front subframe assembly on the vehicle. See Hilfsrahmenbaugruppe – Vorn (Dual Motor) (Ausbauen und Ersetzen).
- Schlagen Sie in den Tabellen zur Anforderung der Achsvermessung nach, um zu bestimmen, ob eine EPAS-Ausrichtungsprüfung (EC) oder eine Achsvermessung (AC) erforderlich ist. Sofern durchgeführt, fügen Sie den Korrekturcode für die Ausrichtungsprüfung/Achsvermessung als separate Aktivität zum Servicebesuch hinzu. Siehe Einstellungsbedarf – Aufhängung.