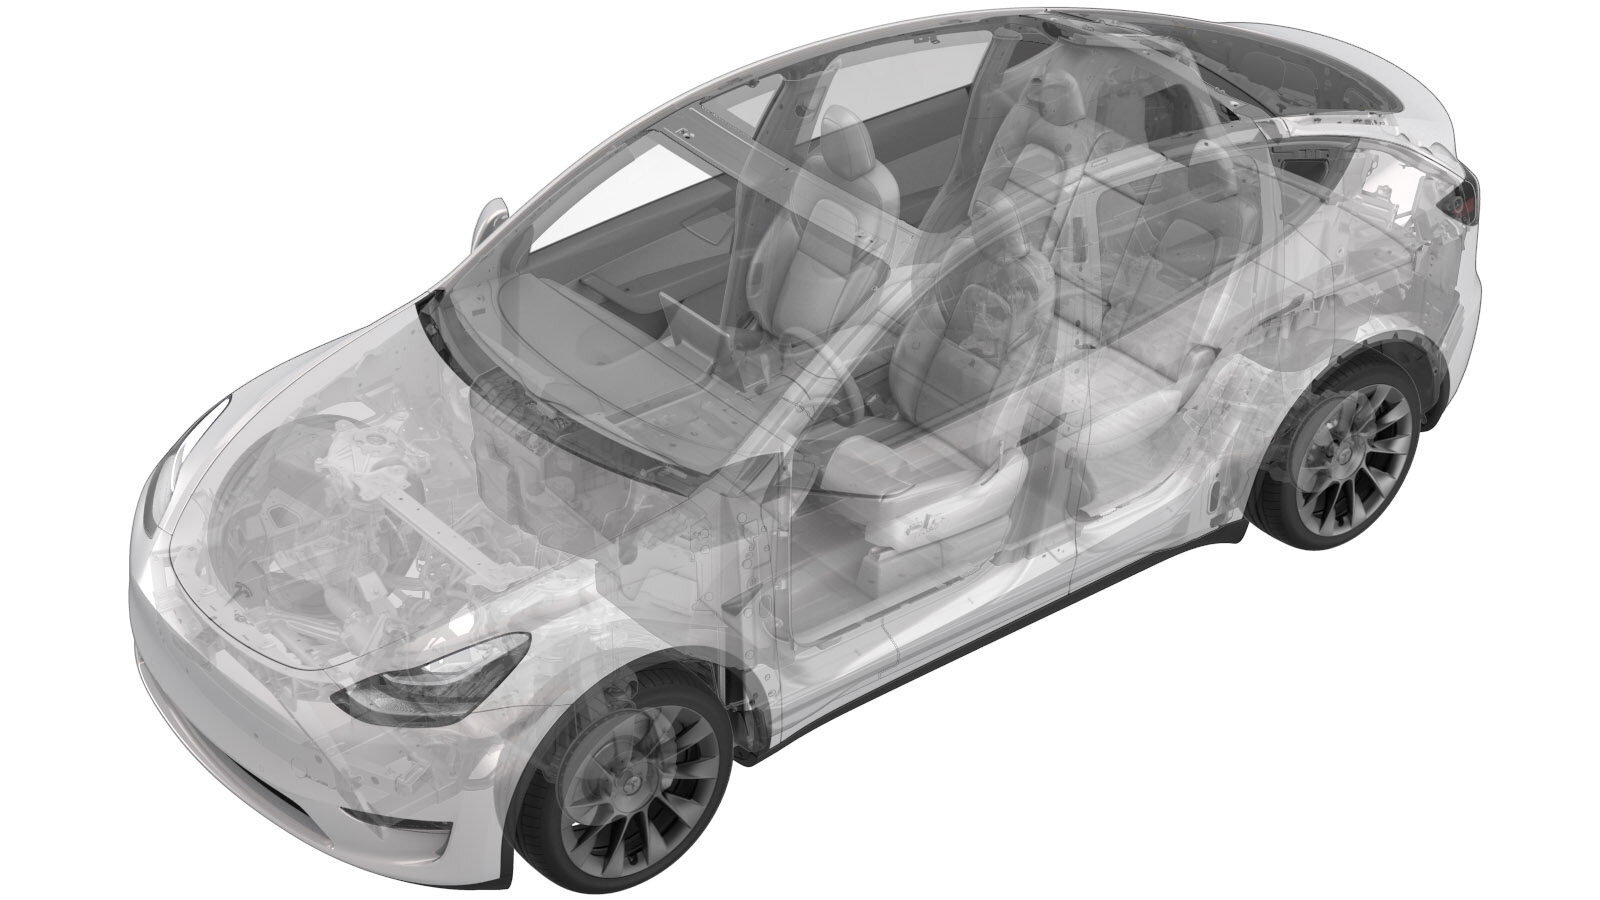
Sicherheitsgurt – 2. Sitzreihe – LH (7-Sitzer) (Ausbauen und Ersetzen)
 Korrekturcode
20056122 0.30
HINWEIS: Sofern im Verfahren nicht ausdrücklich anders angegeben, spiegeln der obige Korrekturcode und die FRT den gesamten für die Durchführung dieses Verfahrens erforderlichen Aufwand wider, einschließlich der damit verbundenen Verfahren. Schichten Sie keine Korrekturcodes, wenn Sie nicht ausdrücklich dazu aufgefordert werden.
HINWEIS: Unter Richtzeiten erfahren Sie mehr über FRTs und wie sie erstellt werden. Um FRT-Werte rückzumelden, senden Sie bitte eine E-Mail an ServiceManualFeedback@tesla.com.
HINWEIS: Siehe Persönlicher Schutz, um sicherzustellen, dass Sie die richtige persönliche Schutzausrüstung tragen, wenn Sie das folgende Verfahren durchführen. Siehe Maßnahmen zur Ergonomie für sichere und gesunde Arbeitsmethoden.
- 2026-01-02: Added tip to move C-pillar trim to access anchor bolt.
Ausbauen
- Open the LH front door and lower the LH front window.
- Move the driver seat forward.
- Open the LH rear door and lower the LH rear window.
- Move the LH 2nd row seat back assembly forward.
- Open the liftgate.
- Remove the rear underhood apron. See Unterhaubenschürze – Hinten (Ausbauen und Ersetzen).
- Disconnect 12V power. See 12-V-/Niederspannungsversorgung (Trennen und Verbinden).
- Remove the rear load floor. See Ladefläche Kofferraum – Hinten (Ausbauen und Ersetzen).
-
Release the clips (x4) that attach the LH side of the trunk sill trim to the vehicle, and then partially release the LH side of the trunk sill trim.
- Remove the LH load floor bracket. See Halterung – Ladefläche Kofferraum – LH (Ausbauen und Ersetzen).
- Remove the LH trunk pocket bracket. See Halterung – Kofferraumtasche – LH (Ausbauen und Ersetzen).
-
Release the upper portion of the LH trunk side trim.
-
Release the clips (x6) that attach the upper C-pillar trim, and then set the trim aside.
AnmerkungGuide the front upper corner groove out of the headliner.
-
Entfernen und entsorgen Sie die Schraube, mit der der untere Sicherheitsgurtanker LH der 2. Sitzreihe an der Karosserie befestigt ist.
TIpEs wird empfohlen, die folgenden Werkzeuge zu verwenden:
- Steckschlüssel, 15 mm
TIpThe lower LH C-pillar trim can be slightly lifted to access the bolt. -
Release the clips that attach the guide bezel to the LH upper C-pillar trim, and then separate the bezel from the seat belt.
-
Feed the seat belt through the LH upper C-pillar trim, and then remove the trim.
-
Release the connector lock, and then disconnect the LH 2nd row seat belt connector.
AnmerkungLift the red locking tab, and then release the connector.
-
Remove and discard the bolt that attaches the LH 2nd row seatbelt to the body, and then remove the seatbelt from the vehicle.
 35 Nm (25.8 lbs-ft)TIpEs wird empfohlen, die folgenden Werkzeuge zu verwenden:
- Steckschlüssel, 13 mm
Montieren
-
Position the LH 2nd row seatbelt into the vehicle, and then install a new bolt that attaches the seatbelt to the body.
 35 Nm (25.8 lbs-ft)AnmerkungNote the position of the locating tabs.TIpEs wird empfohlen, die folgenden Werkzeuge zu verwenden:
- Steckschlüssel, 13 mm
-
Connect the LH 2nd row seat belt connector, and then engage the connector lock.
- Install the LH upper C-pillar trim. See Verkleidung – C-Säule – Oben – LH (Ausbauen und Ersetzen).
- Connect 12V power. See 12-V-/Niederspannungsversorgung (Trennen und Verbinden).
- Install the rear underhood apron. See Unterhaubenschürze – Hinten (Ausbauen und Ersetzen).
- Move the driver seat to the original position.
- Raise the LH front window and close the LH front door.
- Move LH 2nd row seat back to the original position.
- Raise the LH rear window and close the LH rear door.
- Close the liftgate.