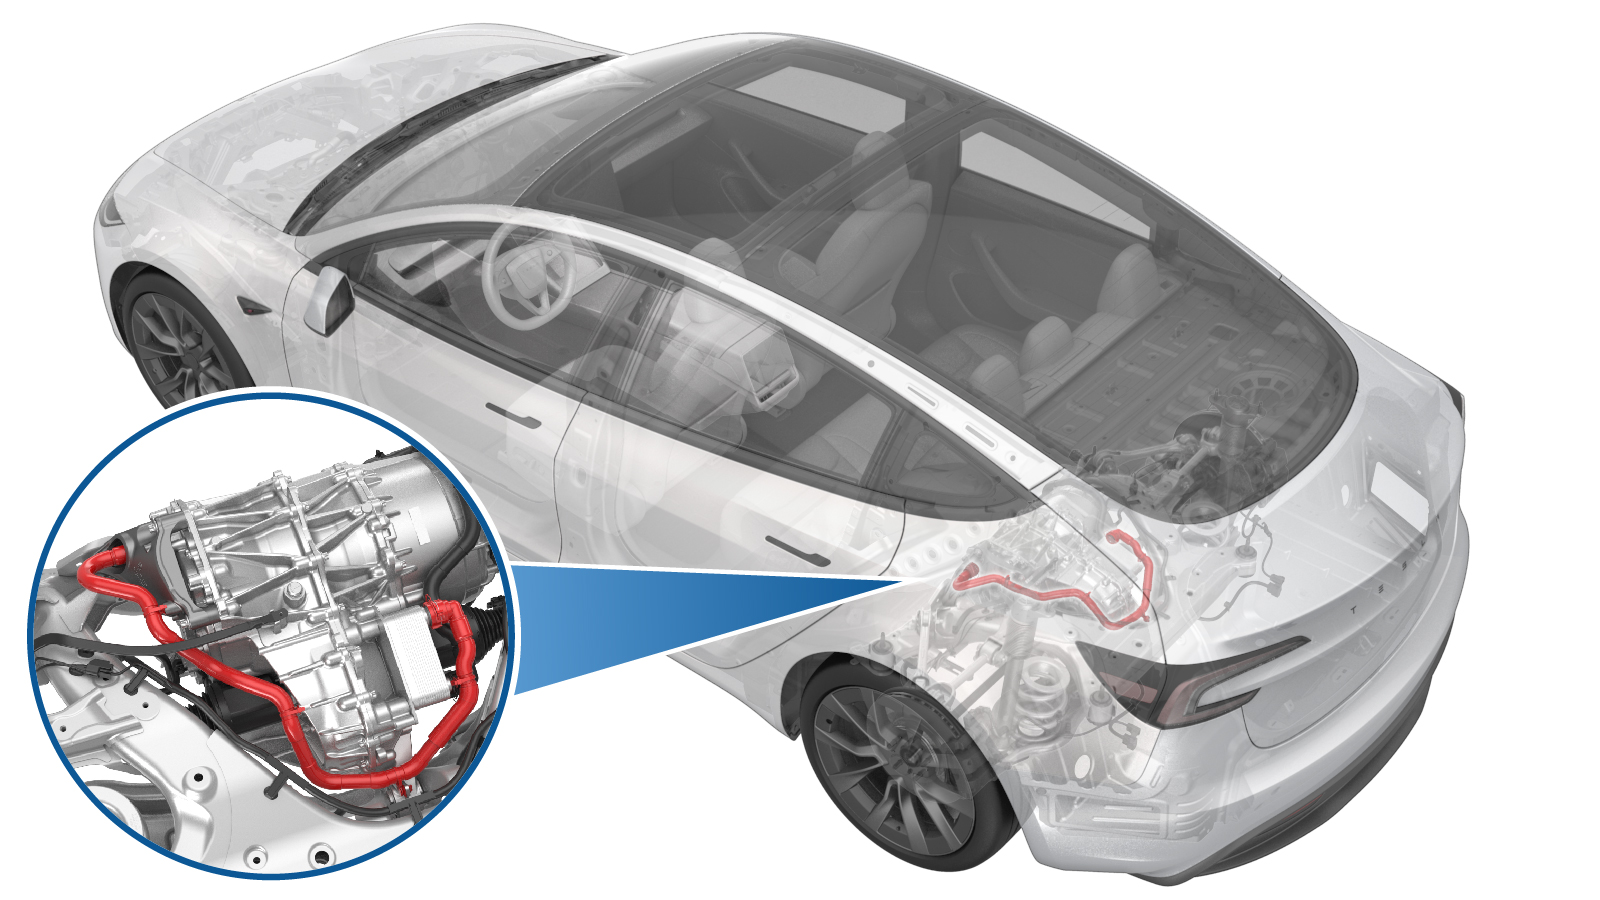
Hose - Rear Drive Unit to Oil Coller (Remove and Replace)
 Code de correction
1830020022
FRT
1.98
REMARQUE : À moins d’indications explicites contraires dans la procédure, le code de correction et le temps forfaitaire ci-dessus représentent tout le travail à être fait pour cette procédure, notamment les procédures connexes. N’appliquez pas plusieurs codes de correction à la fois, à moins qu’il vous soit explicitement indiqué de le faire.
REMARQUE : Consultez Temps forfaitaires pour en apprendre plus à propos des temps forfaitaires et de leur création. Vous pouvez transmettre par courriel vos commentaires relatifs aux valeurs des temps forfaitaires à ServiceManualFeedback@tesla.com.
REMARQUE : Consultez Protection individuelle pour vous assurer de porter l’équipement de protection individuelle adéquat lorsque vous effectuez la procédure ci-dessous.
REMARQUE : Voir Précautions ergonomiques pour consulter les pratiques de travail sécuritaires et saines.
Retirer
- Remove the rear subframe assembly. See Subframe Assembly - Rear (Remove and Replace).
-
Partially lower the rear subframe and drive unit assembly.
-
Tilt the subframe fixture
forward.
RemarqueAdjust the powertrain lift and tilt it forward in order to access motor mount fasteners.
-
Release the rear drive unit inverter
to oil cooler hose.
Remarque1x hose clip, Image zoomed in for clarity.
-
Release the rear drive unit inverter
coolant hose from heat exchanger.
RemarqueUse a foldable funnel as required.
-
Release clips (x4) that attach the
rear drive unit inverter to oil cooler hose and remove the hose.
Installer
-
Position and secure the clips (x4)
that secure the rear drive unit inverter to coolant hose.
-
Secure the rear drive unit inverter to
oil cooler hose onto the heat exchanger.
RemarqueClean excess coolant from the area. Perform a push-pull-push test to make sure the hose is fully engaged.
-
Secure the inverter to cooler hose to
inverter.
RemarquePerform a push-pull-push test to make sure the hose is fully engaged.
-
Tilt the subframe fixture backwards to
original position.
-
Raise the partially lowered
subframe.
ATTENTIONUse caution to not damage components while raising the subframe.
- Install the rear subframe assembly. See Subframe Assembly - Rear (Remove and Replace).