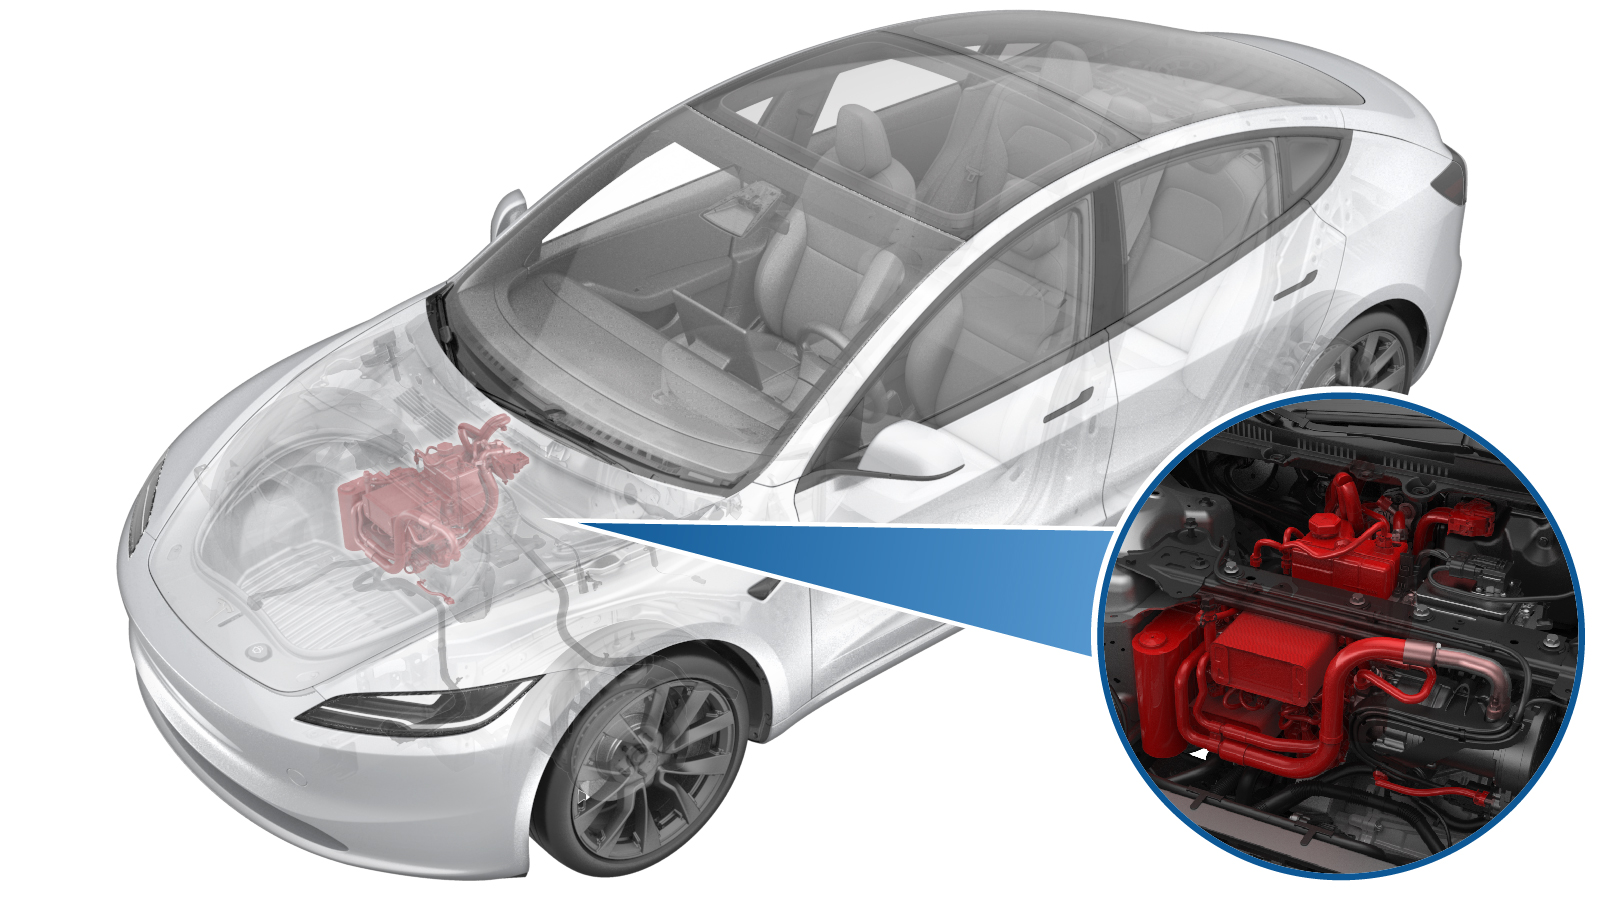
Diagnosis: Detecting Refrigerant Leaks (Add Refrigerant Part if Needed) (Test/Adjust)
 Code de correction
18200200
FRT
0.60
REMARQUE : À moins d’indications explicites contraires dans la procédure, le code de correction et le temps forfaitaire ci-dessus représentent tout le travail à être fait pour cette procédure, notamment les procédures connexes. N’appliquez pas plusieurs codes de correction à la fois, à moins qu’il vous soit explicitement indiqué de le faire.
REMARQUE : Consultez Temps forfaitaires pour en apprendre plus à propos des temps forfaitaires et de leur création. Vous pouvez transmettre par courriel vos commentaires relatifs aux valeurs des temps forfaitaires à ServiceManualFeedback@tesla.com.
REMARQUE : Consultez Protection individuelle pour vous assurer de porter l’équipement de protection individuelle adéquat lorsque vous effectuez la procédure ci-dessous.
REMARQUE : Voir Précautions ergonomiques pour consulter les pratiques de travail sécuritaires et saines.
Équipement :
- 1711245-00-A Snap On Ecotechnics Dual Gas AC Machine
- 1501412-00-A Mastercool R1234YF Oil Injector
- 1076971-02-A Torque Wrench ¼ in Dr. +Angle
- 1060071-00-A Torque Wrench ¼ in Dr Hexagon
Procédure
- Set up the A/C machine.
- Remove the underhood storage unit. See Underhood Storage Unit (Remove and Replace).
- Unlock the vehicle gateway. See Déverrouillage de passerelle.
- On the touchscreen, touch and select Run to start the "Start Thermal Fill Drain (Refrigerant Only)" routine.
- Recover the A/C refrigerant. See A/C Refrigerant (Recovery and Recharge) (Restore).
- Perform the vacuum leak test and refill A/C refrigerant. See A/C Refrigerant (Recovery and Recharge) (Restore).
-
Add 5 ml UV dye.
RemarqueAdd the dye with the refrigerant and oil.
-
Remove the A/C hoses from the
vehicle.
- On the touchscreen, touch and select Run to start the routine.
-
Touch and select Run to start the routine.
RemarqueMake sure the routine is passed, then touch Close to close it.
-
Touch and select Run to start the routine.
RemarqueMake sure the routine is passed, then touch Close to close it.
- Exit Service Mode through UI. See Mode Entretien.
-
Set the temperature to LO on both
driver and passenger HVAC controls and set the A/C system to AUTO.
- Run the A/C system for 10 minutes to allow the dye to circulate.
-
Use UV light and the UV inspection kit
to check for A/C refrigerant leaks near the HVAC end of the Supermanifold to HVAC A/C
line.
RemarqueIf an A/C refrigerant leak is found, replace the A/C line from supermanifold to HVAC. See Assembly - A/C Line - Supermanifold to HVAC (Remove and Replace).
-
Use UV light and the UV inspection kit
to check for A/C refrigerant leaks at the A/C low and high pressure port.
RemarqueIf an A/C refrigerant leak is found, replace the A/C line from supermanifold to HVAC. See Assembly - A/C Line - Supermanifold to HVAC (Remove and Replace).
-
Use UV light and the UV inspection kit
to check for A/C refrigerant leaks at the supermanifold area.
RemarqueIf an A/C refrigerant leak is found, replace the defective component.
-
Use UV light and the UV inspection kit
to check for A/C refrigerant leaks on the A/C compressor discharge and suction lines
area.
RemarqueIf an A/C refrigerant leak is found, replace the supermanifold to compressor A.C line. See Assembly - A/C Line - Supermanifold to Compressor (Remove and Replace).
-
Use UV light and the UV inspection kit to check for A/C refrigerant leaks on the
supermanifold.
RemarqueIf an A/C refrigerant leak is found, replace the defective component.
- Remove the front aero shield. See Panel - Aero Shield - Front (Remove and Replace)
-
Use UV light and the UV inspection kit to check for A/C refrigerant leaks near the
Supermanifold end of the Supermanifold to HVAC A/C line.
RemarqueIf an A/C refrigerant leak is found, replace the A/C line from supermanifold to HVAC. See Assembly - A/C Line - Supermanifold to HVAC (Remove and Replace).
- Install the front aero shield. See Panel - Aero Shield - Front (Remove and Replace)
-
Install the caps (x2) back onto the
A/C ports.
- Install the underhood storage unit. See Underhood Storage Unit (Remove and Replace).