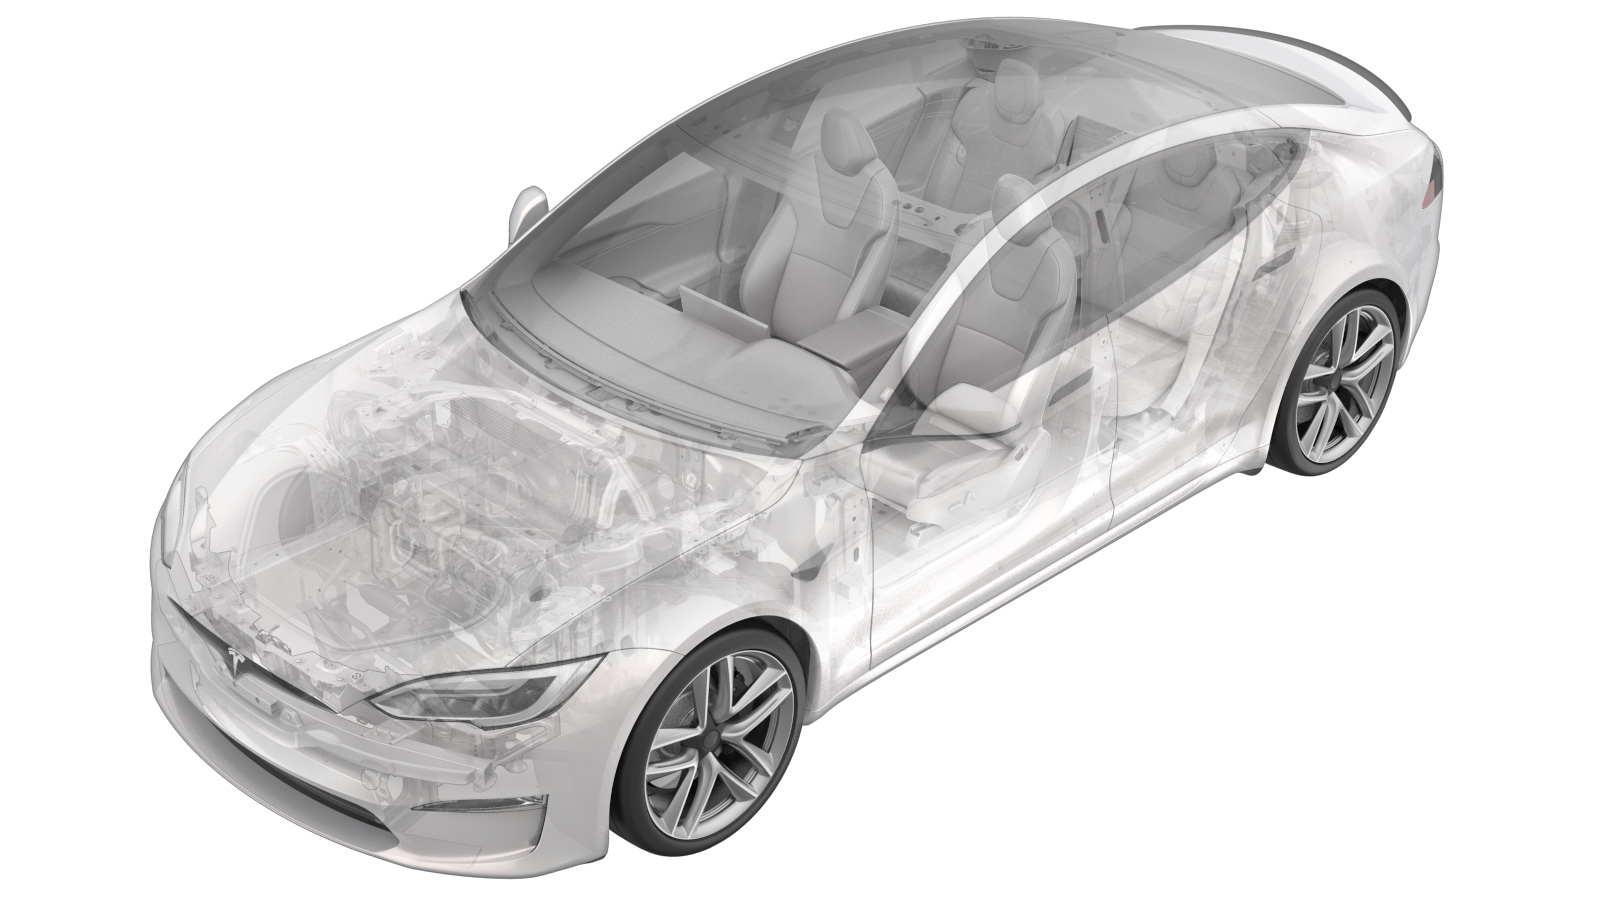
Umbrella Valve - Set (Remove and Replace)
 Code de correction
16102742
0.66
REMARQUE : À moins d’indications explicites contraires dans la procédure, le code de correction et le temps forfaitaire ci-dessus représentent tout le travail à être fait pour cette procédure, notamment les procédures connexes. N’appliquez pas plusieurs codes de correction à la fois, à moins qu’il vous soit explicitement indiqué de le faire.
REMARQUE : Consultez Temps forfaitaires pour en apprendre plus à propos des temps forfaitaires et de leur création. Vous pouvez transmettre par courriel vos commentaires relatifs aux valeurs des temps forfaitaires à ServiceManualFeedback@tesla.com.
REMARQUE : Consultez Protection individuelle pour vous assurer de porter l’équipement de protection individuelle adéquat lorsque vous effectuez la procédure ci-dessous.
REMARQUE : Voir Précautions ergonomiques pour consulter les pratiques de travail sécuritaires et saines.
- 2025-07-30: Added alternative grease.
- 2025-05-12: Released new procedure.
Retirer
- Open the front doors and lower the front windows.
- Open the RH rear door.
- Remove the RH rocker panel molding. See Moulure – bas de caisse – côté gauche (Retirez et remplacer).
- Raise and support the vehicle. See Soulever le véhicule - pont élévateur à 2 poteaux.
- Remove the mid aero shield panel. See Panneau – bouclier aérodynamique – arrière (retrait et remplacement).
-
Remove the umbrella valves (x5) from the RH side of the HV battery.
AvertissementIf liquid is observed leaking from the valve during removal, immediately halt the procedure and consult Toolbox article 5401800 for further instructions.RemarqueUse a plastic trim tool to unlock the umbrella valve clips from the thermal vent.
Installer
-
Use IPA wipes to thoroughly clean the thermal vent openings (x5).
ATTENTIONMake sure no dirt or debris enters the HV battery enclosure during cleaning.RemarqueRemove any debris that may have built up. Allow 1 minute of dry time.
-
Use a gloved finger to apply grease around the perimeter of each thermal vent opening (x5).
- For EMEA: Molykote M77 (PN: 1014689-00-B) or Klübersynth RA 44 (PN: 1110230-01-A).
- For other reagions: High Vacuum Grease (PN: 1024173-00-A).
ATTENTIONMake sure that there are no gaps in the grease application. -
Make sure to only use new umbrella valves. Refer to image for how to identify new parts.
-
Inspect the new umbrella valves for proper assembly.
RemarqueReject any incorrectly assembled parts. Only use reworked parts if they match the “Good” requirements. To check if the thermal vent is properly pre-assembled, rotate the umbrella around the clamp. If it rotates smoothly without any resistance, the installation is correct. If there is any resistance, even slight, the installation is incorrect. To fix it, push the umbrella more firmly onto the clamp.
-
Install the new umbrella valves (x5) into the HV Battery.
RemarquePush the valve into the thermal vent opening with the legs facing inward. Confirm all three legs are clipped into the opening with an audible click. Push the umbrella into HV battery enclosure after verification.
-
Perform the HV battery leak test. See Test de fuite d'air de la batterie HT (dans le véhicule).
ATTENTIONWhile the HV battery is pressurized, inspect each umbrella valve for escaping air. Perform the following test regardless of leak test results.
- Place a hand over each umbrella valve to feel for escaping air.
- Spray soapy water over each umbrella valve and inspect for bubbles.
If leaks are found, replace the umbrella valve as needed.
If no leaks from any of the umbrella valves are found, but the HV battery leak test is failing, refer to Toolbox article 5402000 for further diagnoses.
- Install the mid aero shield panel. See Panneau – bouclier aérodynamique – arrière (retrait et remplacement).
- Remove the vehicle from the lift. See Soulever le véhicule - pont élévateur à 2 poteaux.
- Install the RH rocker panel molding. See Moulure – bas de caisse – côté gauche (Retirez et remplacer).
- Close the doors and raise the windows.