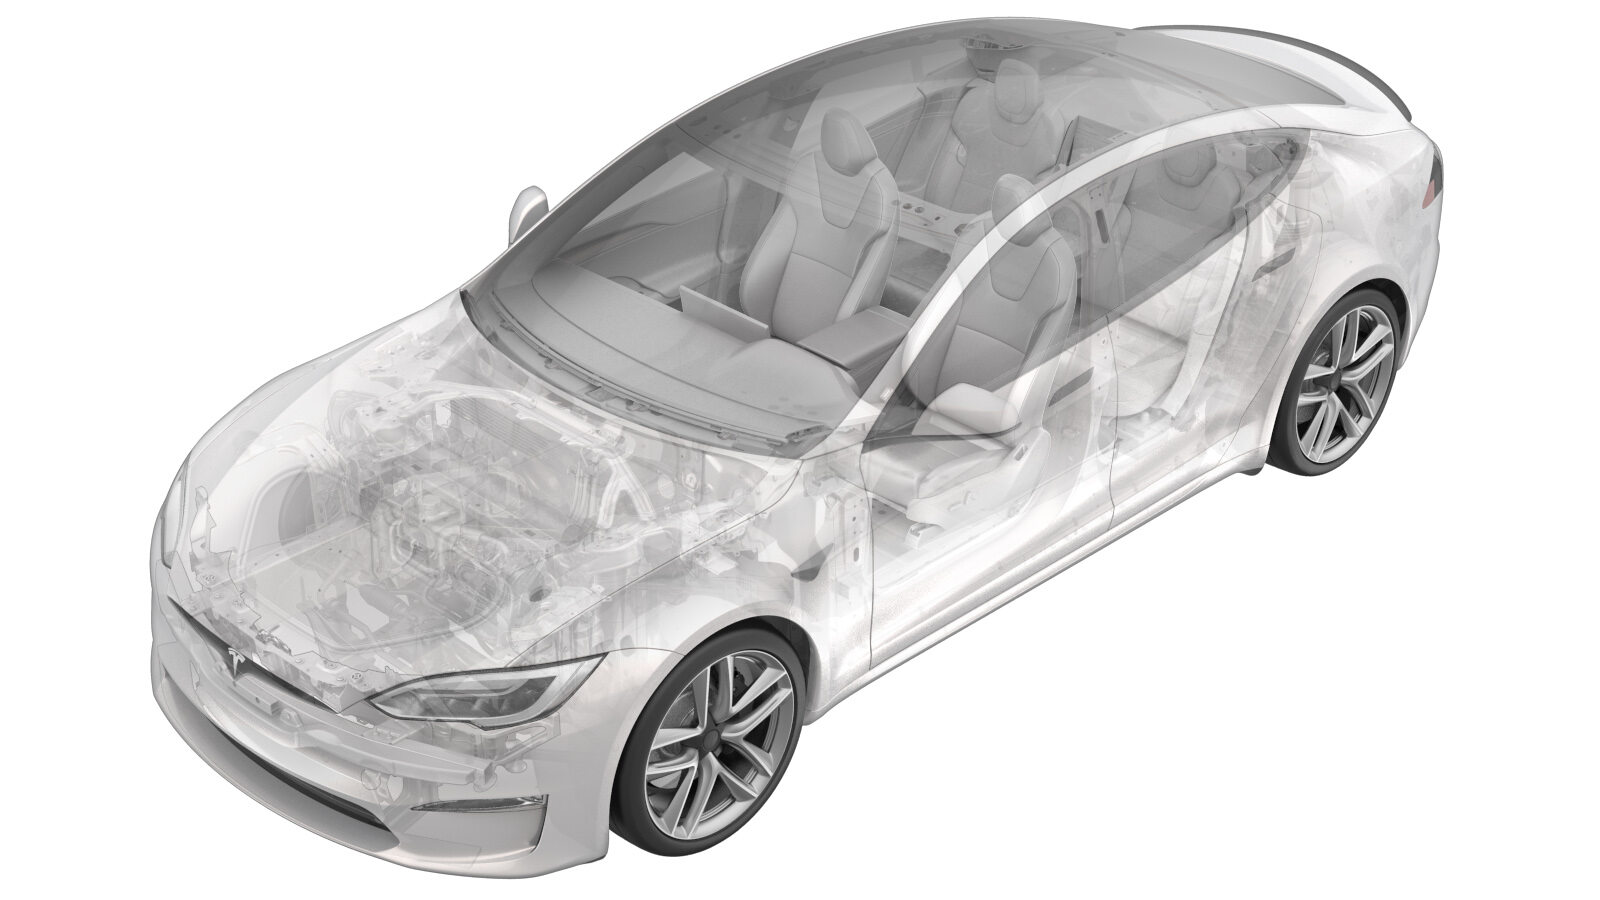
Compresseur, supercollecteur et conduites de climatisation (retrait et remplacement)
 Code de correction
18204012 2.16
REMARQUE : À moins d’indications explicites contraires dans la procédure, le code de correction et le temps forfaitaire ci-dessus représentent tout le travail à être fait pour cette procédure, notamment les procédures connexes. N’appliquez pas plusieurs codes de correction à la fois, à moins qu’il vous soit explicitement indiqué de le faire.
REMARQUE : Consultez Temps forfaitaires pour en apprendre plus à propos des temps forfaitaires et de leur création. Vous pouvez transmettre par courriel vos commentaires relatifs aux valeurs des temps forfaitaires à ServiceManualFeedback@tesla.com.
NOTE : Consultez Protection individuelle pour veiller à porter l’ÉPI approprié lorsque vous effectuez la procédure ci-dessous.
- 2025-03-31: Added not on separately adding correction code 18200102 for refrigerant recovery/recharge.
Retirer
- Remove the A/C compressor. See Compresseur de climatisation (retrait et remplacement).
-
Remove the NVH acoustic cover from the new AC compressor, and then remove any remaining adhesive material from the compressor.
RemarqueThe NVH acoustic cover must be fully removed to properly weigh the compressor.RemarqueRemove as much adhesive material from the NVH acoustic cover as possible. Excessive material left on compressor will cause an inaccurate weight measurement.TIpNous recommandons l’utilisation des outils suivants :
- Flat scraper blade
- Wire brush
-
Remove the transportation plugs from the new A/C compressor.
TIpNous recommandons l’utilisation des outils suivants :
- Douille de 13 mm
- Clé à cliquet à tête flexible/clé dynamométrique à tête flexible
-
Weigh the new A/C compressor.
RemarqueThe new compressor should weigh 7193g. Escalate if the compressor weight is incorrect.TIpNous recommandons l’utilisation des outils suivants :
- Weighing scale - 1067799-00-A
-
Install a new NVH blanket on the new A/C compressor.
RemarqueReuse the old NVH blanket if a new one is not available and the adhesive is in good working condition.
-
Position the A/C compressor bracket on the compressor, and then install the bolts (x3) that attach the bracket to the compressor.
 9 Nm (6.6 lbs-ft)TIpNous recommandons l’utilisation des outils suivants :
- Douille longue de 10 mm
- Clé à cliquet à tête flexible/clé dynamométrique à tête flexible
- Clé à cliquet/Clé dynamométrique
-
Disconnect the A/C machine hoses from the A/C flush adapters.
TIpNous recommandons l’utilisation des outils suivants :
- Heat pump flush kit - 1600279-00-A
- Mastercool 2000 R134A A/C Machine - 1509224-00-A
- Remove the supermanifold to compressor A/C line. See Conduit de climatisation - entre le Super-collecteur et le compresseur (retirez et remplacez).
- Remove the supermanifold to HVAC A/C line. See Conduit de climatisation - entre le Super-collecteur et le système CVC (retirez et remplacez).
- Remove the supermanifold. See Supercollecteur (retirez et remplacez).
Installer
- Install the supermanifold. See Supercollecteur (retirez et remplacez).
- Install the supermanifold to HVAC A/C line. See Conduit de climatisation - entre le Super-collecteur et le système CVC (retirez et remplacez).
- Install the supermanifold to compressor A/C line. See Conduit de climatisation - entre le Super-collecteur et le compresseur (retirez et remplacez).
- Install the A/C compressor. See Compresseur de climatisation (retrait et remplacement).