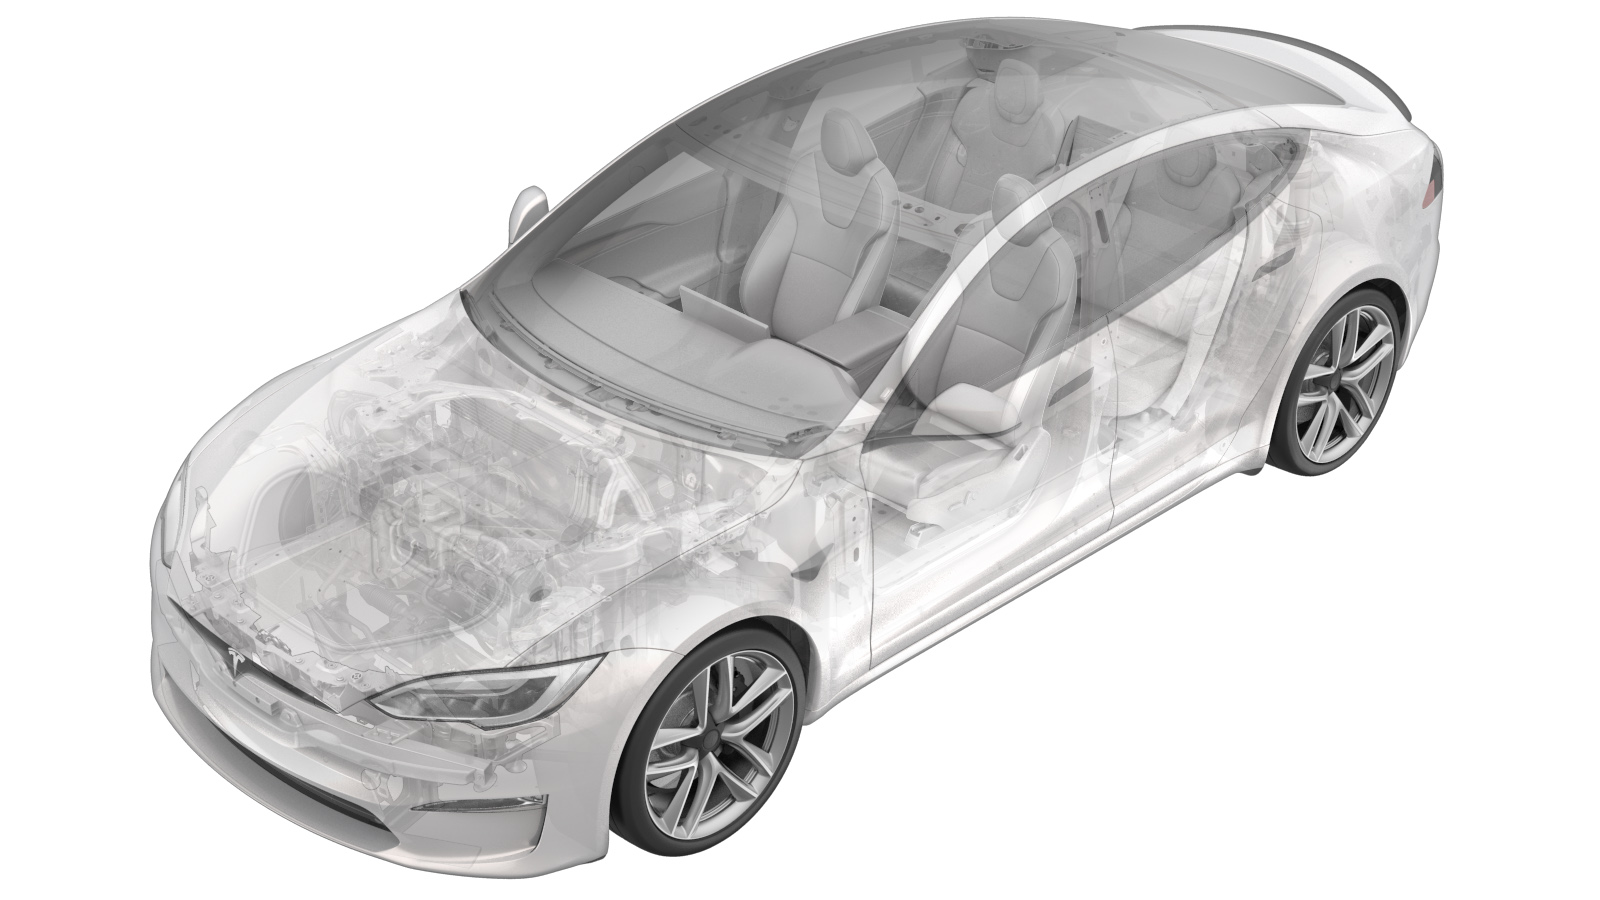
Câble de masse – batterie HT (retrait et remplacement)
 Code de correction
16100022 0.48
REMARQUE : À moins d’indications explicites contraires dans la procédure, le code de correction et le temps forfaitaire ci-dessus représentent tout le travail à être fait pour cette procédure, notamment les procédures connexes. N’appliquez pas plusieurs codes de correction à la fois, à moins qu’il vous soit explicitement indiqué de le faire.
REMARQUE : Consultez Temps forfaitaires pour en apprendre plus à propos des temps forfaitaires et de leur création. Vous pouvez transmettre par courriel vos commentaires relatifs aux valeurs des temps forfaitaires à ServiceManualFeedback@tesla.com.
NOTE : Consultez Protection individuelle pour veiller à porter l’ÉPI approprié lorsque vous effectuez la procédure ci-dessous.
Retirer
-
Raise and support vehicle.
RemarqueSet air suspension to "Jack Mode".
-
Raise vehicle fully and lower lift
onto locks.
RemarqueSet vehicle to comfortable working height, Make sure there's an audible click of the locks on both sides before lowering, otherwise vehicle may tilt to the side.
-
Remove clips securing front aero
shield.
Remarque5x push clips.
-
Remove bolts securing front aero
shield and remove from vehicle.
Remarque9x bolts, 10mm, 6 Nm.
-
Release clips securing wheel house
liner to front skid plate.
Remarque4x clips.
-
Remove bolts securing front skid plate
to body sill.
Remarque2x bolts, 15mm, 30 Nm.
-
Remove bolts securing front skid plate
to body casting.
Remarque2x bolts, 15mm, 60 Nm.
-
Remove bolts securing front skid plate
to front subframe and remove skid plate.
Remarque4x bolts, 15mm, 70 Nm, 2x bolts, 10mm, 10 Nm.
-
Release bolt securing ground strap to
body.
Remarque1x bolt, 10mm, 9 Nm.
-
Release clip securing ground cable to
battery.
Remarque1x clip.
-
Remove bolt securing ground cable to
HV battery and remove assembly.
Remarque1x bolt, 10mm, 10 Nm? torque.
Installer
-
Route and install bolt securing ground cable to HV battery .
Remarque1x bolt, 10mm, 10 Nm? torque.
-
Install clip securing ground cable to battery.
Remarque1x clip.
-
Install bolt securing ground strap to body.
Remarque1x bolt, 10mm, 9 Nm.
-
Position front skid plate for installation and thread in all bolts .
Remarque4x bolts, 15mm, 70 Nm, 2x bolts, 15mm, 60 Nm, 2x bolts, 15mm, 30 Nm, 2x bolts, 10mm, 10 Nm, Torque at later step.
-
Torque bolts securing front skid plate to body casting.
Remarque2x bolts, 15mm, 60 Nm.
-
Torque bolts securing front skid plate to body sill.
Remarque2x bolts, 15mm, 30 Nm.
-
Torque bolts securing front skid plate to front subframe.
Remarque4x bolts, 15mm, 70 Nm, 2x bolts, 10mm, 10 Nm.
-
Secure clips securing wheel house liner to front skid plate.
Remarque4x clips.
-
Apply Loctite 222 onto front aero shield bolts and install fasteners securing front
aero shield to vehicle.
Remarque9x bolts, 10mm, 6 Nm.
-
Install clips securing front aero shield.
Remarque5x push clips.
-
Lower vehicle fully.
RemarqueRaise lift off locks, then hold lock release lever to keep locks free while vehicle is lowered.
-
Remove vehicle from lift.
RemarqueLower rack arms fully and remove them from under vehicle, Remove air suspension from "Jack Mode".