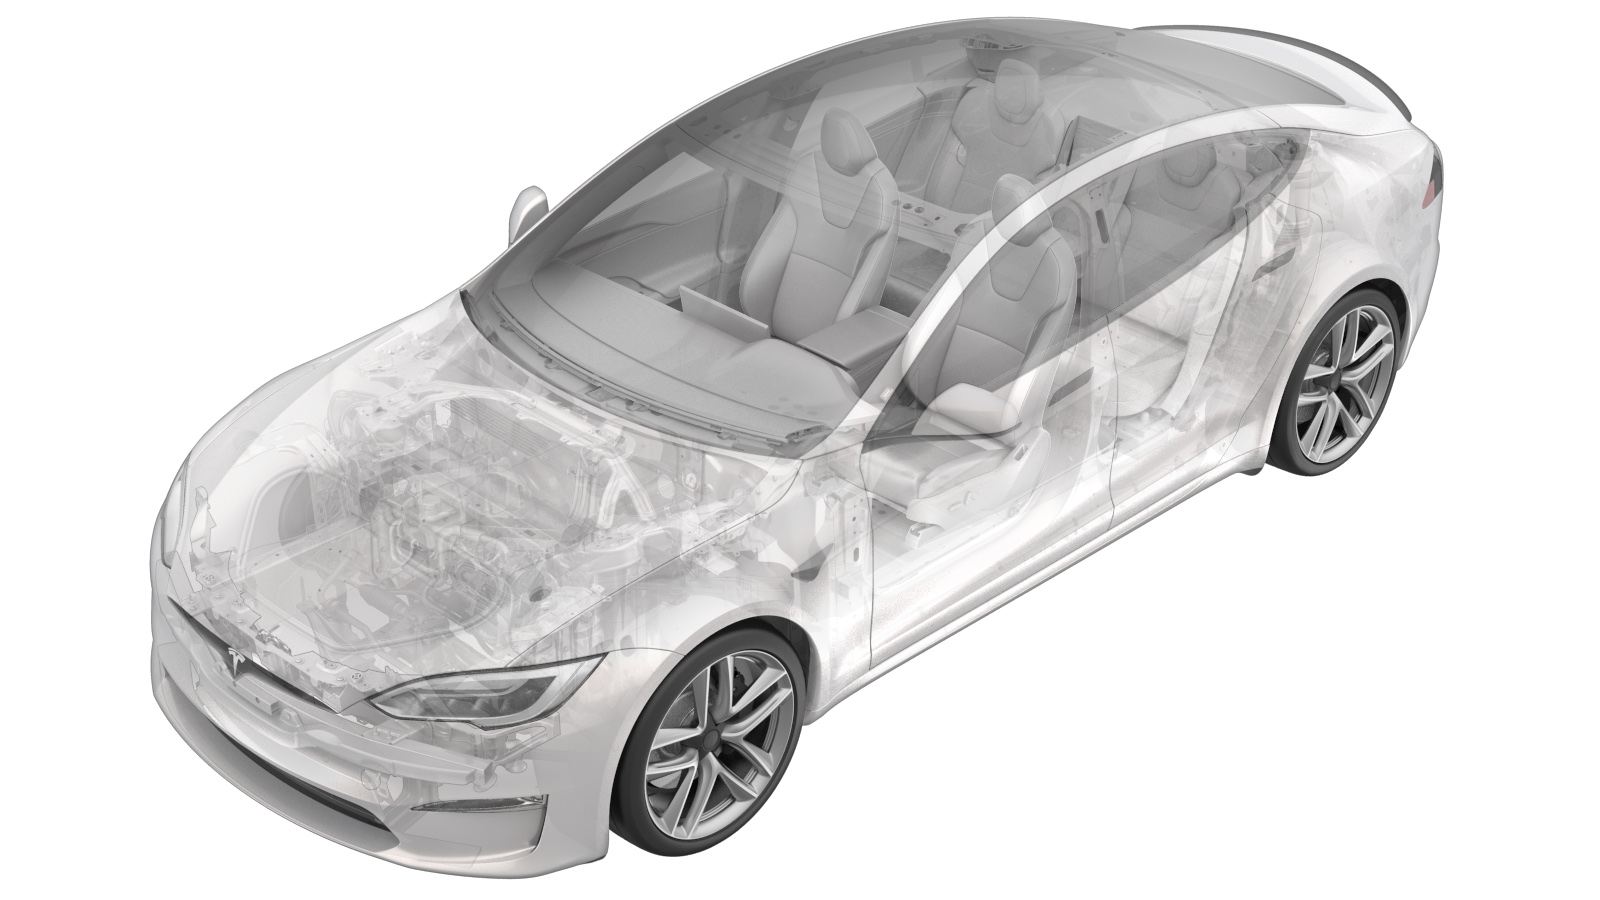
Module - Bluetooth Low Energy (BLE) - arrière (retrait et remplacement)
 Code de correction :
17451802 0.60
REMARQUE : À moins d’indications explicites contraires dans la procédure, le code de correction et le temps forfaitaire ci-dessus représentent tout le travail à être fait pour cette procédure, notamment les procédures connexes. N’appliquez pas plusieurs codes de correction à la fois, à moins qu’il vous soit explicitement indiqué de le faire.
REMARQUE : Consultez Temps forfaitaires pour en apprendre plus à propos des temps forfaitaires et de leur création. Vous pouvez transmettre par courriel vos commentaires relatifs aux valeurs des temps forfaitaires à ServiceManualFeedback@tesla.com.
NOTE : Consultez Protection individuelle pour veiller à porter l’ÉPI approprié lorsque vous effectuez la procédure ci-dessous.
Retirer
- Retirez le carénage arrière. Voir Carénage - arrière (retrait et installation).
-
Débranchez le connecteur électrique de l’ensemble du module BLE arrière.
ATTENTIONN'APPUYEZ PAS sur la languette rouge de verrouillage. Tirez sur la languette jusqu’à ce que le connecteur se déverrouille, puis continuer à tirer pour libérer le connecteur.
-
Retirez les deux vis qui fixent l’ensemble BLE arrière au carénage.
Remarque2x vis, T25, 2x repères
Installer
-
Installez les deux vis qui fixent l’ensemble BLE arrière au carénage.
Remarque2x vis, T25, 3 Nm, 2x repères
-
Branchez le connecteur électrique de l’ensemble BLE arrière.
ATTENTIONPoussez la languette rouge de verrouillage dans le connecteur pour engager le mécanisme de verrouillage. N'APPUYEZ PAS et NE TIREZ PAS sur la languette rouge de verrouillage.
- Installez l'ensemble de carénage arrière. Voir Carénage - arrière (retrait et installation).
- Branchez un ordinateur portable doté de Toolbox au véhicule.
- Dans Toolbox, cliquez sur l'onglet Actions/Autodiag et recherchez ensuite « Service_Redeploy » (Redéploiement de service).
-
Cliquez sur UPDATE_CAN-REDEPLOYvia Toolbox: (link)via Service Mode Plus:
- Drive Inverter Replacement ➜ Drive Inverter DIRE1L Replacement ➜ CAN Redeploy
- Drive Inverter Replacement ➜ Drive Inverter DIRE1R Replacement ➜ CAN Redeploy
- Drive Inverter Replacement ➜ Drive Inverter DIRE2 Replacement ➜ CAN Redeploy
- Drive Inverter ➜ Front Drive Inverter Replacement ➜ CAN Redeploy
- Drive Inverter ➜ Rear Drive Inverter Replacement ➜ CAN Redeploy
- Drive Inverter ➜ Rear Left Drive Inverter Replacement ➜ CAN Redeploy
- Drive Inverter ➜ Rear Right Drive Inverter Replacement ➜ CAN Redeploy
- Drive Unit ➜ Front Drive Unit Replacement ➜ CAN Redeploy
- Drive Unit ➜ Rear Drive Unit Replacement ➜ CAN Redeploy
- Thermal ➜ HVAC ➜ CAN Redeploy
- chassis ➜ DPB Post Replacement ➜ CAN Redeploy
- chassis ➜ ESP Post Replacement ➜ CAN Redeploy
- chassis ➜ IDB Post Replacement ➜ CAN Redeploy
- chassis ➜ RCU Post Replacement ➜ CAN Redeploy
- chassis ➜ ESP Replacement Panel ➜ CAN Redeploy
- chassis ➜ IBST Replacement Panel ➜ CAN Redeploy
RemarqueSélectionnez « X » en haut à droite de la fenêtre pour fermer une fois terminé. La routine indiquera une réussite, mais la mise à jour continuera à s'exécuter en arrière-plan. L'interface utilisateur affichera la progression de la mise à jour. - Dans Toolbox, cliquez sur l'onglet Actions et ensuite recherchez « Endpoint ».
-
Cliquez sur TEST-SELF_VCSEC_X_ENDPOINT-COMMvia Toolbox: (link), puis cliquez sur Exécuter le réseau et laissez la routine se terminer.
RemarqueCliquez sur le « X » en haut à droite de la fenêtre pour la fermer une fois la procédure terminée.
- Déconnectez le logiciel Toolbox et retirez l’ordinateur portable du véhicule.
- Remontez la glace avant gauche et fermez la porte avant gauche.