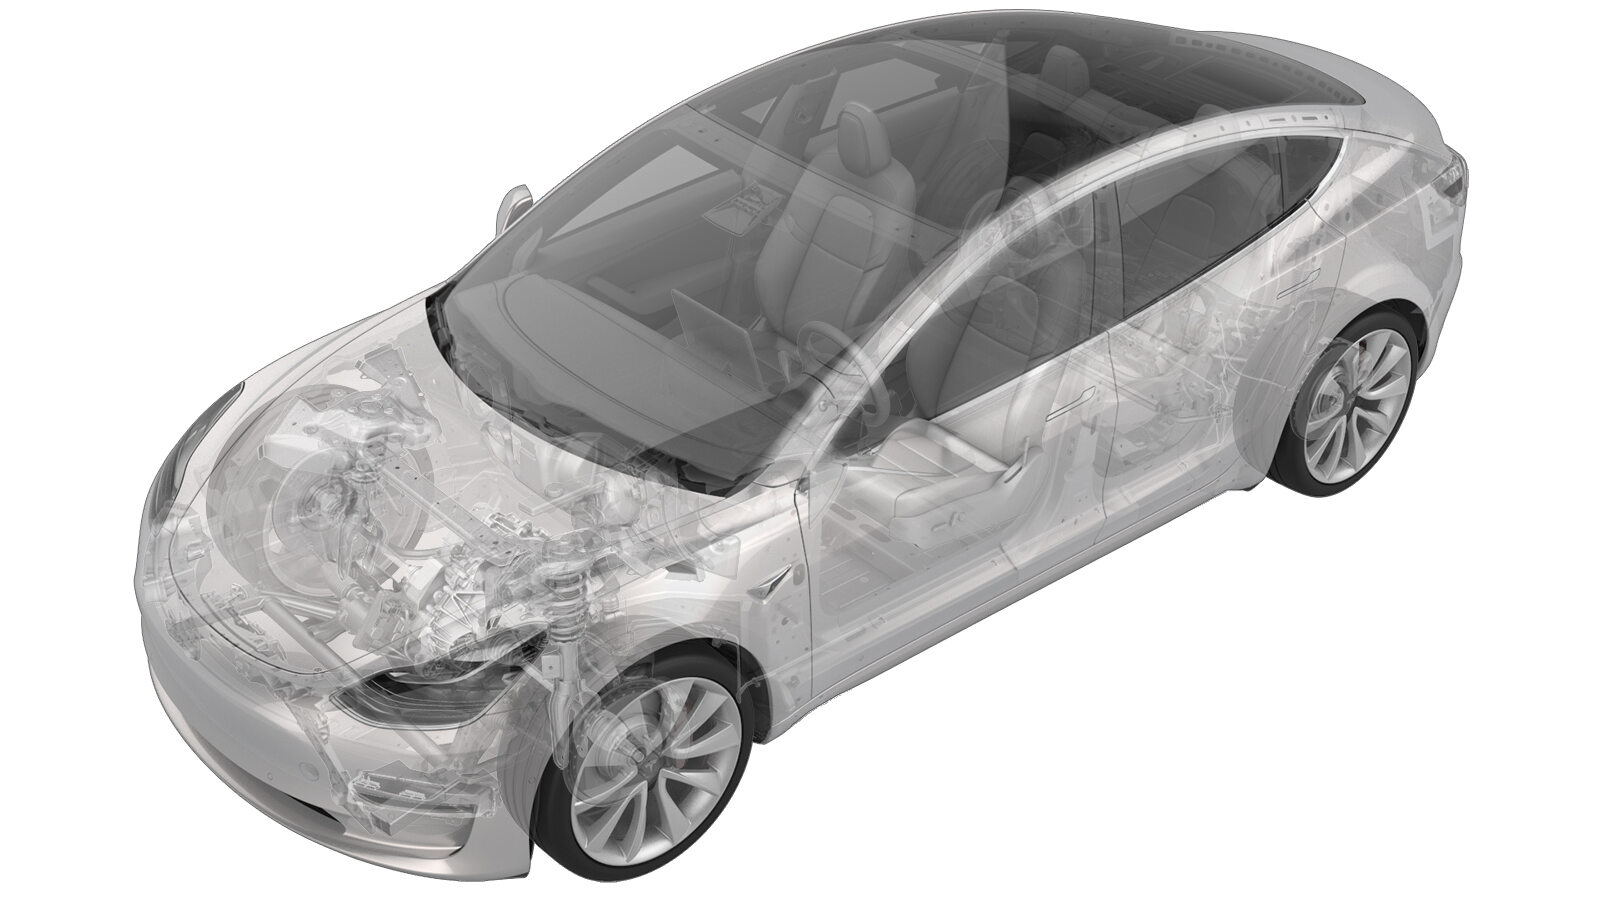
Betätiger – Luftklappe unten (Wärmepumpe) (Ausbauen und Ersetzen)
 Korrekturcode
18102512
0.54
HINWEIS: Sofern im Verfahren nicht ausdrücklich anders angegeben, spiegeln der obige Korrekturcode und die FRT den gesamten für die Durchführung dieses Verfahrens erforderlichen Aufwand wider, einschließlich der damit verbundenen Verfahren. Schichten Sie keine Korrekturcodes, wenn Sie nicht ausdrücklich dazu aufgefordert werden.
HINWEIS: Unter Richtzeiten erfahren Sie mehr über FRTs und darüber, wie sie erstellt werden. Für Rückmeldungen zu den FRT-Werten senden Sie bitte eine E-Mail an ServiceManualFeedback@tesla.com.
HINWEIS: Siehe Persönlicher Schutz, um sicherzustellen, dass Sie die richtige persönliche Schutzausrüstung tragen, wenn Sie das folgende Verfahren durchführen.
HINWEIS: Siehe Maßnahmen zur Ergonomie für sichere und gesunde Arbeitsmethoden.
- 2023-10-16: Reorganized the procedure.
Ausbauen
- Remove the center console. See Mittelkonsole (2.0) (Ausbauen und Ersetzen).
-
Release the instrument panel harness
clips (x2) and carpet clip from the RH cross car beam.
-
Remove the bolt that attaches the LH
cross car beam to the HVAC assembly.
TIpEs wird empfohlen, die folgenden Werkzeuge zu verwenden:
- Ratsche mit flexiblem Kopf/Drehmomentschlüssel mit flexiblem Kopf
- Zwölfkantsteckschlüssel, 10 mm, tief
-
Remove the bolt that attaches the RH
cross car beam bracket to the cross car beam.
TIpEs wird empfohlen, die folgenden Werkzeuge zu verwenden:
- Ratschen-/Drehmomentschlüssel
- 13mm socket
- 3-Zoll-Verlängerung
-
Remove the nut that attaches the RH
cross car beam bracket to the body.
TIpEs wird empfohlen, die folgenden Werkzeuge zu verwenden:
- Ratschen-/Drehmomentschlüssel
- 13mm socket
- 3-Zoll-Verlängerung
-
Remove the RH cross car beam bracket
from the vehicle.
-
Insert the inflatable air bag up to
the bottom of the lower mode actuator, then inflate it between the RH cross car beam
bracket and lower HVAC assembly.
-
Remove the bolts(x2) that attach the
lower mode actuator to the HVAC assembly.
AnmerkungInsert the mini ratchet bit from behind the harness.TIpEs wird empfohlen, die folgenden Werkzeuge zu verwenden:
- Torx-Bit T20
-
Disconnect the lower mode actuator
electrical connector, and then remove the actuator from the HVAC assembly.
Montieren
- Position the lower mode actuator on the HVAC assembly; align the guide, and then push the lower mode actuator towards the left to install.
-
Connect the lower mode actuator electrical connector.
-
Install the bolts(x2) that attach the
lower mode actuator to the HVAC assembly.
 1.2 Nm (.9 lbs-ft)AnmerkungInsert the mini ratchet bit from behind the harness.TIpEs wird empfohlen, die folgenden Werkzeuge zu verwenden:
- Torx-Bit T20
- Torque Wrench Hexagon - 1060071-00-A
-
Deflate airbag between RH cross car
beam bracket and lower HVAC assembly and remove
- Deflate and remove the inflatable air bag between the RH cross car beam bracket and lower HVAC assembly.
- Position the RH cross car beam bracket to the body.
-
Hand-tighten the bolt that attaches
the RH cross car beam bracket to the cross car beam.
-
Hand-tighten the bolt that attaches
the cross car beam to the HVAC assembly.
-
Hand-tighten bolt that attaches cross
car beam to the HVAC assembly.
-
Torque the nut that attached the RH
cross car beam bracket to the body.
 25 Nm (18.4 lbs-ft)TIpEs wird empfohlen, die folgenden Werkzeuge zu verwenden:
- Ratschen-/Drehmomentschlüssel
- 13mm socket
- 3-Zoll-Verlängerung
-
Torque the bolt that attaches the RH
cross car beam bracket to the cross car beam.
 25 Nm (18.4 lbs-ft)TIpEs wird empfohlen, die folgenden Werkzeuge zu verwenden:
- Ratschen-/Drehmomentschlüssel
- 13mm socket
- 3-Zoll-Verlängerung
-
Torque the bolt that attach the cross
car beam to the HVAC assembly.
 5.5 Nm (4.1 lbs-ft)TIpEs wird empfohlen, die folgenden Werkzeuge zu verwenden:
- Ratsche mit flexiblem Kopf/Drehmomentschlüssel mit flexiblem Kopf
- Zwölfkantsteckschlüssel, 10 mm, tief
-
Install the IP harness clips (x2) and
carpet clip to the RH cross car beam.
- Install the center console. See Mittelkonsole (2.0) (Ausbauen und Ersetzen).