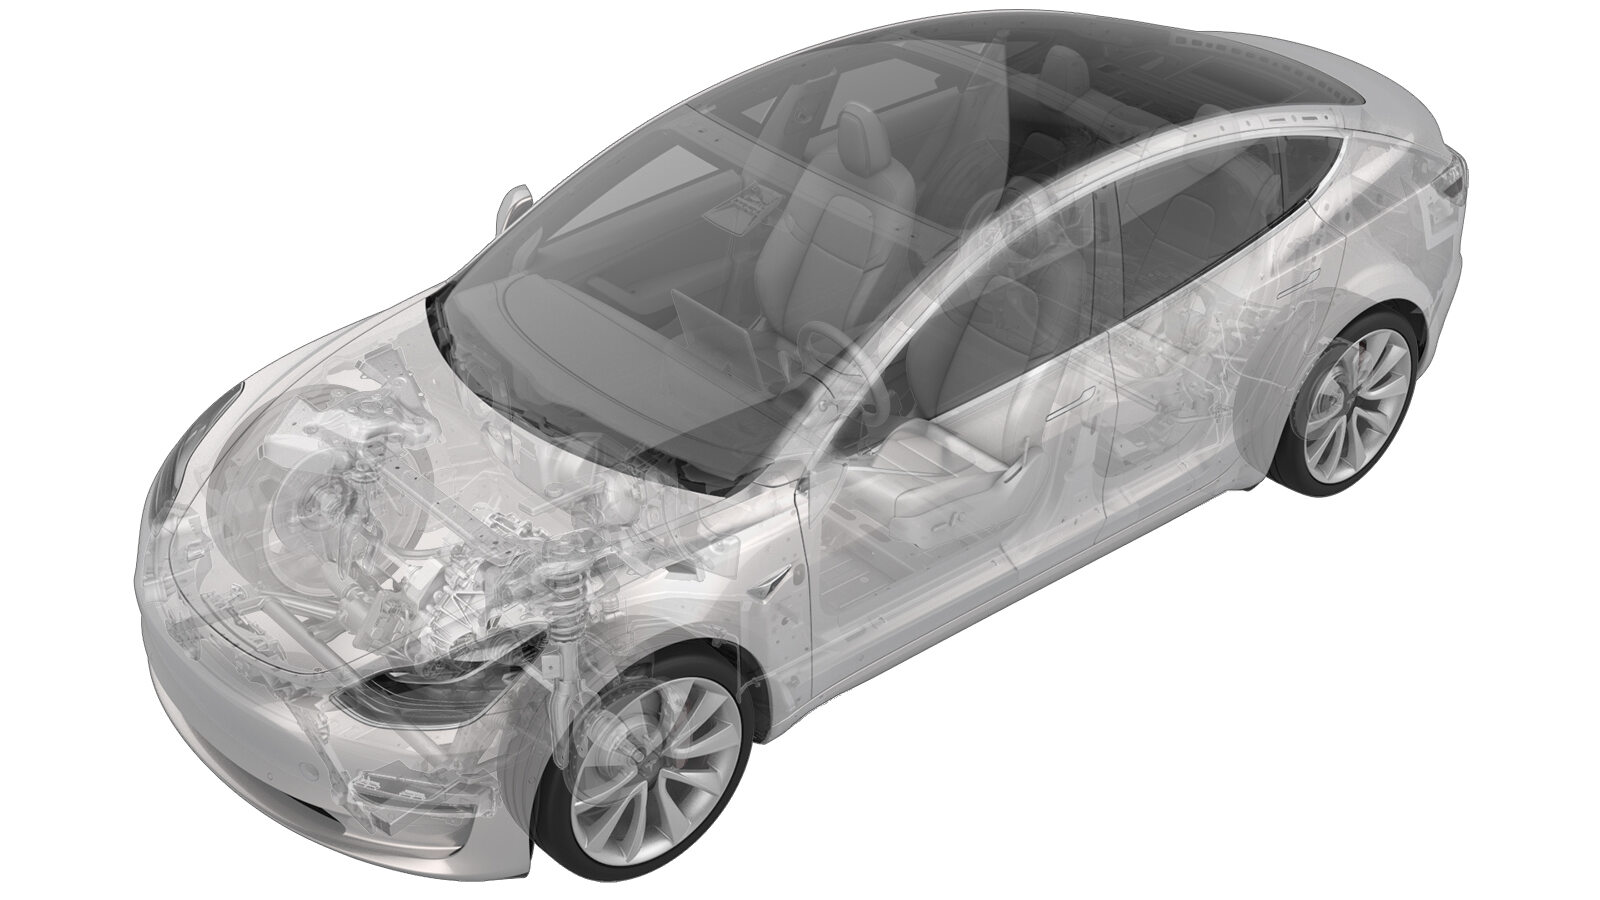
Abschirmung – Karosseriesteuergerät – Vorne (Wärmepumpe) (Ausbauen und Ersetzen)
 Korrekturcode
17152122
0.18
HINWEIS: Sofern im Verfahren nicht ausdrücklich anders angegeben, spiegeln der obige Korrekturcode und die FRT den gesamten für die Durchführung dieses Verfahrens erforderlichen Aufwand wider, einschließlich der damit verbundenen Verfahren. Schichten Sie keine Korrekturcodes, wenn Sie nicht ausdrücklich dazu aufgefordert werden.
HINWEIS: Unter Richtzeiten erfahren Sie mehr über Richtzeiten (Flat Rate Times, FRTs) und darüber, wie sie erstellt werden. Für Rückmeldungen zu den FRT-Werten senden Sie bitte eine E-Mail an ServiceManualFeedback@tesla.com.
HINWEIS: Siehe Persönlicher Schutz, um sicherzustellen, dass Sie die richtige persönliche Schutzausrüstung tragen, wenn Sie das folgende Verfahren durchführen.
HINWEIS: Siehe Maßnahmen zur Ergonomie für sichere und gesunde Arbeitsmethoden.
Ausbauen
-
Open LH front door
-
Lower LH front window
-
Open hood
AnmerkungPress "Open" button on touchscreen to release latch, Lift lid manually
-
Remove rear apron
Anmerkung12x clips, Only store rear apron visible face upwards
-
Power off vehicle from center
display
AnmerkungVia Controls > Safety > Power Off, Select Power Off button at warning dialogue box
-
Disconnect 12V negative terminal
Anmerkung1x nut, 10mm, 6 Nm, Ensure vehicle is in park, climate control system is off, and vehicle is not charging before disconnecting 12V
-
Disconnect first responder loop
Anmerkung1x connector, Release locking tab
-
Remove vent tube hose from LH side of
12V battery
Anmerkung1x tube adapter
-
Release terminal cover and remove
positive terminal
Anmerkung2x clips, 1x nut, 10mm, 6 Nm, Do not fully remove positive terminal nut
-
Remove 12V battery upper tie down
strap to AC compressor bracket
Anmerkung1x bolt, 10mm, 5 Nm, Lift battery tie down strap up and remove it from rear tie down hook strap
-
Remove battery upper tie down strap
AnmerkungLift battery tie down strap up and remove it from the rear tie down hook strap
-
Remove 12V battery from vehicle
-
Remove rear battery tie down
strap
AnmerkungRotate forward to disengage
-
Disconnect thermal sub-harness from
front controller
Anmerkung1x connector, Depress locking tab and rotate to release
-
Remove bolts securing front controller
shield assembly and remove from vehicle
Anmerkung2x bolts, 10mm, 8.5 Nm
Montieren
-
Install front controller shield to the
front controller
Anmerkung2x bolts, 10mm, 8.5 Nm
-
Connect thermal sub-harness to front
controller
Anmerkung1x connector, Rotate fully to secure locking tab
-
Install rear battery tie down
strap
AnmerkungInsert assembly into bracket and rotate to 90 degrees
-
Install 12V battery into vehicle
-
Position battery tie down strap onto
battery
AnmerkungHook upper tie down strap into rear tie down hook strap and position for installation
-
Install bolt securing upper tie down
strap to AC compressor bracket
Anmerkung1x bolt, 10mm, 5 Nm
-
Install vent tube hose in 12V
battery
-
Install positive terminal and terminal
cover
Anmerkung1x nut, 10mm, 6 Nm, 2x clips
-
Connect first responder loop
Anmerkung1x connector, Engage locking tab, Connect FRL before connecting 12V to avoid damage to car computer
-
Connect 12V negative terminal
Anmerkung1x nut, 10mm, 6 Nm
-
Install rear apron
Anmerkung12x clips
-
Close hood
-
Raise LH front window
-
Close LH front door