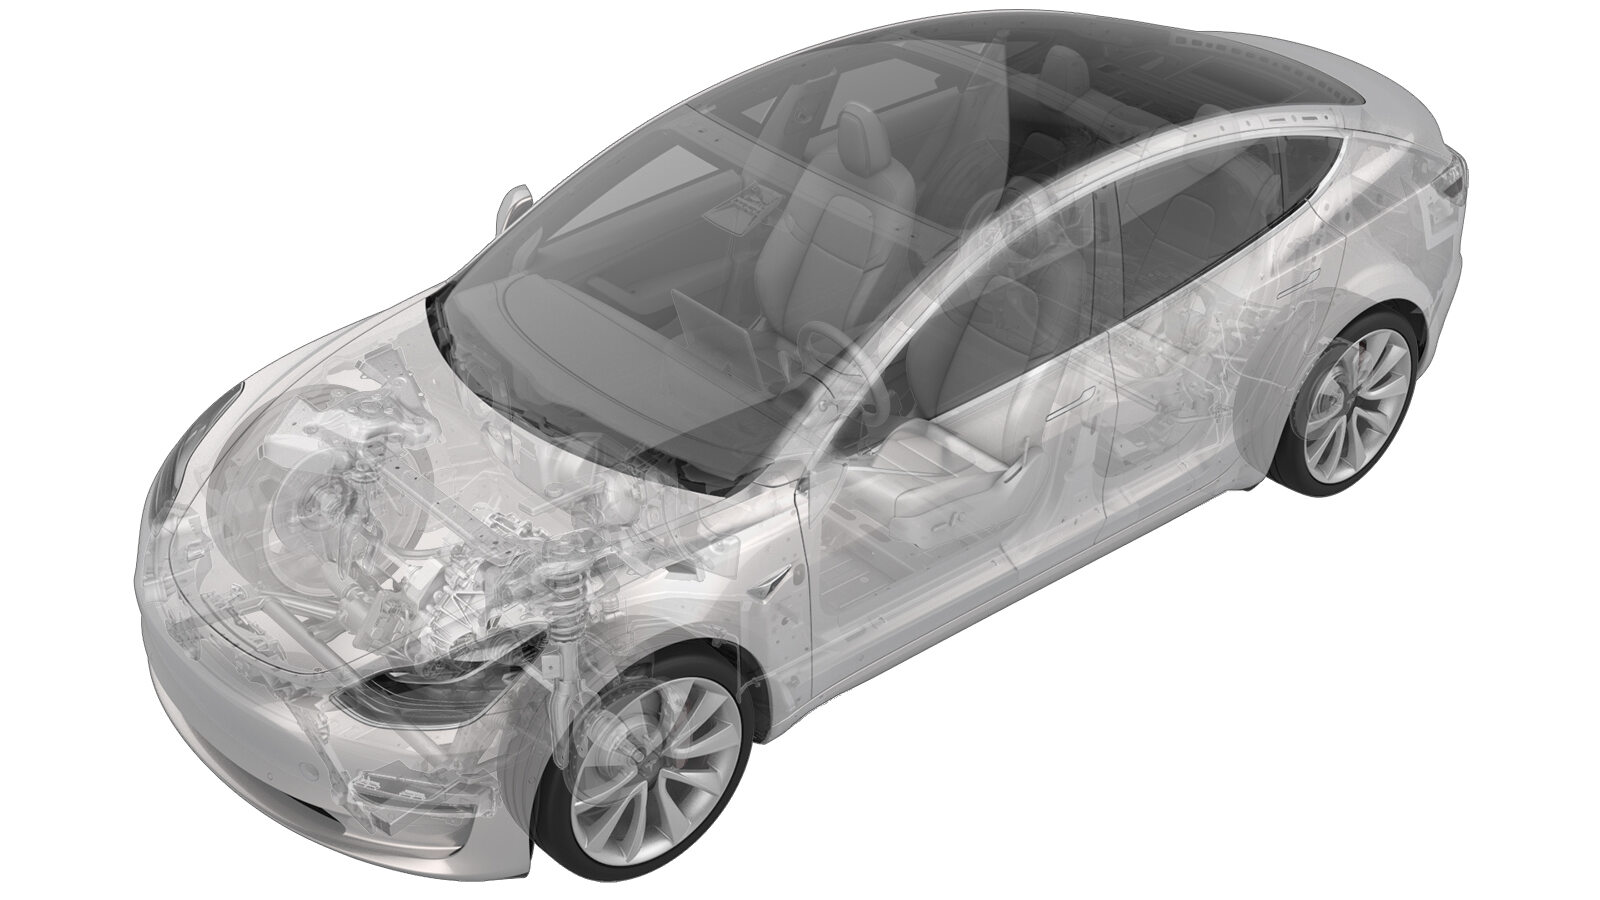
Kabelbaum – Filter – Antenne – LH (Ausbauen und Ersetzen)
 Korrekturcode
17108302 0.36
HINWEIS: Sofern im Verfahren nicht ausdrücklich anders angegeben, spiegeln der obige Korrekturcode und die FRT den gesamten für die Durchführung dieses Verfahrens erforderlichen Aufwand wider, einschließlich der damit verbundenen Verfahren. Schichten Sie keine Korrekturcodes, wenn Sie nicht ausdrücklich dazu aufgefordert werden.
HINWEIS: Unter Richtzeiten erfahren Sie mehr über FRTs und wie sie erstellt werden. Um FRT-Werte rückzumelden, senden Sie bitte eine E-Mail an ServiceManualFeedback@tesla.com.
HINWEIS: Siehe Persönlicher Schutz, um sicherzustellen, dass Sie die richtige persönliche Schutzausrüstung tragen, wenn Sie das folgende Verfahren durchführen. Siehe Maßnahmen zur Ergonomie für sichere und gesunde Arbeitsmethoden.
Ausbauen
-
Open all the doors and fully lower all the windows.
AnmerkungIf the vehicle is being powered down, latch the rear doors to prevent accidental closure.
- Move the LH and RH front seats fully forward.
- Remove the LH 2nd row seat side bolster. See Polster - Seite - Sitz - 2. Sitzreihe - LH (Ausbauen und Ersetzen).
- Remove the LH side rail trim. See Verkleidung – Seitenschiene – LH (Ausbauen und Ersetzen).
- Remove the LH upper C-pillar trim. See Verkleidung – C-Säule – Oben – LH (Ausbauen und Ersetzen).
-
Release the clip and tabs (x4) that attach the LH rear C-pillar trim to the body, and then set the trim aside.
AnmerkungPull the rear of the trim forward, and then upward to remove it.TIpEs wird empfohlen, die folgenden Werkzeuge zu verwenden:
- Plastic trim tool
- Remove the RH 2nd row seat side bolster. See Polster - Seite - Sitz - 2. Sitzreihe - LH (Ausbauen und Ersetzen).
- Remove the RH side rail trim. See Verkleidung – Seitenschiene – LH (Ausbauen und Ersetzen).
- Remove the RH upper C-pillar trim. See Verkleidung – C-Säule – Oben – LH (Ausbauen und Ersetzen).
-
Release the clip and tabs (x4) that attach the RH rear C-pillar trim to the body, and then set the trim aside.
AnmerkungPull the rear of the trim forward, and then upward to remove it.TIpEs wird empfohlen, die folgenden Werkzeuge zu verwenden:
- Plastic trim tool
- Remove the package tray trim. See Verkleidung – Heckablageblech (Ausbauen und Ersetzen).
-
Disconnect the LH antenna filter harness connector from the LH C-pillar ground.
TIpEs wird empfohlen, die folgenden Werkzeuge zu verwenden:
- Minigreifer, Soft Grip, 90-Grad-Spitze, 6 Zoll
-
Remove the LH antenna filter harness from the backlight glass.
AnmerkungPeel the tape back found at each end of harness housing seal.TIpEs wird empfohlen, die folgenden Werkzeuge zu verwenden:
- Plastic trim tool
-
Disconnect the LH antenna filter harness connector from the heater grid, and then remove the harness from the vehicle.
ACHTUNGGently disconnect the harness. Do not damage the heater grid.TIpEs wird empfohlen, die folgenden Werkzeuge zu verwenden:
- Minigreifer, Soft Grip, 90-Grad-Spitze, 6 Zoll
Montieren
-
Position the LH antenna filter harness on the vehicle, and then connect the harness connector to the heater grid.
-
Connect the LH antenna filter harness connector to the LH C-pillar ground.
-
Install the LH antenna filter harness on the backlight glass.
AnmerkungApply a small piece of tape at each end of the seal clip.TIpEs wird empfohlen, die folgenden Werkzeuge zu verwenden:
- Felt tape
- Scissors
- Install the package tray trim. See Verkleidung – Heckablageblech (Ausbauen und Ersetzen).
-
Install the clip and tabs (x4) that attach the LH rear C-pillar trim to the body.
AnmerkungSlide the back tabs into package tray, and then push the front tabs toward the rear.
- Install the LH upper C-pillar trim. See Verkleidung – C-Säule – Oben – LH (Ausbauen und Ersetzen).
- Install the LH side rail trim. See Verkleidung – Seitenschiene – LH (Ausbauen und Ersetzen).
- Install the LH 2nd row seat side bolster. See Polster - Seite - Sitz - 2. Sitzreihe - LH (Ausbauen und Ersetzen).
- Raise the LH 2nd row seat.
- Repeat step 5 through step 9 for the RH side of the vehicle.
- Move the LH and RH front seats to the original positions.
- Raise all the windows and close all the doors.