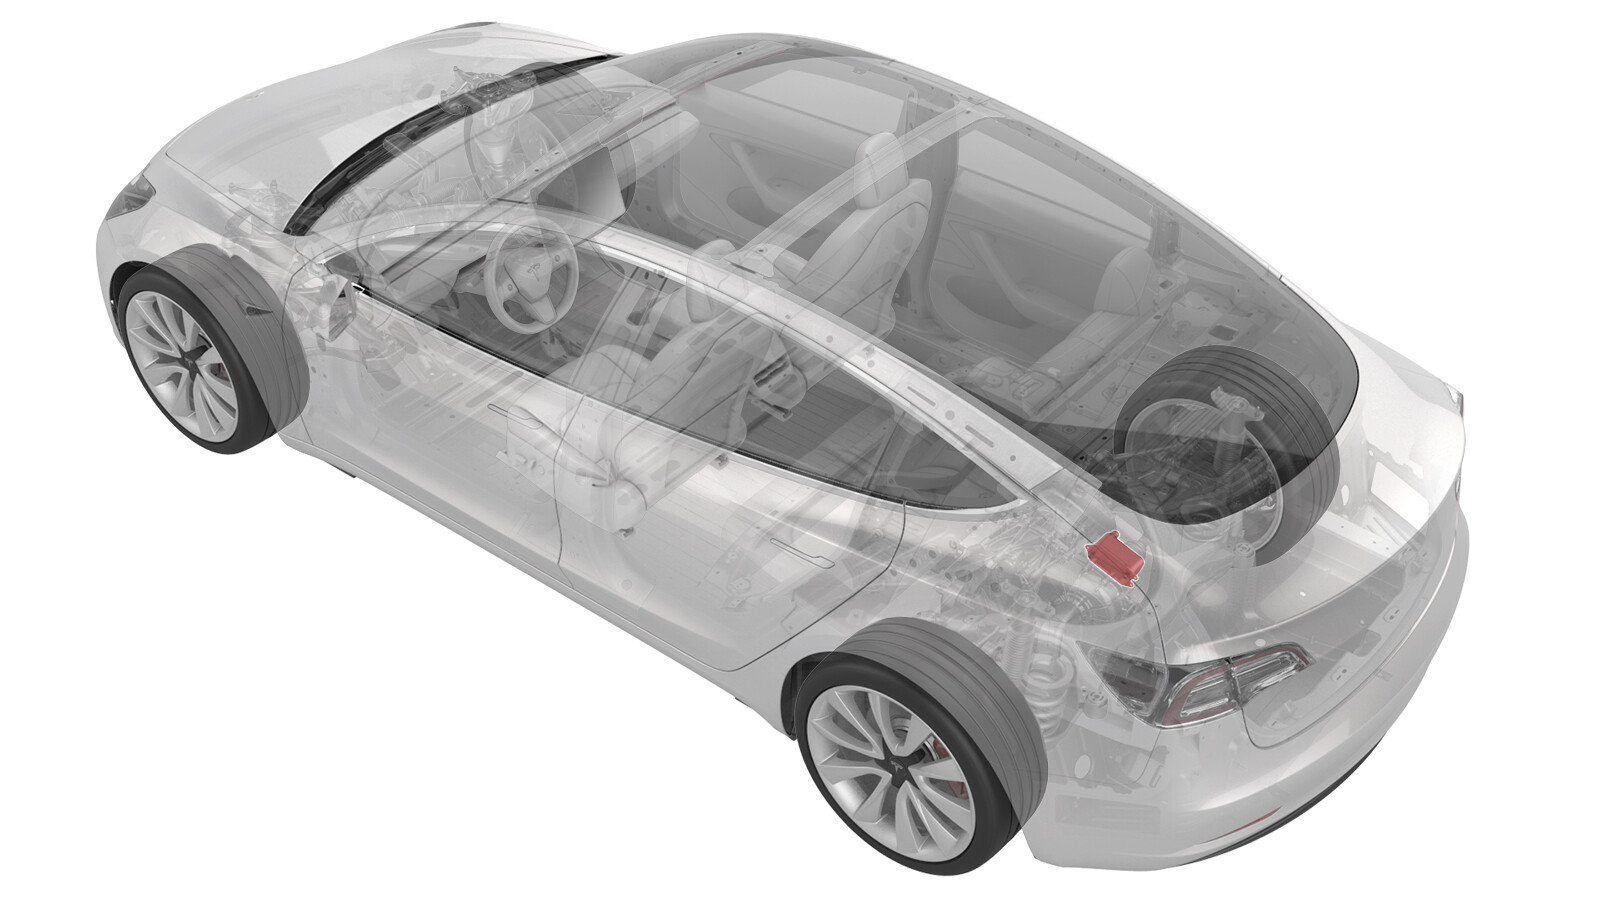
Wärmetauscher – Antriebseinheit hinten (4DU) (Ausbauen und Ersetzen)
 Korrekturcode
40305232 0.66
HINWEIS: Sofern im Verfahren nicht ausdrücklich anders angegeben, spiegeln der obige Korrekturcode und die FRT den gesamten für die Durchführung dieses Verfahrens erforderlichen Aufwand wider, einschließlich der damit verbundenen Verfahren. Schichten Sie keine Korrekturcodes, wenn Sie nicht ausdrücklich dazu aufgefordert werden.
HINWEIS: Unter Richtzeiten erfahren Sie mehr über FRTs und wie sie erstellt werden. Um FRT-Werte rückzumelden, senden Sie bitte eine E-Mail an ServiceManualFeedback@tesla.com.
HINWEIS: Siehe Persönlicher Schutz, um sicherzustellen, dass Sie die richtige persönliche Schutzausrüstung tragen, wenn Sie das folgende Verfahren durchführen. Siehe Maßnahmen zur Ergonomie für sichere und gesunde Arbeitsmethoden.
- 2024-01-10: Corrected spellings of "exchanger".
Ausbauen
- Move the vehicle to a 2 post lift. See Fahrzeug heben – Zweisäulenhebebühne.
- Enable Service Mode on the touchscreen. See Service-Modus.
- Remove the rear underhood apron. See Unterhaubenschürze – Hinten (Ausbauen und Ersetzen).
- Remove the cabin intake duct. See Kanal – Oben – Innenraumeinlass (Ausbauen und Ersetzen).
- Disconnect LV power. See 12-V-/Niederspannungsversorgung (Trennen und Verbinden).
- Remove the mid aero shield panel. See Verkleidung – Windabweiser – Hinten (Ausbauen und Ersetzen).
- Drain the gearbox fluid from the rear drive unit. See Getriebeflüssigkeit – Antriebseinheit hinten (4DU) (Ablassen und Füllen).
-
Position the coolant drain collector
underneath the RH rear of the HV battery.
-
Release the clip that attaches the
rear drive unit inverter to heat exchanger hose to the rear drive unit heat
exchanger.
-
Release the clip, disconnect the rear
drive unit inverter to heat exchanger hose from the rear drive unit heat exchanger,
immediately plug the heat exchanger fitting, allow the hose to drain, and then plug the
hose fitting.
-
Release the clip that attaches the rear drive unit outlet hose to the rear drive unit
heat exchanger.
-
Release the clip, disconnect the rear drive unit outlet hose from the rear drive unit
heat exchanger, and then immediately plug both fittings.
-
Remove the bolts (x2) that attach the rear drive unit heat exchanger to the rear
drive unit, and then remove the heat exchanger from the drive unit.
Montieren
-
Apply a light coat of KAF1 oil to the O-rings of the heat exchanger, and then wipe
away any excess oil.
-
Install the rear drive unit heat exchanger onto the rear drive unit, and then install
the bolts (x2) that attach the heat exchanger to the drive unit.
 5 Nm (3.7 lbs-ft) +30 deg
 -
Remove the plugs from the fittings, immediately connect the rear drive unit outlet
hose to the rear drive unit heat exchanger, fasten the clip, and then perform a
Push-Pull-Push check of the fitting.
-
Fasten the clip that attaches the rear drive unit outlet hose to the rear drive unit
heat exchanger.
-
Remove the plugs from the fittings,
immediately connect the rear drive unit inverter to heat exchanger hose to the rear
drive unit heat exchanger, fasten the clip, and then perform a Push-Pull-Push check of
the fitting.
-
Fasten the clip that attaches the rear
drive unit inverter to heat exchanger hose to the rear drive unit heat exchanger.
-
Remove the coolant drain collector from under the vehicle.
- Refill the rear drive unit with gearbox fluid. See Getriebeflüssigkeit – Antriebseinheit hinten (4DU) (Ablassen und Füllen).
- Install the mid aero shield panel. See Verkleidung – Windabweiser – Hinten (Ausbauen und Ersetzen).
- Connect LV power. See 12-V-/Niederspannungsversorgung (Trennen und Verbinden).
-
On the touchscreen, touch the
.
AnmerkungAlternatively, touch .
- Hold up on the turn signal stalk, and then press and hold the brake pedal at the same time for 10 seconds to authorize.
-
On the touchscreen, touch START to the left of “Start Coolant
Air Purge” and wait for the task to complete (10 minutes).
AnmerkungAlternatively, touch START to the left of “Start Coolant Air Purge”, touch RUN TASK, wait for the task to complete (10 minutes), then touch X in the upper left corner.
-
Add coolant to the reservoir as
necessary, and install the reservoir cap.
- Install the cabin intake duct. See Kanal – Oben – Innenraumeinlass (Ausbauen und Ersetzen).
- Install the rear underhood apron. See Unterhaubenschürze – Hinten (Ausbauen und Ersetzen).
- Disable Service Mode. See Service-Modus.
- Remove the vehicle from the 2 post lift. See Fahrzeug heben – Zweisäulenhebebühne.