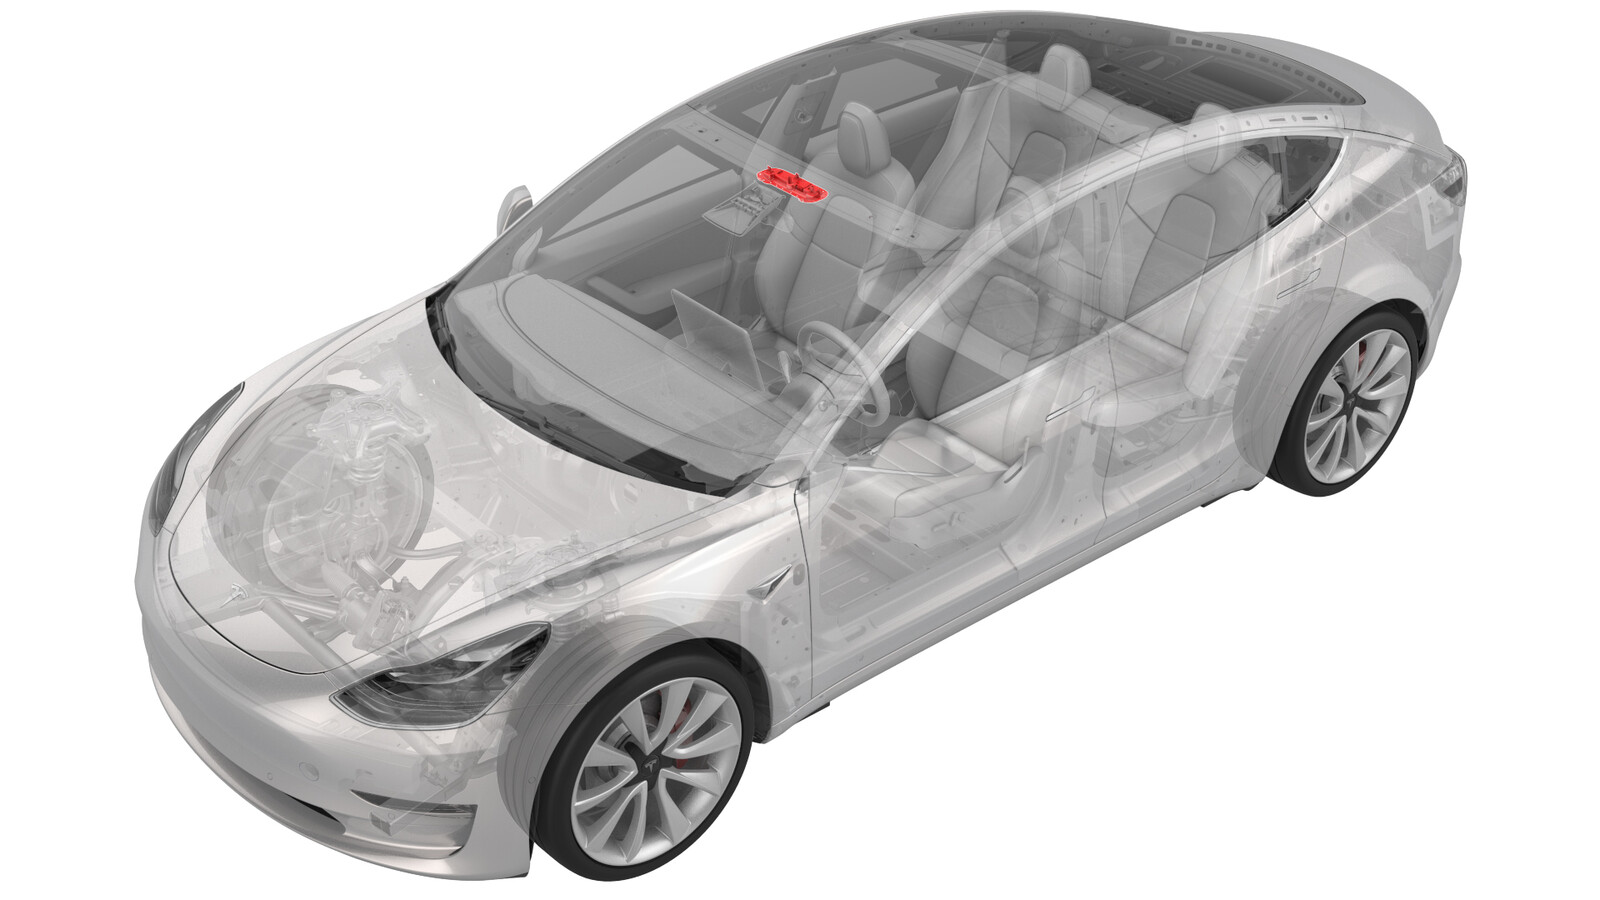
Dachkonsole – Vorne (ohne eCall-Taste) (EMEA) (Nachrüsten)
 Korrekturcode
15202306 0.36
HINWEIS: Sofern im Verfahren nicht ausdrücklich anders angegeben, spiegeln der obige Korrekturcode und die FRT den gesamten für die Durchführung dieses Verfahrens erforderlichen Aufwand wider, einschließlich der damit verbundenen Verfahren. Schichten Sie keine Korrekturcodes, wenn Sie nicht ausdrücklich dazu aufgefordert werden.
HINWEIS: Unter Richtzeiten erfahren Sie mehr über FRTs und wie sie erstellt werden. Um FRT-Werte rückzumelden, senden Sie bitte eine E-Mail an ServiceManualFeedback@tesla.com.
HINWEIS: Siehe Persönlicher Schutz, um sicherzustellen, dass Sie die richtige persönliche Schutzausrüstung tragen, wenn Sie das folgende Verfahren durchführen. Siehe Maßnahmen zur Ergonomie für sichere und gesunde Arbeitsmethoden.
0,10
- 2023-10-20: Updated steps to change Gateway configuration using Toolbox 3.
Procedure
- Open the LH front door and lower the window.
- Put the vehicle in service mode through the touchscreen. See Service-Modus.
- Disconnect 12V power. See 12-V-/Niederspannungsversorgung (Trennen und Verbinden).
- Remove the front overhead console. See Dachkonsole – Vorne (Ausbauen und Ersetzen).
-
Pull the FOHC connector (X299)
outwards for access
-
Remove 2 - 4 cm of the electrical tape
from the harness.
AnmerkungTake care not to damage the wires while using a blade to remove the tape.
-
Release the locking clips from the
connector
-
Remove pin 6 (X299-6) from the
connector
AnmerkungUse the pin drag kit to release the locking tab, then pull out the wire.
-
Cut off the terminal from the removed
wire.
-
Apply heat shrink tube to the cut wire
end, and then apply heat to prevent the wire from making contact.
- Remove pin 12 (X299-12) from the electrical connector, and then repeat steps 9and 10.
- Remove pin 14 (X299-14) from the electrical connector, and then repeat steps 9 and 10.
- Remove pin 15 (X299-15) from the electrical connector, and then repeat steps 9 and 10.
- Remove pin 16 (X299-16) from the electrical connector, and then repeat steps 9 and 10.
-
Use electrical tape to attach the
removed wires from connector X299 to the FOHC harness.
AnmerkungUse the yellow electrical tape in the kit to denote a rework has been performed.
- Install the front overhead console assembly to the headliner. See Dachkonsole – Vorne (Ausbauen und Ersetzen).
- Connect 12V power. See 12-V-/Niederspannungsversorgung (Trennen und Verbinden).
- Connect a laptop with Toolbox 3 to the vehicle. See Toolbox (Verbinden und Trennen).
- Usie Toolbox 3 to change the configuration value for eCallEnabled to enabled_ui_sos. See Gateway-Konfiguration (Anzeigen und Ändern).
-
On the touchscreen, touch and make sure that the SOS shortcut button (1) and
the SOS EMERGENCY
CALL button (2) are available on the touchscreen.
AnmerkungThe SOS shortcut button (1) takes the user directly to the Safety and Security tab, the SOS EMERGENCY CALL button (2) makes the actual call when touched.
-
Using toolbox 3:
- Select the Actions tab, and then type "VFOHC" in the search field.
- Run the ODIN routine TEST-SELF_VCLEFT_X_VFOHCvia Toolbox: (link) and allow the routine to complete.
- Disconnect the laptop from the vehicle.
- Reinstall the vehicle firmware. See Neuinstallation der Software – Touchscreen.
- Exit Service Mode. See Service-Modus.
- Inform the customer why the e-Call functionality has changed after the headliner retrofit and instruct them how to use the touchscreen to make an emergency call.