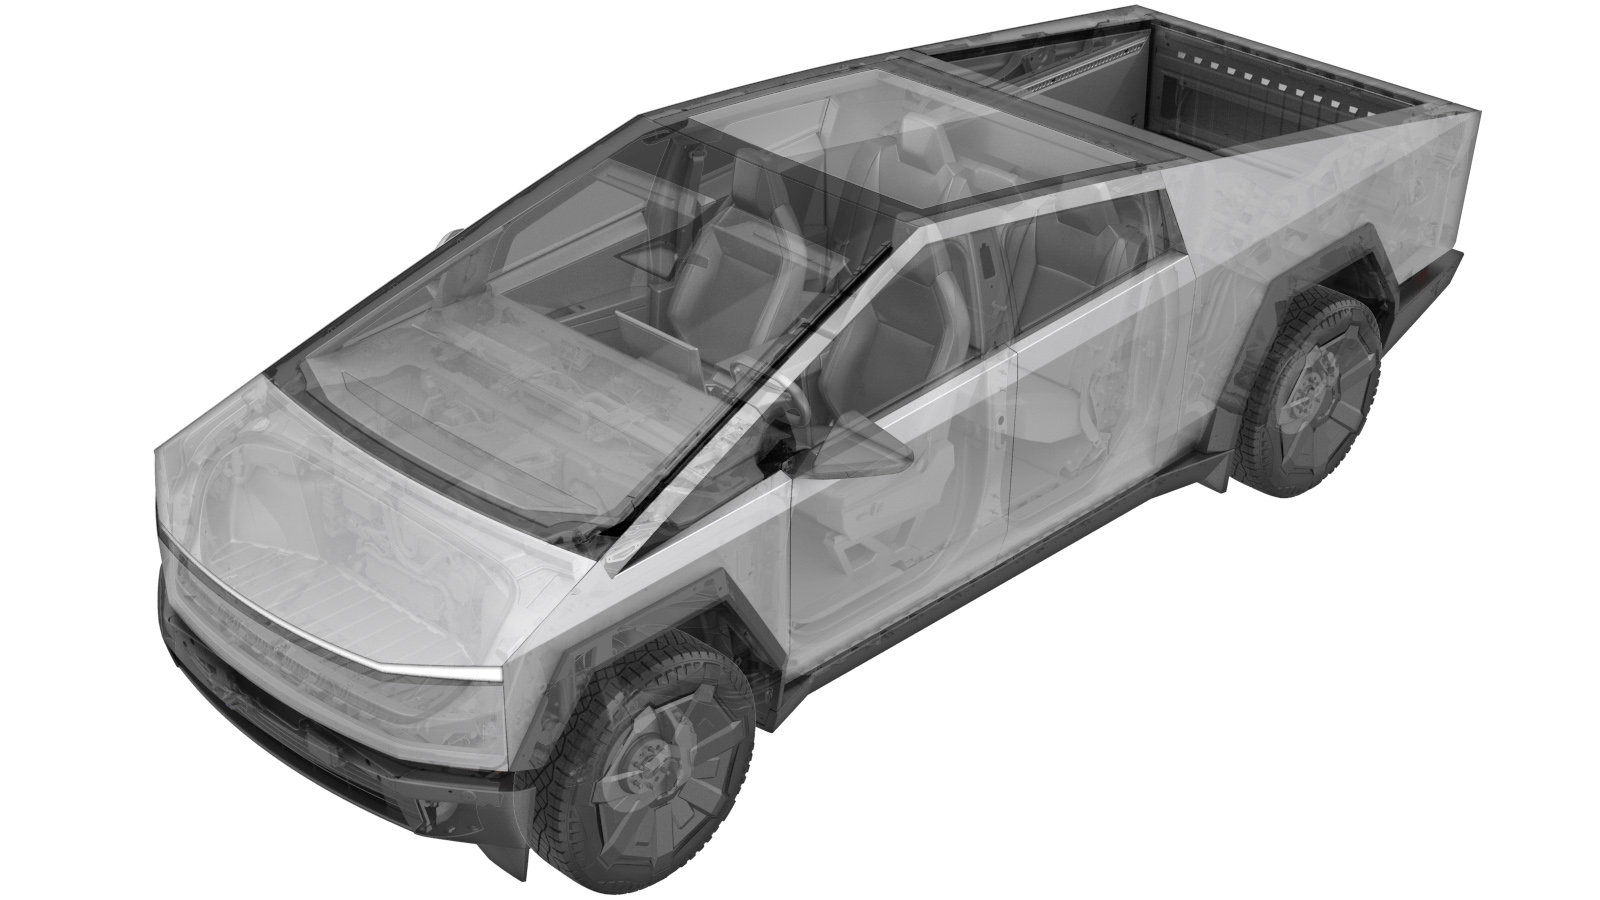
BLE End Point - Wheel Well - Front - RH (Remove and Install)
 Código de corrección
1745104061, 1745104062
0.18
NOTA: Salvo que se indique lo contrario explícitamente en el procedimiento, el código de corrección anterior y el FRT reflejan todo el trabajo necesario para realizar este procedimiento, incluidos los procedimientos vinculados. No acumule códigos de corrección a menos que se le indique explícitamente que lo haga.
NOTA: Consulte (FRT)Tiempos de tarifa plana para obtener más información sobre los FRT y cómo se crean. Para enviar sus comentarios sobre los valores de FRT, escriba a ServiceManualFeedback@tesla.com.
NOTA: Consulte Protección personal para asegurarse de llevar el EPI adecuado al realizar el siguiente procedimiento.
NOTA: Consulte Precauciones ergonómicas para ver información sobre prácticas de trabajo seguras.
Retirar
- Abra la puerta delantera izquierda y baje la ventanilla.
- Coloque el vehículo en el Modo de servicio. Consulte Modo de servicio.
-
Release the clips (x11) and datums (x3) that attach the RH front fender flare cover to the vehicle, disconnect the electrical connector, and then remove the cover from the vehicle.
PRECAUCIÓNThe camera harness is very short. Make sure not to pull the cover too far from the vehicles when releasing.NotaRelease all clips repeater connector before removal.
-
Remove the clips (x14) that attach the RH front wheel liner to the fender flare carrier, and then release the wheel liner from the fender flare carrier and fascia.
- Remove the RH front fore fender flare carrier. See Carrier - Fender Flare - Fore - Front - LH (Remove and Install).
-
Remove and discard the bolts (x2) that attach the RH front wheel well BLE endpoint to the vehicle, and then remove the endpoint from the vehicle.
 1.5 Nm (1.1 lbs-ft)TIpSe recomienda utilizar las siguientes herramientas:
- Broca Torx T20
Instalar
-
Position the RH front wheel well BLE endpoint into the vehicle, and then install new bolts (x2) that attach the endpoint to the vehicle.
 1.5 Nm (1.1 lbs-ft)TIpSe recomienda utilizar las siguientes herramientas:
- Broca Torx T20
- Install the RH front fore fender flare carrier. See Carrier - Fender Flare - Fore - Front - LH (Remove and Install).
-
Install the clips (x4) that secure the RH front wheel liner to fore fender flare carrier.
-
Position the RH front fender flare cover onto the vehicle, connect the electrical connector, and then secure the clips (x11) and datums (x3) that attach the cover to the vehicle.
NotaConnect the fender flare camera electrical connector before installing the cover.NotaReplace any missing or damaged clips.
- Reinstall the vehicle software. See Software Reinstall - Touchscreen (Restore).
- Salga del Modo de servicio. Consulte Modo de servicio.
- Suba la ventanilla delantera izquierda y cierre la puerta delantera izquierda.