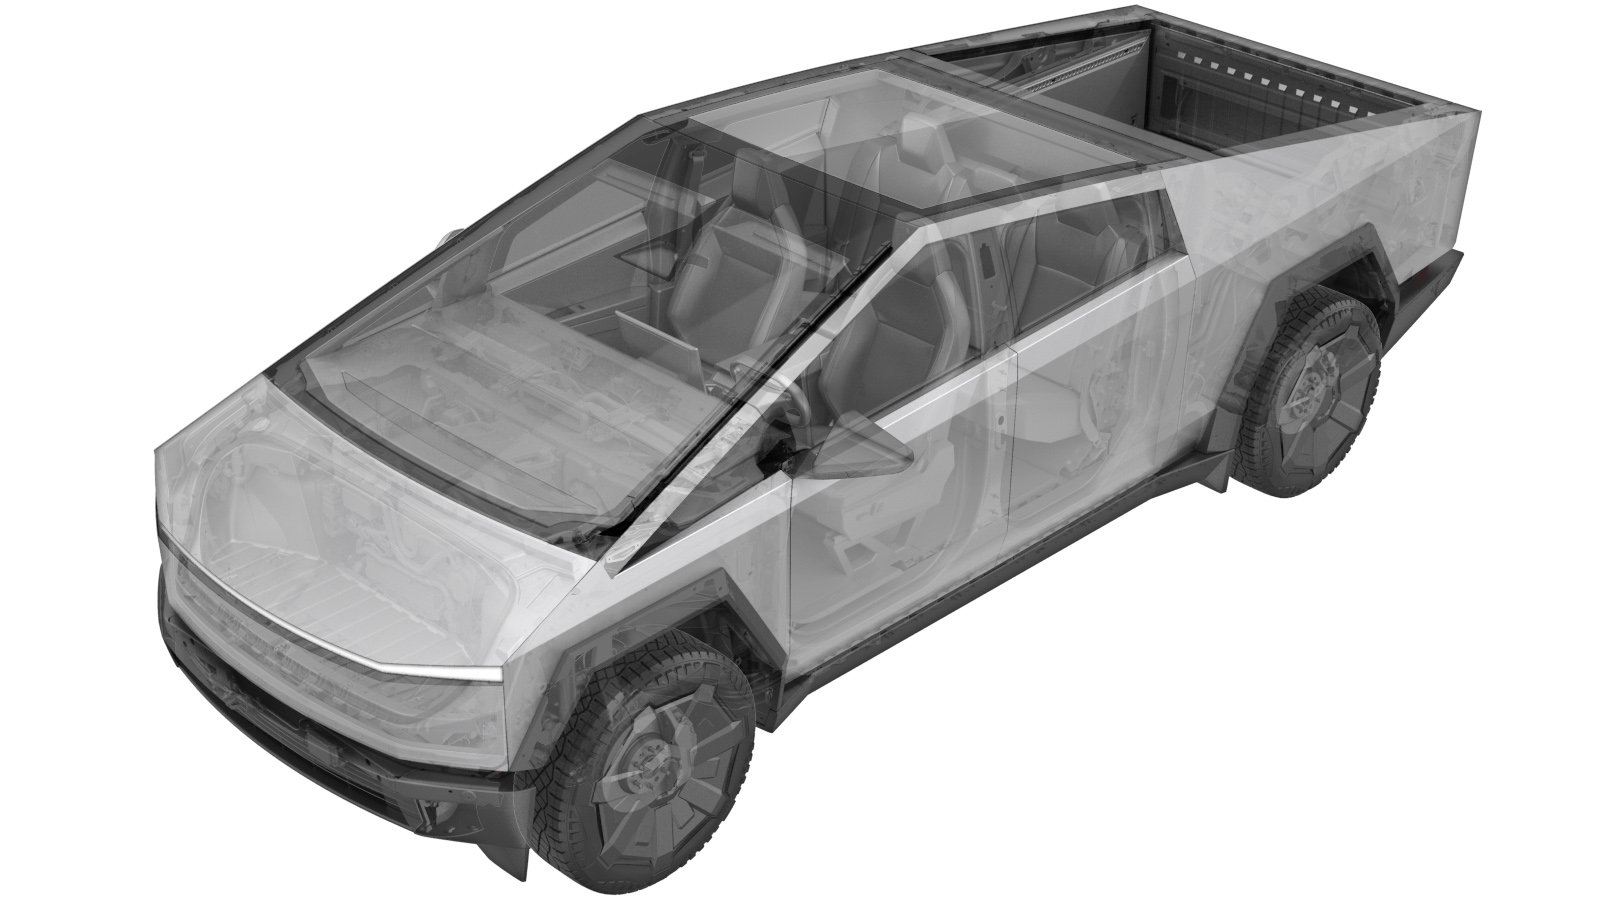
Slat System - Tonneau (Rework) (Modify)
 Código de corrección
1120122007
FRT
1.20
NOTA: Salvo que se indique lo contrario explícitamente en el procedimiento, el código de corrección anterior y el FRT reflejan todo el trabajo necesario para realizar este procedimiento, incluidos los procedimientos vinculados. No acumule códigos de corrección a menos que se le indique explícitamente que lo haga.
NOTA: Consulte (FRT)Tiempos de tarifa plana para obtener más información sobre los FRT y cómo se crean. Para enviar sus comentarios sobre los valores de FRT, escriba a ServiceManualFeedback@tesla.com.
NOTA: Consulte Protección personal para asegurarse de llevar el EPI adecuado al realizar el siguiente procedimiento.
NOTA: Consulte Precauciones ergonómicas para ver información sobre prácticas de trabajo seguras.
- 2025-01-23: Added special tools section.
- 2024-11-26: Corrected note that still referenced adding 2 slats.
- 2024-10-7: Updated steps to only add 1 slat instead of 2 slats.
- 1996616-00-ATonneau Bushing Removal Tool
- 1999662-00-ATonneau Transfer Frame
Conectar Procedimiento
- Cierre la cubierta de la plataforma de carga.
-
Inspect Water Management slat.
NotaIf any gap is present in the fore/aft space between the tonneau applique and Water Management slat, continue the rework to add 1 slat to close the gap.
- Remove the tonneau slat assembly. See Slat System - Tonneau (Remove and Install).
-
Remove the crosscar fixation tubes
(x3).
NotaThe last tube at the water management slat will be removed at a later step.
-
Insert 2 inflatable bags under the
tonneau slats at the tonneau transfer frame crossbar.
-
Remove the LH Water Management slat
bolts, rollers, and Tonneau Service Kit. Repeat this step for the RH side.
Nota2x slat bolts, 2x sleeves, 4x rollers, 1x Y-React Clip. Carefully pull outwards to release slat bolts from slats.
Figura 1. LH shown; RH similar Figura 2. LH shown; RH similar -
Slide the Water Management slat away
from the slat assembly to release it, and then remove the Water Management slat from the
assembly.
NotaThe chain links will come with the slat.
-
Remove last link of LH chain. Repeat
this step for the RH chain.
Nota1x bushing. Use special tonneau removal tool to release roller bolt from the chain bushing. Remove the bushing and last chain slat. Discard bushing and use new bushing to lock pin in place. Remove Y-reaction clip and install at a later step at the Water Management Slat.
-
Re-position Y-reaction clips on LH
side of chain. Repeat this step for the RH side of the chain.
Nota5x clips. Replace any broken clips. Move all clips 1/2 step down to secure last link of chain. Leave top most link open to secure at a later step.
-
Install one slat onto the front of the
tonneau slat assembly.
NotaApply silicon lubrication onto tonneau sealing slat to ease installation. Position mid slat onto tonneau and slide into place. Ensure slat is properly installed onto tonneau sealing channel.
-
Install Water Management slat with
tonneau chain
NotaApply silicon lubrication onto tonneau sealing slat to ease installation, Position bushing slat to match slat hinge opening, Slide into place
-
Install RH Mid Slat Roller Tonneau
Service Kit to join new slat. Repeat this step for the LH side.
Nota2x slat bolts, 2x sleeves, 4x rollers, 1x Y-React Clips. Insert slat bolts into slats until fully engaged.
-
Install LH Y-reaction clip to Water
Management Slat Bolt Roller. Repeat this step for the RH side.
Nota1x Y-React Clip. Re-use clip removed from last link of chain at previous step. Ensure clip is fully engaged to both roller pins.
-
Install fixation tubes
Nota3x crosscar fixation tubes, From the Water Management crosscar fixation tube Skip 3 chain bushings for backlite opening when tonneau is closed, Skip 2 chain bushings for next tube then Skip1 chain bushing and install the last tube in the last bushing on the chain
- Install the tonneau slat assembly. See Slat System - Tonneau (Remove and Install).
-
On the vehicle touchscreen, navigate
to to run the Tonneau Calibration routine.
NotaAllow the routine to complete. The tonneau will move while the routine running.
- Cierre la cubierta de la plataforma de carga.
-
Confirm there is no gap present
between the tonneau cover and the tonneau applique.
NotaConfirm no gap present fore/aft and top of slat to bottom of seal.
- Salga del Modo de servicio. Consulte Modo de servicio.
- Suba la ventanilla delantera izquierda y cierre la puerta delantera izquierda.