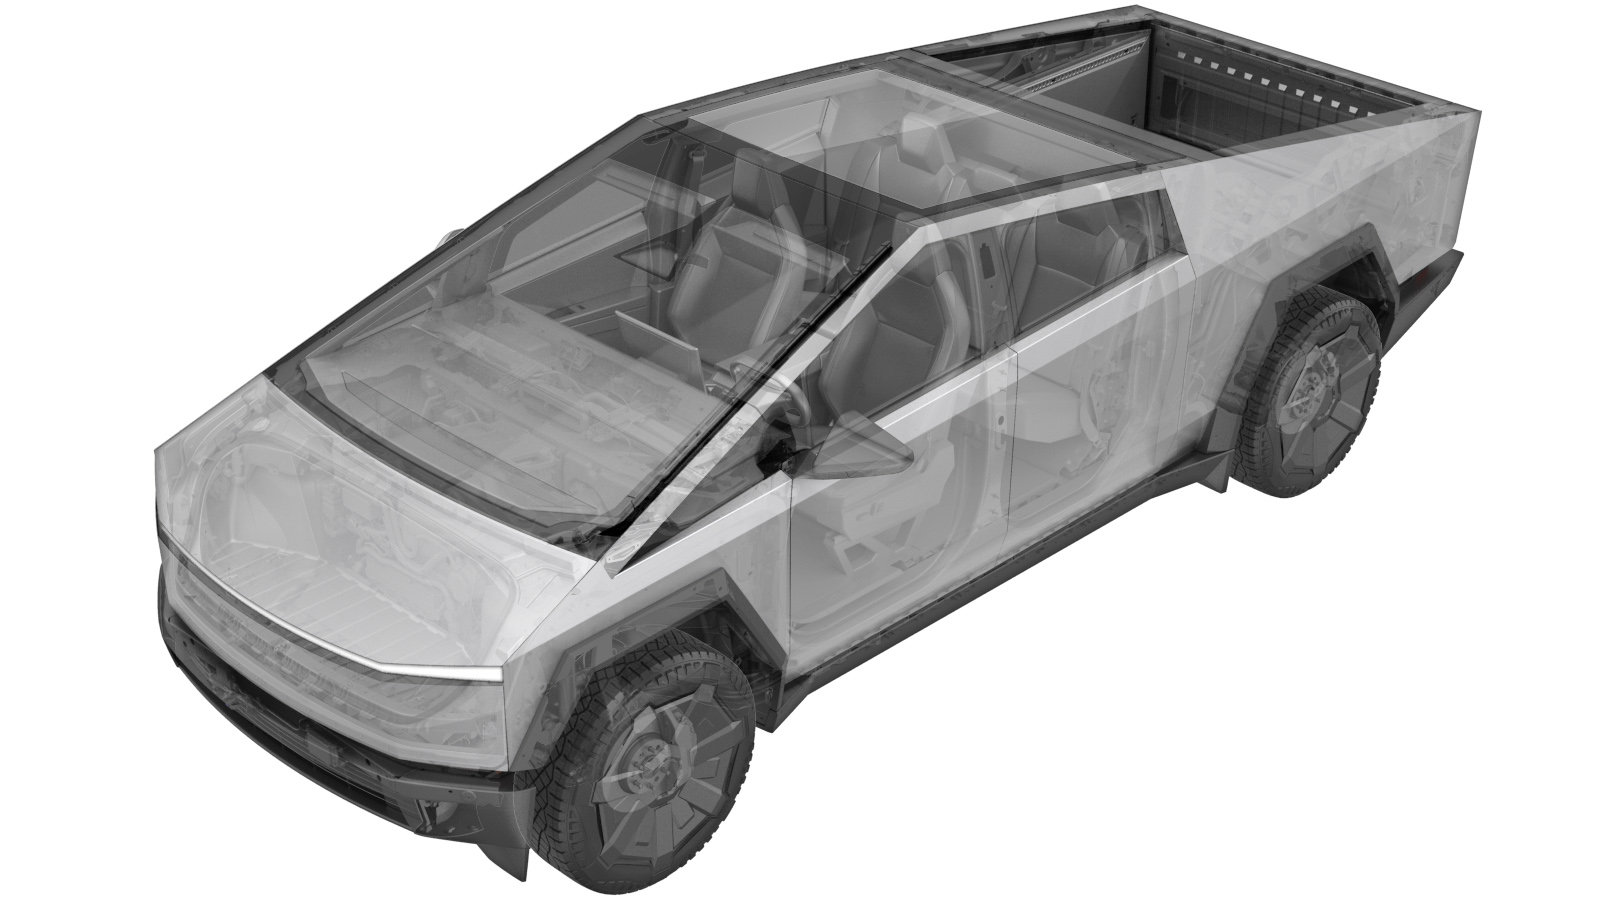
Closeout Split - Buckle - 2nd Row Seat - RH (Remove and Replace)
 Código de corrección
1308005171,
1308005172
0.48
NOTA: Salvo que se indique lo contrario explícitamente en el procedimiento, el código de corrección anterior y el FRT reflejan todo el trabajo necesario para realizar este procedimiento, incluidos los procedimientos vinculados. No acumule códigos de corrección a menos que se le indique explícitamente que lo haga.
NOTA: Consulte (FRT)Tiempos de tarifa plana para obtener más información sobre los FRT y cómo se crean. Para enviar sus comentarios sobre los valores de FRT, escriba a ServiceManualFeedback@tesla.com.
NOTA: Consulte Protección personal para asegurarse de llevar el EPI adecuado al realizar el siguiente procedimiento.
NOTA: Consulte Precauciones ergonómicas para ver información sobre prácticas de trabajo seguras.
- Abra la puerta trasera izquierda y baje la ventanilla.
- Abra la puerta trasera derecha y baje la ventanilla trasera derecha.
- Extraiga el faldón trasero del vano del motor. Consulta Underhood Apron - Rear (Remove and Install).
- Desconecte la alimentación de media tensión. Consulta Disconnect MV Power (Modify).
- Remove the rear wall lower trim. See Trim - Lower - Rear Wall (Remove and Install).
-
Fold down 2nd row 40 seat
NotaPull tether to release then pivot down until locked in place
-
Remove 2nd row RH outboard seatback bolster
Nota2x tabs, 1x datum, 3x clips, Release tab near the bottom of RH outboard bolster, Partially release RH 2nd row shoulder cover and remove bolster from vehicle
-
Remove 2nd row RH inboard seatback bolster
Nota4x clips, 2x datums
-
Remove clip securing RH 2nd row seat outboard B cover assembly
Nota1x clip, Position aside for access to clip
-
Remove RH 2nd row seat back assembly
Nota4x clips, 1x connector, 3x bolts, 10mm, 9 Nm, Pull upwards then away from frame then disconnect electrical harness, Release locking tab
-
Remove 2nd row 40 seat cushion outboard cover
Nota1x clip, Pull outward from lower forward section to release
-
Release 2nd row 40 seat seat cushion from underbelly
NotaPull plastic retainers outward to release from underbelly
-
Remove 2nd row seat cushion underbelly
Nota4x clips, Pull outwards from bottom to release
-
Disconnect 2nd row seat cushion connectors
Nota4x clips, 2x connectors, Release bracket from seat frame then disconnect connectors
-
Remove 2nd row seat cushion assembly from frame
Nota4x clips, Pull back seat cushion trim to access side clips, Slide seat cushion assembly upwards to remove from frame
-
Remove RH 2nd row seat buckle split closeout assembly
Nota2x clips, 1x datum
-
Remove RH 2nd row seat buckle split closeout assembly
Nota2x clips, 1x datum
-
Position 2nd row seat cushion assembly onto frame
Nota4x clips, Slide seat cushion assembly downwards onto frame, Pull back seat cushion trim to access side clips
-
Connect 2nd row seat cushion connectors
Nota4x clips, 2x connectors, Secure connectors then secure bracket to seat frame
-
Install 2nd row seat cushion underbelly
Nota4x clips, Push inwards firmly to secure
-
Secure 2nd row 40 seat seat cushion to underbelly
NotaPush plastic retainers into grooves, Manipulate material as required to engage all retainers
-
Install 2nd row 40 seat cushion outboard cover
Nota1x clip, Push inwards at bottom to secure
-
Install RH 2nd row seat back assembly
Nota4x clips, 1x connector, 3x bolts, 10mm, 9 Nm, Connect electrical harness before fully seating assembly, Engage locking tab
-
Install clip securing RH 2nd row seat outboard B cover assembly
Nota1x clip, Ensure strap is not twisted
-
Install 2nd row RH inboard seatback bolster
Nota4x clips, 2x datumns
-
Install 2nd row seatback RH outboard bolster
Nota2x tabs, 1x datum, 3x clips, Position LH outboard bolster into place, Ensure all clips and tabs are fully engaged, Replace any missing or damaged clips, Secure LH 2nd row shoulder cover, Perform push-pull-push test datums
- Install the rear wall lower trim. See Trim - Lower - Rear Wall (Remove and Install).
- Vuelva a conectar la alimentación de media tensión. Consulta Disconnect MV Power (Modify).
- Coloque el faldón trasero del vano del motor. Consulta Underhood Apron - Rear (Remove and Install).
- Raise the rear windows and close the rear doors.