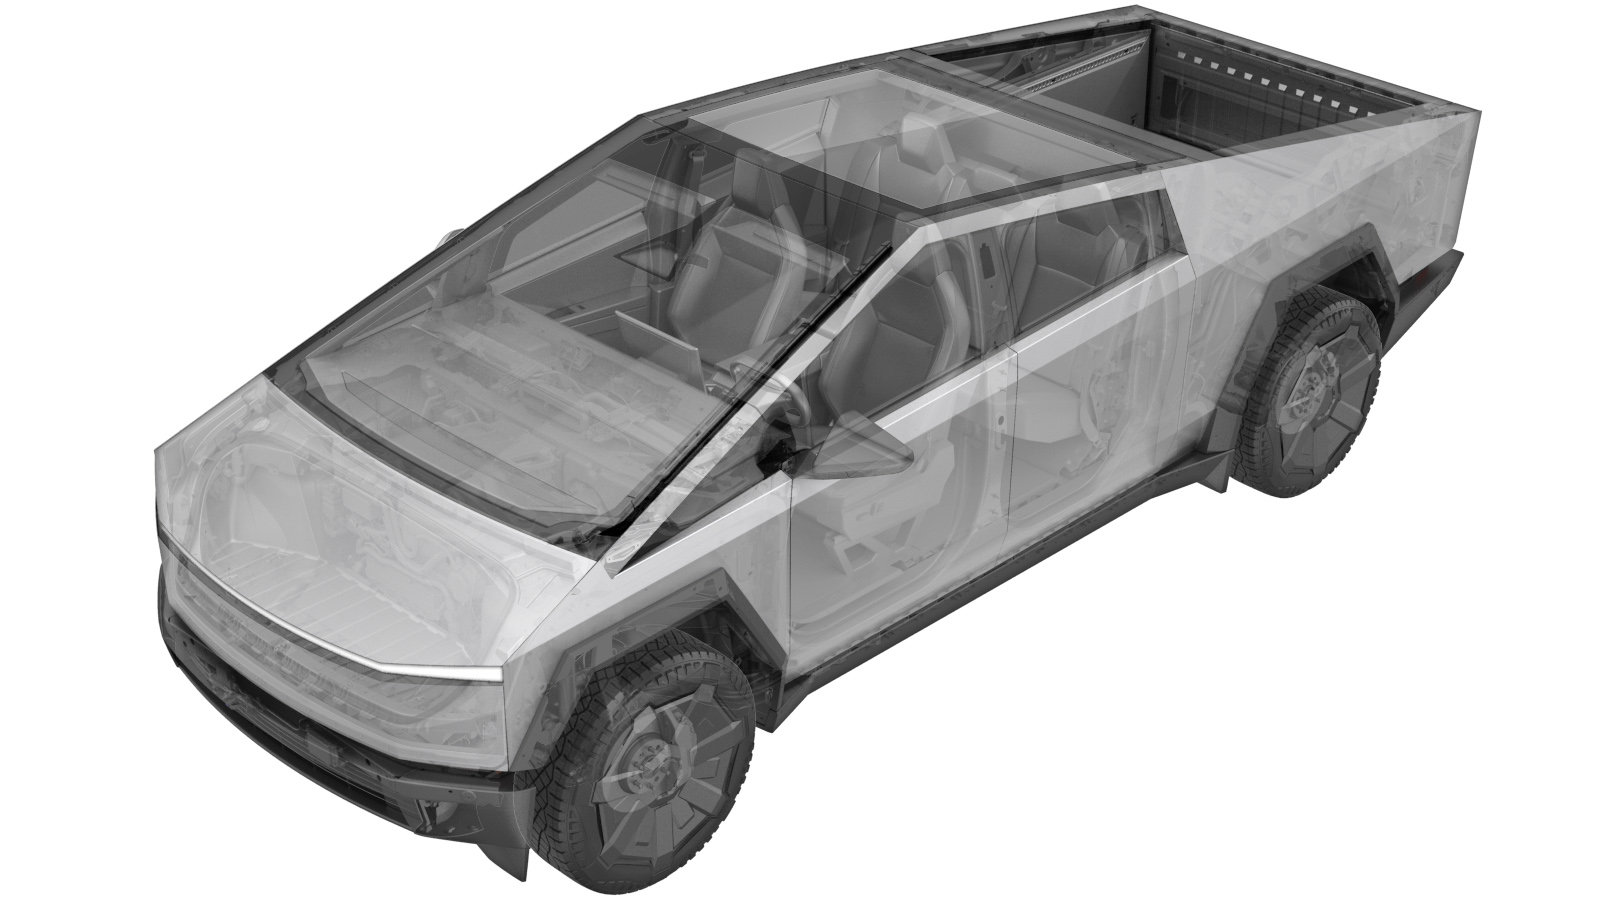
Cover - Phase Out - Drive Inverter - Rear (Long Range) (Remove and Install)
 Código de corrección
NEW
NOTA: Salvo que se indique lo contrario explícitamente en el procedimiento, el código de corrección anterior y el FRT reflejan todo el trabajo necesario para realizar este procedimiento, incluidos los procedimientos vinculados. No acumule códigos de corrección a menos que se le indique explícitamente que lo haga.
NOTA: Consulte (FRT)Tiempos de tarifa plana para obtener más información sobre los FRT y cómo se crean. Para enviar sus comentarios sobre los valores de FRT, escriba a ServiceManualFeedback@tesla.com.
NOTA: Consulte Protección personal para asegurarse de llevar el EPI adecuado al realizar el siguiente procedimiento.
NOTA: Consulte Precauciones ergonómicas para ver información sobre prácticas de trabajo seguras.
- 2025-06-21: Released new procedure.
-
Open LH front door
NotaPush LH B-pillar door trigger to release
-
Lower LH front window
-
Raise and support vehicle
NotaSet air suspension to "Jack Mode"
-
Open tailgate
NotaPress button to release
-
Open powered front trunk
NotaVia exterior switch or UI
-
Remove rear underhood apron
Nota9x clips
-
Disconnect FRL connector then disconnect MV battery connector
Nota2x connectors, Release locking tab then disconnect FRL connector, Slide eCPA to left then lift lever to release MV battery connector, Early production trucks may have black FRL connector, Release eCPA by pushing down to unlock and slide red locking tab, Wait 2 minutes for electrical circuits to discharge before disconnecting modules
-
Verify operation of multimeter
NotaSet multimeter to DC voltage, Confirm multimeter is properly measuring voltage by testing MV battery, Touch lightly and do not damage terminals
-
Raise vehicle fully
NotaSet to a comfortable working height, Lower to locks, Ensure locks engage on both sides to prevent tilting
-
Remove rear skid plate
Nota6x clips, 3x bolts, 15mm, 42 Nm, 5x bolts, 13mm, 28 Nm, 2x bolts, 10mm, 6 Nm
-
Remove all items from pockets and ensure not wearing metal items
-
Inspect HV insulating gloves
NotaCheck gloves for damage prior to use, Refer to service document TN-15-92-003
-
Put on HV insulating gloves and leather over gloves
-
Verify no HV - Install amp clamp to RDU HV harness
NotaVerify meter is zeroed out before performing measurement, Measure single cable. Verify ammeter is installed in correct direction. If current > 0.5A do not proceed with disconnecting HV connector. In this case, start vehicle electrical isolation again to make sure that all was properly shut down. Escalate for assistance as requiredIf current < 0.5A, Ok to disconnect and check voltage at HV plug on the battery side.Release locking tab and rotate the release lever up to disengage the connector, Release harness clip, Do not force the release lever up, Ensure the alignment tabs on the RDU header are not damagedMake sure to wear PPE (HV gloves, safety glasses) when working on high voltage component, Measure B+ to Ground, B- to Ground, B+ to B-, If voltage is greater than 10V, Pack contactors are not open or welded, Stop work and reach out to Service Engineering
- Remove leather over gloves and HV insulating gloves
-
Install rear skid plate
Nota6x clips, 3x bolts, 15mm, 42 Nm, 5x bolts, 13mm, 28 Nm, 2x bolts, 10mm, 6 Nm, Apply Loctite 222 to mid aero shield bolts and install fasteners
-
Lower vehicle until tires are touching the ground
NotaRaise lift off locks, then hold lock release lever to keep locks free while vehicle is lowered
-
Remove fastener covers from bed floor assembly
Nota14x covers
-
Remove bed floor assembly
Nota10x short bolts, 15mm, 56 Nm, 2x long bolts, 15mm, 46Nm, Lift front edge with trim tool then remove panel, Recommend assistance
-
Remove label to access phase out cover bolts
NotaLabel is one time use, Discard after removal
-
Remove the bolts securing the phase out cover
Nota2x bolts, EP10, 14 Nm
-
Remove RDU phase out cover
NotaIf cover or O-rings are damaged then replace
-
Install phase out cover assembly
NotaIf phase out cover or O-rings are damaged then replace with a new unit
-
Install bolts securing the RDU phase out cover
Nota2x bolts, EP10, 14 Nm
-
Install phase out cover warning label
NotaOne time use, install new label
-
Install bed floor assembly
Nota10x short bolts, 15mm, 56 Nm, 2x long bolts, 15mm, 46Nm, Recommend assistance
-
Install fastener covers onto bed floor assembly
Nota14x covers
-
Connect FRL connector then connect MV battery connector
Nota2x connectors, Connect FRL connector then secure locking tab, Position lever to secure MV battery connector then slide eCPA to right, Early production trucks may have black FRL connector, If power cycling vehicle then ensure at least 60 seconds has passed since powering down
-
Close tailgate
-
Raise LH front window
-
Close LH front door