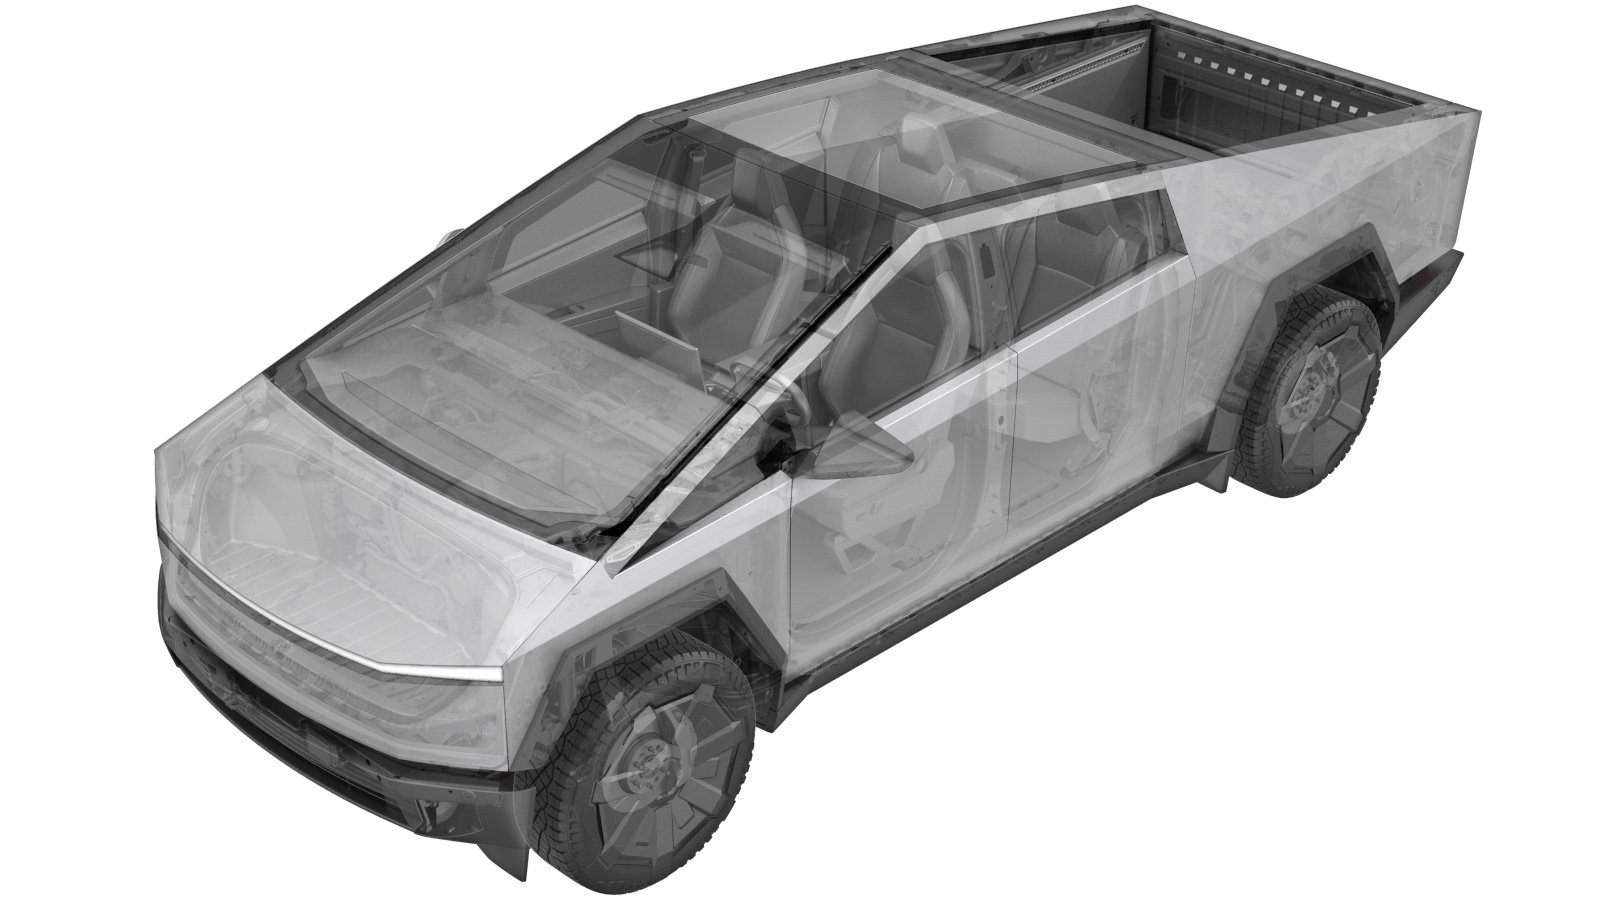
Mud Flap - Front - LH (Remove and Install)
 Código de corrección
12207301
12207302
12207501
12207502
0.06
NOTA: Salvo que se indique lo contrario explícitamente en el procedimiento, el código de corrección anterior y el FRT reflejan todo el trabajo necesario para realizar este procedimiento, incluidos los procedimientos vinculados. No acumule códigos de corrección a menos que se le indique explícitamente que lo haga.
NOTA: Consulte (FRT)Tiempos de tarifa plana para obtener más información sobre los FRT y cómo se crean. Para enviar sus comentarios sobre los valores de FRT, escriba a ServiceManualFeedback@tesla.com.
NOTA: Consulte Protección personal para asegurarse de llevar el EPI adecuado al realizar el siguiente procedimiento.
NOTA: Consulte Precauciones ergonómicas para ver información sobre prácticas de trabajo seguras.
Retirar
- Open the LH front door and lower the LH front window.
-
Turn the steering wheel fully to the left to provide access to the working area.
-
Remove the clips (x2) that attach the LH front mud flap to the LH front wheel arch liner.
NotaRemove the clips starting from right to left.TIpSe recomienda utilizar las siguientes herramientas:
- Herramienta de retirada de clips con palanca
Figura 1. LH shown; RH similar -
Remove the bolts (x2) that attach the LH front mud flap to the LH rocker panel, and then remove the mud flap from the vehicle.
TIpSe recomienda utilizar las siguientes herramientas:
- Extensión de 2 pulg.
- Vaso de 10 mm de cuello largo
- Destornillador de impacto/carraca sin cable
Figura 2. LH shown; RH similar Figura 3. LH shown; RH similar
Instalar
-
Position the LH front mud flap on the vehicle, and then install the bolts (x2) that attach the mud flap to the LH rocker panel.
 1.8 Nm (1.3 lbs-ft)NotaAlign the bolts with the rocker panel holes.TIpSe recomienda utilizar las siguientes herramientas:
- Extensión de 2 pulg.
- Vaso de 10 mm de cuello largo
- Destornillador de impacto/carraca sin cable
- Llave dinamométrica con medición de ángulos
Figura 4. LH shown; RH similar Figura 5. LH shown; RH similar -
Install the clips (x2) that attach the LH front mud flap to the LH front wheel arch liner.
NotaInstall the clips starting from right to left.
Figura 6. LH shown; RH similar - Raise the LH front window and close the LH front door.