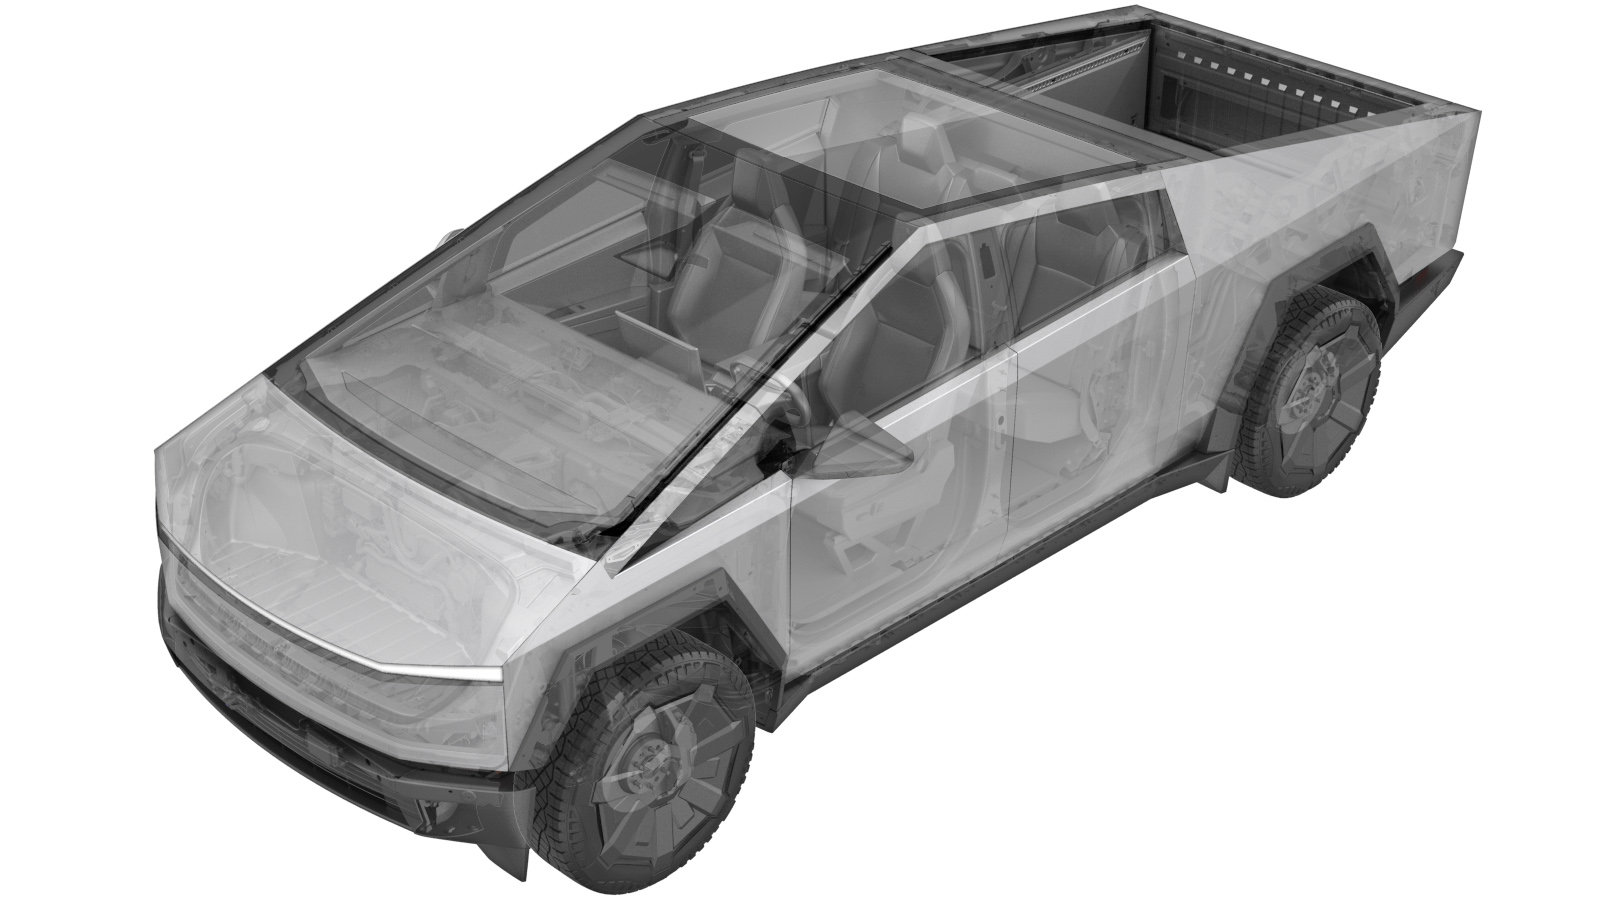
Harness - Seat - 1st Row - RH (Remove and Replace)
 Código de corrección
1710091012
1710091011
0.84
NOTA: Salvo que se indique lo contrario explícitamente en el procedimiento, el código de corrección anterior y el FRT reflejan todo el trabajo necesario para realizar este procedimiento, incluidos los procedimientos vinculados. No acumule códigos de corrección a menos que se le indique explícitamente que lo haga.
NOTA: Consulte (FRT)Tiempos de tarifa plana para obtener más información sobre los FRT y cómo se crean. Para enviar sus comentarios sobre los valores de FRT, escriba a ServiceManualFeedback@tesla.com.
NOTA: Consulte Protección personal para asegurarse de llevar el EPI adecuado al realizar el siguiente procedimiento.
NOTA: Consulte Precauciones ergonómicas para ver información sobre prácticas de trabajo seguras.
- 2025-08-07: Released new procedure.
-
Remove the RH 1st row seat assembly from the vehicle, and then place the seat on a protected surface. See Seat Assembly - 1st Row - RH (Remove and Install).
NotaRecommended assistance. Position so that the underside of the seat is accessible.
- Remove the RH 1st row seat outboard side shield. See Side Shield - Outboard - 1st Row Seat - LH (Remove and Install).
-
Remove RH front seat outboard side shield carrier
Nota2x clips, 2x tabs, Release leading edge of trim and slide away from seat frame
- Remove the RH 1st row seat inboard side shield. See Side Shield - Inboard - 1st Row Seat - LH (Remove and Install).
-
Disconnect RH front seat buckle harness
Nota1x connector
-
Remove RH front seat inboard side shield carrier
Nota2x clips, 1x datums, Release leading edge of trim and slide away from seat frame
-
Release seat back elastic straps from seat frame
Nota2x straps
-
Unzip RH front seatback trim
Nota2x zippers, Pull tails of zippers outside seatback then unzip, Use of a straight pick can aid in moving zipper pulls
-
Fold RH front seat back trim
Nota2x clips, Fold material upward
-
Disconnect RH front seat harness connectors
Nota13x connectors
-
Remove RH front seat harness
Nota15x clips
-
Install RH front seat harness
Nota15x clips
-
Connect RH front seat harness connectors
Nota14x connectors
-
Unfold RH front seat back trim
Nota2x clips,
-
Zip RH front seatback trim
Nota2x zippers, Zip each side of seatback trim then tuck in tails, Use of a straight pick can aid in moving zipper pulls
-
Install seat back elastic straps onto seat frame
Nota2x straps
-
Install the RH 1st row seat inboard side shield carrier
Nota2x clips, 2x tabs, Position leading edge of trim and slide into seat frame
- Install the RH 1st row seat inboard side shield. See Side Shield - Inboard - 1st Row Seat - LH (Remove and Install).
-
Connect RH front seat buckle
Nota1x connector
-
Install RH side shield carrier onto RH front seat
Nota2x clips, 2x tabs, Slide forward onto seat frame aligning clips and tabs
- Install the RH 1st row seat outboard side shield. See Side Shield - Outboard - 1st Row Seat - LH (Remove and Install).
- Install the RH 1st row seat assembly. See Seat Assembly - 1st Row - RH (Remove and Install).