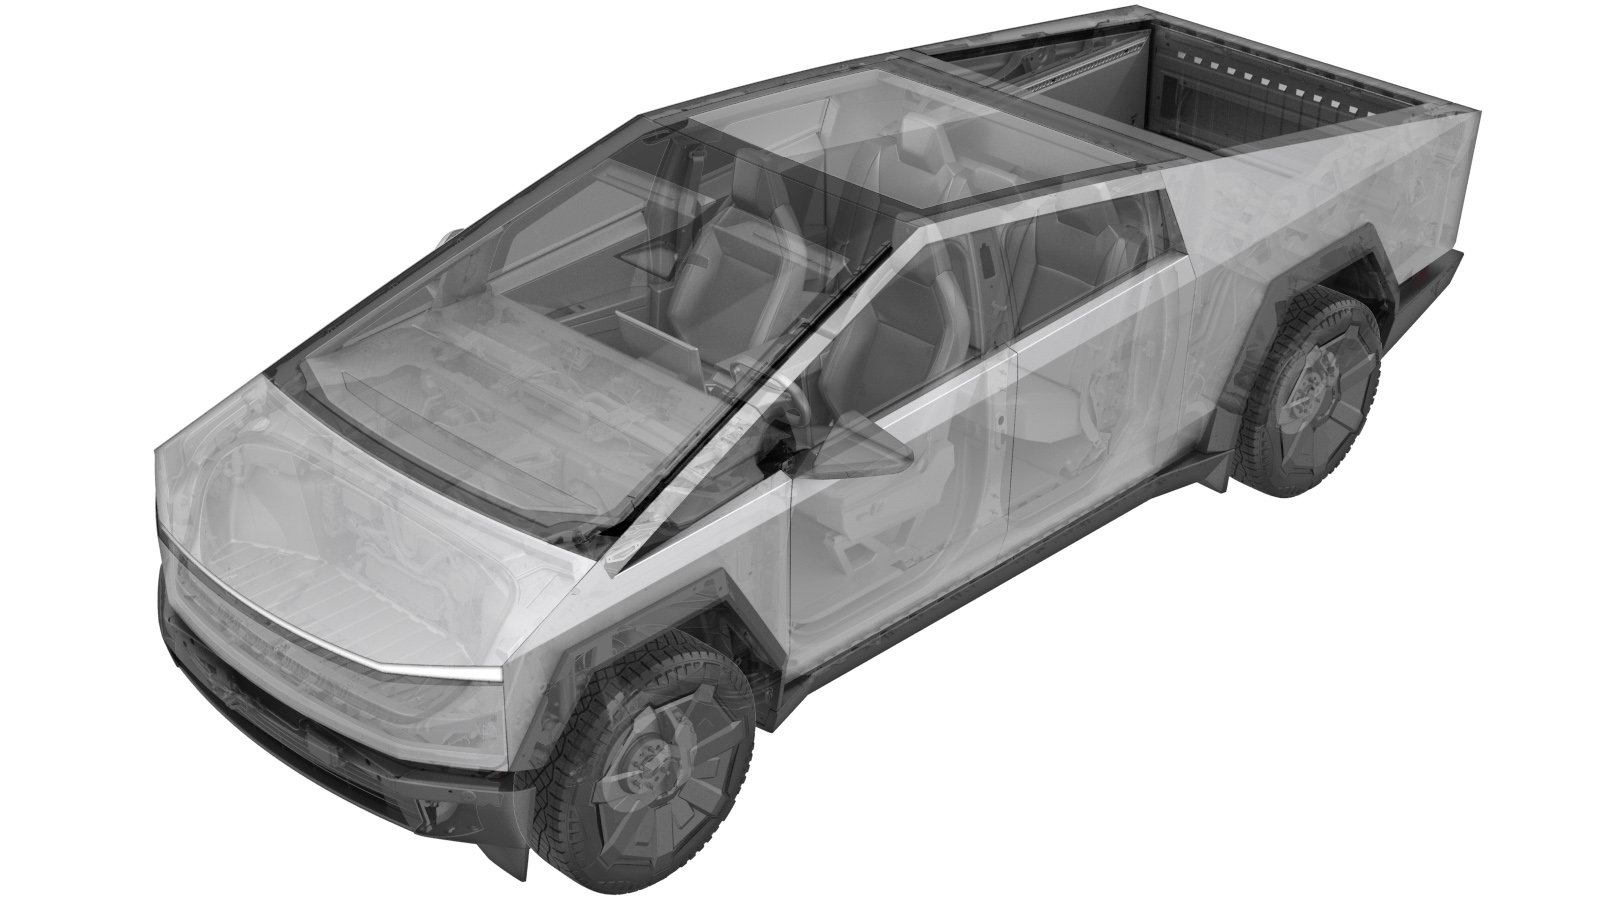
Tie Rod - Outer - Front Steering Gear - LH (Remove and Replace)
 Código de corrección
3201010402
FRT
0.42
NOTA: Salvo que se indique lo contrario explícitamente en el procedimiento, el código de corrección anterior y el FRT reflejan todo el trabajo necesario para realizar este procedimiento, incluidos los procedimientos vinculados. No acumule códigos de corrección a menos que se le indique explícitamente que lo haga.
NOTA: Consulte (FRT)Tiempos de tarifa plana para obtener más información sobre los FRT y cómo se crean. Para enviar sus comentarios sobre los valores de FRT, escriba a ServiceManualFeedback@tesla.com.
NOTA: Consulte Protección personal para asegurarse de llevar el EPI adecuado al realizar el siguiente procedimiento.
NOTA: Consulte Precauciones ergonómicas para ver información sobre prácticas de trabajo seguras.
- 2025-10-06: Noted that the inner tie rod is also serviceable.
- 2025-06-21: Released new procedure.
-
Raise and support vehicle
NotaSet air suspension to "Jack Mode"
-
Open LH front door
NotaPush LH B-pillar door trigger to release
- Lower LH front window
-
Remove LH front wheel cap
Nota1x cap, 8x clips, Use both hands to firmly pull wheel cap to release clips, Cap may remove with or without mounting ring attached
-
Loosen LH front wheel nuts
Nota6x nuts, 21mm, 205 Nm
-
Raise vehicle fully
NotaSet to a comfortable working height, Lower to locks, Ensure locks engage on both sides to prevent tilting
-
Remove rear skid plate
Nota6x clips, 3x bolts, 15mm, 42 Nm, 5x bolts, 13mm, 28 Nm, 2x bolts, 10mm, 6 Nm
-
Lower vehicle partially and set lift onto locks
NotaRaise lift off locks, then hold lock release lever to keep locks free while vehicle is lowered, Set vehicle to comfortable working height
-
Remove LH front wheel
Nota6x nuts, 21mm, 205 Nm
-
Loosen LH outer tie rod end jam nut
Nota1x nut, 24mm, 90 Nm
-
Remove nut securing LH tie rod end to knuckle
Nota1x nut, 21mm, 170 Nm
-
Remove LH tie rod end from knuckle
-
Remove LH outer tie rod end from front steering rack assembly
NotaCount how many turns it takes to fully remove and write this down you will need it when installing the tie rod end again
-
Install LH outer tie rod end onto front steering rack assembly
NotaTurn the outer tie rod end exactly the amount of rotations it took to remove it, This ensures the alignment is as close as possible to where it was originally
-
Position LH tie rod end onto knuckle
-
Install nut securing LH tie rod end to knuckle
Nota1x nut, 21mm, 170 Nm
-
Secure tie rod end jam nut
Nota1x nut, 24mm, 90 Nm
-
Install LH front wheel
Nota6x nuts, 21mm, 205 Nm
-
Raise vehicle fully
NotaSet to a comfortable working height, Lower to locks, Ensure locks engage on both sides to prevent tilting
-
Install rear skid plate
Nota6x clips, 3x bolts, 15mm, 42 Nm, 5x bolts, 13mm, 28 Nm, 2x bolts, 10mm, 6 Nm, Apply Loctite 222 to mid aero shield bolts and install fasteners
-
Lower vehicle until tires are touching the ground
NotaRaise lift off locks, then hold lock release lever to keep locks free while vehicle is lowered
-
Torque LH front wheel nuts
Nota6x nuts, 21mm, 205 Nm, Use star pattern
-
Install LH front wheel cap
Nota1x cap, 8x clips, Partially secure wheel cap to wheel, While partially installed wheel cover can be rotated to align with tire design, When aligned press inward from center of cap then secure all clips to mounting ring
-
Remove vehicle from lift
NotaLower rack arms fully and remove them from under vehicle, Remove air suspension from "Jack Mode"
- Raise LH front window
- Close LH front door
-
Perform test drive
NotaPerform a validation test drive after repairDrive a minimum speed of 25mph, Drive in a straight line and check for excessive pull, Verify the steering wheel is centered when vehicle is driving straight, Determine whether an alignment is recommendedAdd correction code 00040100 as needed