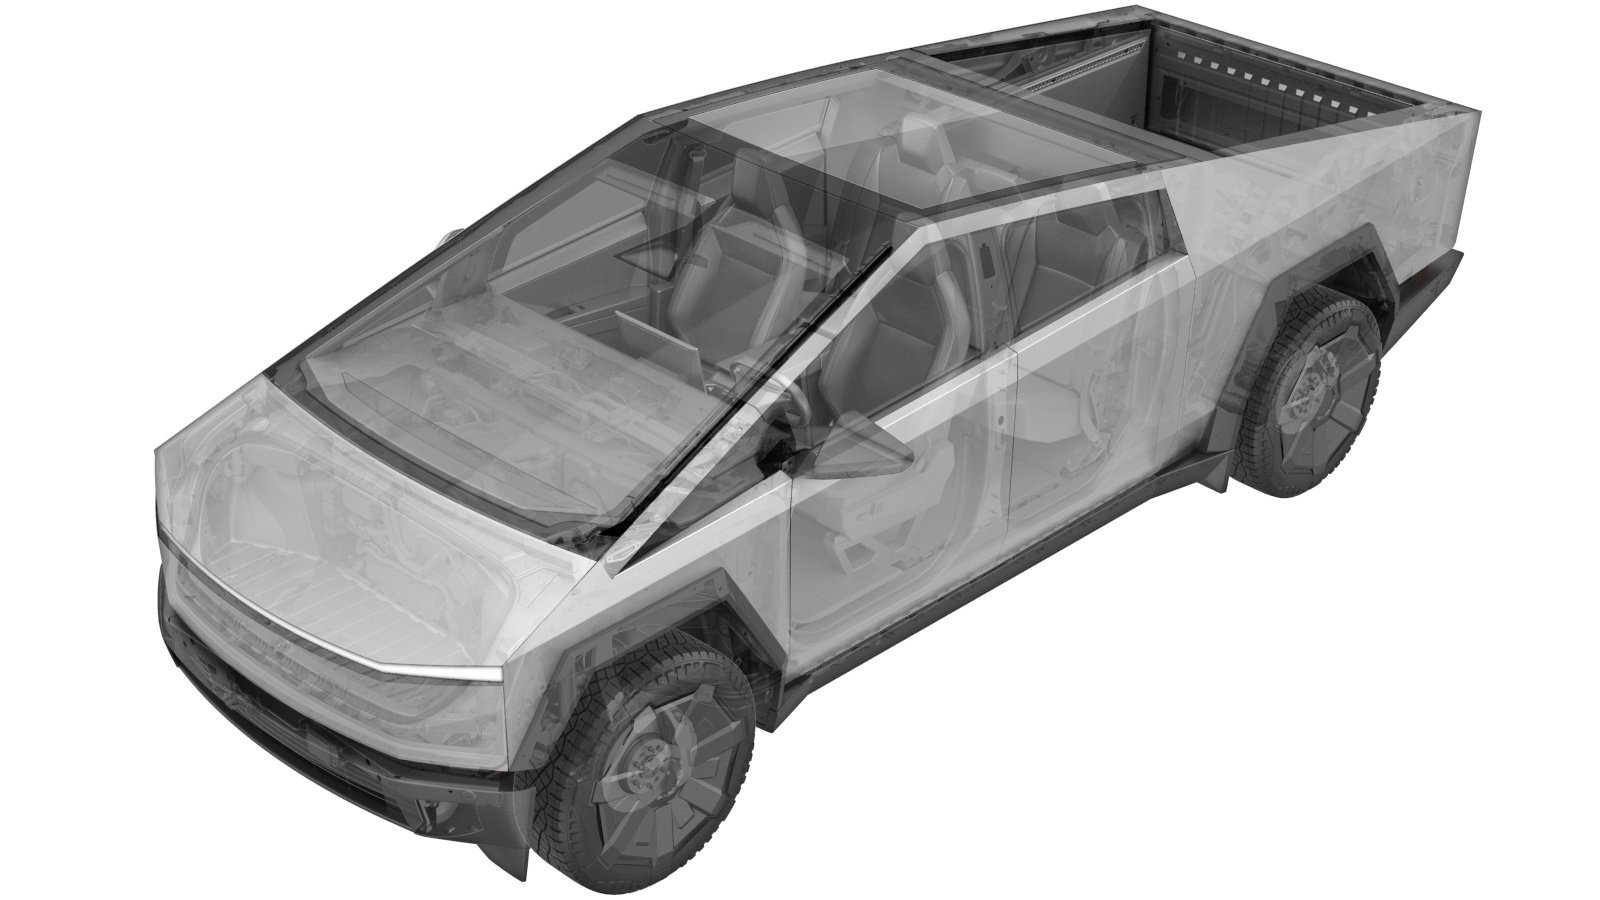
Front Fascia (Remove and Replace)
 Código de corrección
1001046052
FRT
0.84
NOTA: Salvo que se indique lo contrario explícitamente en el procedimiento, el código de corrección anterior y el FRT reflejan todo el trabajo necesario para realizar este procedimiento, incluidos los procedimientos vinculados. No acumule códigos de corrección a menos que se le indique explícitamente que lo haga.
NOTA: Consulte (FRT)Tiempos de tarifa plana para obtener más información sobre los FRT y cómo se crean. Para enviar sus comentarios sobre los valores de FRT, escriba a ServiceManualFeedback@tesla.com.
NOTA: Consulte Protección personal para asegurarse de llevar el EPI adecuado al realizar el siguiente procedimiento.
NOTA: Consulte Precauciones ergonómicas para ver información sobre prácticas de trabajo seguras.
Retirar
- Abra la puerta delantera izquierda y baje la ventanilla.
- En la pantalla táctil, toque para establecer la altura de conducción del vehículo en Muy alta.
- Coloque el vehículo en el Modo de servicio. Consulte Modo de servicio.
- Extraiga el faldón trasero del vano del motor. Consulte Underhood Apron - Rear (Remove and Install).
- Remove the frunk assembly. See Frunk Assembly (Remove and Install).
-
Remove the bolts (x6) and release the
clips (x2) that attach the lower valance to the body.
 6 Nm (4.4 lbs-ft)TIpSe recomienda utilizar las siguientes herramientas:
- Vaso de 10 mm
NotaRelease the covers to expose the bolts. - Remove the LH and RH lower tow eye caps. See Lower Tow Eye Cap - LH - Front Grille (Remove and Replace).
- Remove the front fascia plastic skid plate. See Skid Plate (Remove and Install).
- Remove the center applique assembly. See Front Center Applique Assembly (Remove and Install).
- Remove the front fascia assembly from the vehicle. See Front Fascia (Remove and Install).
- If present, remove the front license plate and license plate bracket. See License Plate Assembly - Front (Remove and Install)
- Remove the heated front fascia camera. See Camera - Forward Facing - Front Fascia (Remove and Install).
- Remove the front lower grille. See Front Lower Grille (Remove and Install).
- Remove the audio speaker super horn. See Speaker - Super Horn (Remove and Install).
- Remove the front fascia harness. See Harness - Fascia - Front (Remove and Install).
-
Remove the screw that attaches the
front fascia camera cleaning nozzle to the vehicle, and then pull the nozzle away from
the vehicle to remove it from the vehicle.
 0.7 Nm (6 lbs-in)TIpSe recomienda utilizar las siguientes herramientas:
- T8 bit
- Remove the LH and RH front fascia fairing. See Front Fascia Fairing Assembly - LH (Remove and Install).
Instalar
- Install the LH and RH front fascia fairing. See Front Fascia Fairing Assembly - LH (Remove and Install).
-
Position the front fascia camera cleaning nozzle into the vehicle, align the tab on
nozzle with the slot in fascia bracket, and then install the screw that attaches the
nozzle to the vehicle.
 0.7 Nm (6 lbs-in)TIpSe recomienda utilizar las siguientes herramientas:
- T8 bit
- Install the front fascia harness. See Harness - Fascia - Front (Remove and Install).
- Install the audio speaker super horn. See Speaker - Super Horn (Remove and Install).
- Install the front lower grille. See Front Lower Grille (Remove and Install).
- Install the heated front fascia camera. See Camera - Forward Facing - Front Fascia (Remove and Install).
- If present, install the front license plate and license plate bracket. See License Plate Assembly - Front (Remove and Install)
- Install the front fascia assembly from the vehicle. See Front Fascia (Remove and Install).
- Install the center applique assembly. See Front Center Applique Assembly (Remove and Install).
- Install the front fascia plastic skid plate. See Skid Plate (Remove and Install).
- Install the LH and RH lower tow eye caps. See Lower Tow Eye Cap - LH - Front Grille (Remove and Replace).
-
Install the bolts (x6) and clips (x2)
that attach the lower valance to the vehicle, and then close the fastener covers.
 6 Nm (4.4 lbs-ft)TIpSe recomienda utilizar las siguientes herramientas:
- Vaso de 10 mm
- Install the frunk assembly. See Frunk Assembly (Remove and Install).
- Coloque el faldón trasero del vano del motor. Consulte Underhood Apron - Rear (Remove and Install).
- Salga del Modo de servicio. Consulte Modo de servicio.
- En la pantalla táctil, toque para establecer la altura de conducción del vehículo en Estándar.
- Suba la ventanilla delantera izquierda y cierre la puerta delantera izquierda.