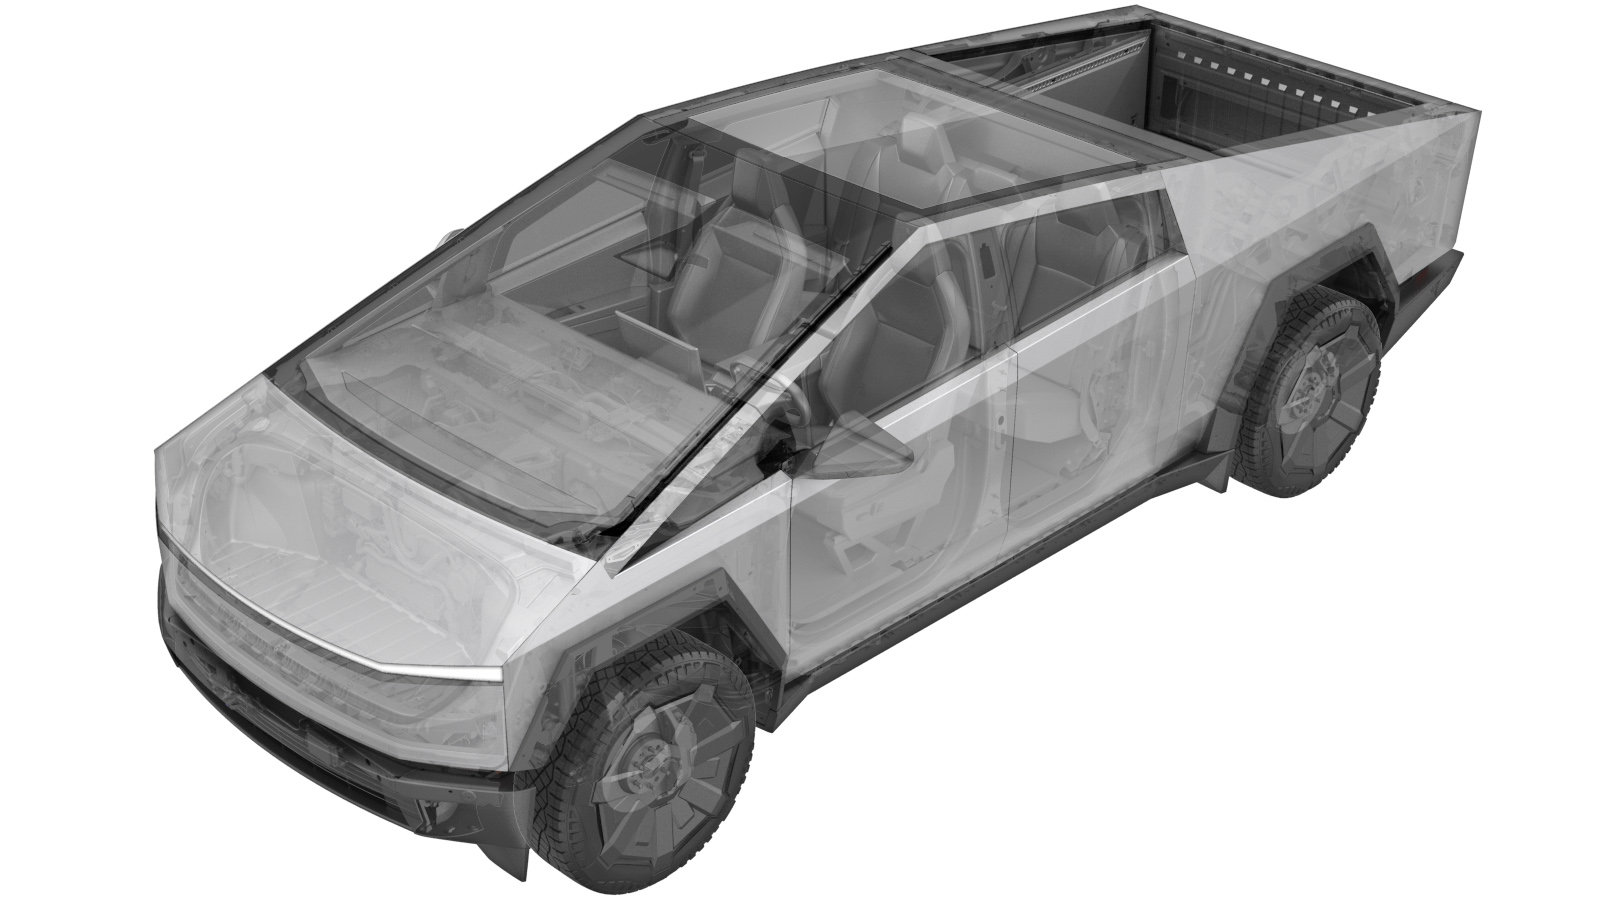
Cooling System - Coolant (Drain and Refill)
 Código de corrección
18300110
NOTA: Salvo que se indique lo contrario explícitamente en el procedimiento, el código de corrección anterior y el FRT reflejan todo el trabajo necesario para realizar este procedimiento, incluidos los procedimientos vinculados. No acumule códigos de corrección a menos que se le indique explícitamente que lo haga.
NOTA: Consulte (FRT)Tiempos de tarifa plana para obtener más información sobre los FRT y cómo se crean. Para enviar sus comentarios sobre los valores de FRT, escriba a ServiceManualFeedback@tesla.com.
NOTA: Consulte Protección personal para asegurarse de llevar el EPI adecuado al realizar el siguiente procedimiento.
NOTA: Consulte Precauciones ergonómicas para ver información sobre prácticas de trabajo seguras.
- Eleve y apoye el vehículo. Consulta Elevación del vehículo - Elevador de 2 columnas.
- Abra la puerta delantera izquierda y baje la ventanilla.
- Ejecutar la rutina ODIN PROC_ICE_X_ENTER-SERVICE-MODEvia Toolbox: (link)
- Desbloquee la puerta de enlace del vehículo. Consulta Puerta de enlace (Desbloquear).
-
Access thermal system routines using the UI
NotaSelect quick controls > Service mode > Diagnostics > Thermal, Authorize routines by holding right turn signal, depressing brake pedal for 10 seconds with key on phone dock
-
Select 'Coolant System' to enter coolant circuit screen, Select 'Coolant Fill/Drain'
using the UI and Thermal Fluid Fill/Drain (Coolant only), Select 'Run'
NotaVerify indicator displays green for Coolant readiness, Thermal Fill Drain routine has a 50 minute time limit
- Extraiga el faldón trasero del vano del motor. Consulta Underhood Apron - Rear (Remove and Install).
- Remove the frunk assembly. See Frunk Assembly (Remove and Install).
-
Inspect the coolant cap to make sure it
is fully tightened before continuing.
- Desconecte la alimentación de media tensión. Consulta Disconnect MV Power (Modify).
- Remove the front aero shield. See Aeroshield - Front (Remove and Install).
-
Position coolant drain container
NotaPosition coolant drain container under front high voltage battery coolant connections
-
Change to "Disconnect HV battery coolant return hose"
Nota1x spring clip
-
Prepare drain and fill tooling
Nota3x adapters, 1x hose, 1x pressure tester
-
Connect flush adapters onto HV battery coolant return hose
Nota2x adapters, Position hose onto empty container
-
Connect enclosure leak tester onto flush adapter
-
Close both valves on the regulator
-
Connect regulator to air supply
-
Turn right side regulator valve to the open position
NotaBy turning the valve knob to a horizontal position, The valve is fully open
-
Set regulator to 5.0 psi
-
Slowly open left side regulator valve and allow coolant to completely drain
NotaAllow about 20L of coolant to drain from vehicle
-
Close valves on regulator once no coolant is draining from HV battery RH front inlet port and hose
-
Disconnect air supply from regulator tool
-
Disconnect flush adapters from HV battery coolant return hose
Nota2x adapters
-
Connect HV battery coolant return hose
Nota1x spring clip
- Install the front aero shield. See Aeroshield - Front (Remove and Install).
- Lower the vehicle until the tires are touching the ground.
-
Perform cooling system vacuum refill. See Sistema de refrigeración (Llenado por vacío).
NotaSkip the steps to run the Start Thermal Fill Drain (Coolant + Refrigerant) on the UI.
- Install the frunk assembly. See Frunk Assembly (Remove and Install).
- Coloque el faldón trasero del vano del motor. Consulta Underhood Apron - Rear (Remove and Install).
- Retire el vehículo del elevador. Consulta Elevación del vehículo - Elevador de 2 columnas.
- Salga del Modo de servicio. Consulta Modo de servicio.
- Suba la ventanilla delantera izquierda y cierre la puerta delantera izquierda.