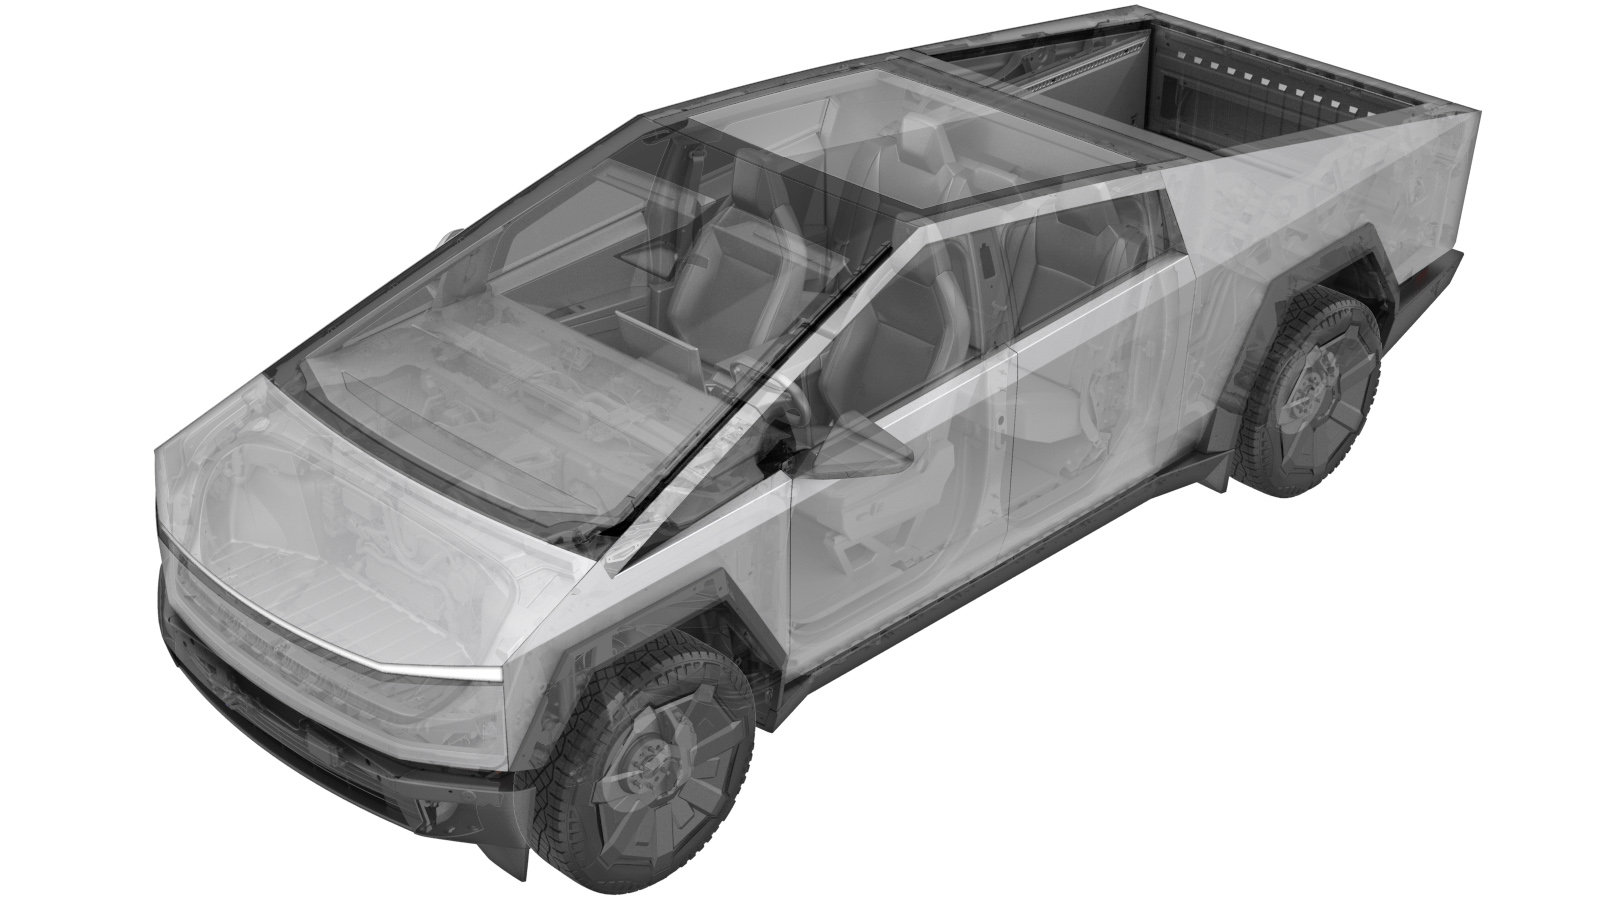
Hose - Supply - Rear Drive Unit (Long Range) (Remove and Install)
 Código de corrección
NEW
NOTA: Salvo que se indique lo contrario explícitamente en el procedimiento, el código de corrección anterior y el FRT reflejan todo el trabajo necesario para realizar este procedimiento, incluidos los procedimientos vinculados. No acumule códigos de corrección a menos que se le indique explícitamente que lo haga.
NOTA: Consulte (FRT)Tiempos de tarifa plana para obtener más información sobre los FRT y cómo se crean. Para enviar sus comentarios sobre los valores de FRT, escriba a ServiceManualFeedback@tesla.com.
NOTA: Consulte Protección personal para asegurarse de llevar el EPI adecuado al realizar el siguiente procedimiento.
NOTA: Consulte Precauciones ergonómicas para ver información sobre prácticas de trabajo seguras.
- 2025-06-21: Released new procedure.
-
Open LH front door
NotaPush LH B-pillar door trigger to release
- Lower LH front window
-
Raise and support vehicle
NotaSet air suspension to "Jack Mode"
- Ejecutar la rutina ODIN PROC_ICE_X_ENTER-SERVICE-MODEvia Toolbox: (link)
-
Unlock vehicle gateway
NotaAfter vehicle has been put into "Service Mode", place keycard on center console to turn on drive rails, hold down the brake pedal, while keep pressing right hand signal button simultaneously for at least 10 seconds, "GTW UNLOCKING" should pop up on the UI right next to the VIN during these 10 seconds, once gateway is unlocked "GTW UNLOCKED 5400" will be displayed on the UI next to the VIN, the gateway will remain unlocked for 90 minutes, follow steps on Toolbox article #5582900 for any additional information
-
Open tailgate
NotaPress button to release
-
Remove fastener covers from bed floor assembly
Nota14x covers
-
Remove bed floor assembly
Nota10x short bolts, 15mm, 56 Nm, 2x long bolts, 15mm, 46Nm, Lift front edge with trim tool then remove panel, Recommend assistance
-
Open powered front trunk
NotaVia exterior switch or UI
-
Remove rear underhood apron
Nota9x clips
-
Disconnect FRL connector then disconnect MV battery connector
Nota2x connectors, Release locking tab then disconnect FRL connector, Slide eCPA to left then lift lever to release MV battery connector, Early production trucks may have black FRL connector, Release eCPA by pushing down to unlock and slide red locking tab, Wait 2 minutes for electrical circuits to discharge before disconnecting modules
-
Raise vehicle fully
NotaSet to a comfortable working height, Lower to locks, Ensure locks engage on both sides to prevent tilting
-
Remove rear skid plate
Nota6x clips, 3x bolts, 15mm, 42 Nm, 5x bolts, 13mm, 28 Nm, 2x bolts, 10mm, 6 Nm
-
Position coolant drain below rear inverter
-
Remove RDU supply hose from exchanger
Nota1x spring clip
-
Lower vehicle until tires are touching the ground
NotaRaise lift off locks, then hold lock release lever to keep locks free while vehicle is lowered
-
Position coolant catcher below rear drive unit
-
Release acoustic cover surrounding RH motor mount
Nota5x clips, if acoustic cover is present on mount, remove and discard
-
Remove RDU supply hose from rear inverter
Nota1x spring clip, Plug both ends after disconnecting
-
Remove RDU supply hose
Nota1x clip
-
Install RDU supply hose
Nota1x clip
-
Install rear inverter coolant supply hose to inverter
Nota1x spring clip, Remove plugs from both ends, Perform push-pull test
- Remove coolant catcher from below vehicle
-
Secure RH side acoustic cover
Nota5x clips, Secure above clips and remaining from below
- Raise vehicle fully
-
Position coolant drain below rear inverter
-
Install RDU supply hose from exchanger
Nota1x spring clip, Perform push-pull test
- Remove coolant drain container from underneath vehicle
-
Install rear skid plate
Nota6x clips, 3x bolts, 15mm, 42 Nm, 5x bolts, 13mm, 28 Nm, 2x bolts, 10mm, 6 Nm, Apply Loctite 222 to mid aero shield bolts and install fasteners
-
Lower vehicle until tires are touching the ground
NotaRaise lift off locks, then hold lock release lever to keep locks free while vehicle is lowered
-
Connect FRL connector then connect MV battery connector
Nota2x connectors, Connect FRL connector then secure locking tab, Position lever to secure MV battery connector then slide eCPA to right, Early production trucks may have black FRL connector, If power cycling vehicle then ensure at least 60 seconds has passed since powering down
-
Ejecutar la rutina ODIN
PROC_EGGRIGHT3_X_THERMAL-FILL-DRAIN-STOPvia Toolbox: (link)via Service Mode:
- Thermal ➜ Actions ➜ Stop Thermal Fill/Drain
- Thermal ➜ Coolant System ➜ Stop Coolant Fill/Drain
- Thermal ➜ Refrigerant System ➜ Stop Refrigerant Fill/Drain
- Drive Inverter ➜ Front Drive Inverter Replacement ➜ Stop Fluid Fill/Drain
- Drive Inverter ➜ Rear Drive Inverter Replacement ➜ Stop Fluid Fill/Drain
- Drive Inverter ➜ Rear Left Drive Inverter Replacement ➜ Stop Fluid Fill/Drain
- Drive Inverter ➜ Rear Right Drive Inverter Replacement ➜ Stop Fluid Fill/Drain
- Drive Unit ➜ Front Drive Unit Replacement ➜ Stop Coolant Fill/Drain
- Drive Unit ➜ Rear Drive Unit Replacement ➜ Stop Coolant Fill/Drain
-
Install bed floor assembly
Nota10x short bolts, 15mm, 56 Nm, 2x long bolts, 15mm, 46Nm, Recommend assistance
-
Install fastener covers onto bed floor assembly
Nota14x covers
- Close tailgate
- Raise LH front window
- Close LH front door