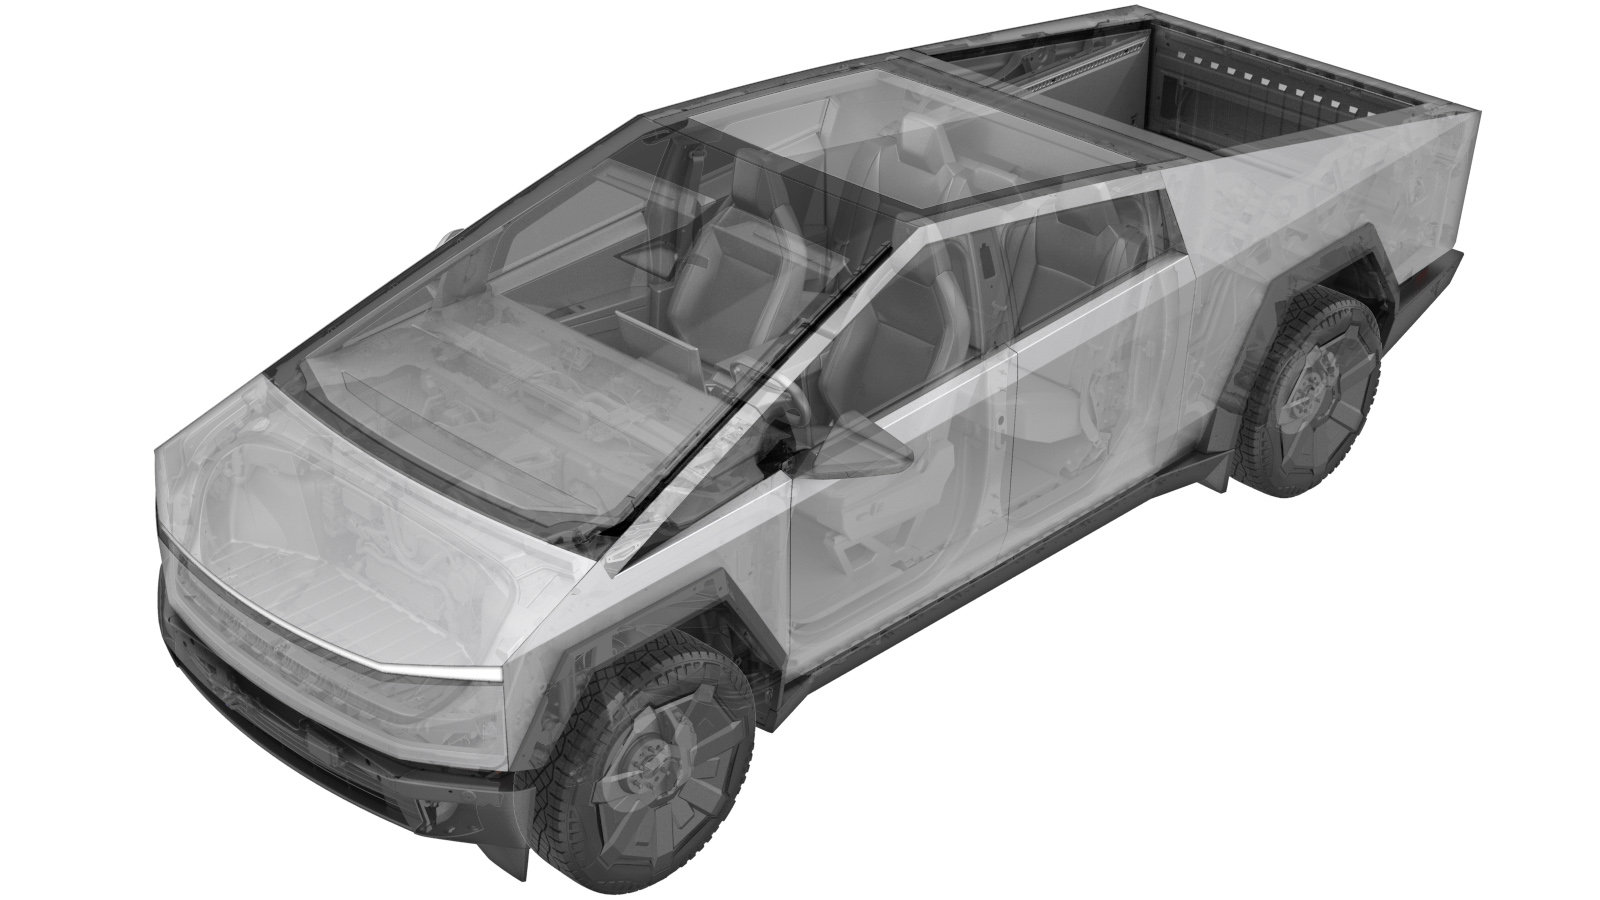
BLE End Point - Wheel Well - Front - LH (Remove and Replace)
 Código de corrección
1745104032
0.18
NOTA: Salvo que se indique lo contrario explícitamente en el procedimiento, el código de corrección anterior y el FRT reflejan todo el trabajo necesario para realizar este procedimiento, incluidos los procedimientos vinculados. No acumule códigos de corrección a menos que se le indique explícitamente que lo haga.
NOTA: Consulte (FRT)Tiempos de tarifa plana para obtener más información sobre los FRT y cómo se crean. Para enviar sus comentarios sobre los valores de FRT, escriba a ServiceManualFeedback@tesla.com.
NOTA: Consulte Protección personal para asegurarse de llevar el EPI adecuado al realizar el siguiente procedimiento.
NOTA: Consulte Precauciones ergonómicas para ver información sobre prácticas de trabajo seguras.
- Close LH front door
-
Open LH front door
NotaPush LH B-pillar door trigger to release
- Lower LH front window
- Ejecutar la rutina ODIN PROC_ICE_X_ENTER-SERVICE-MODEvia Toolbox: (link)
-
Remove LH front fender flare cover
Nota11x clips, 3x datums, 1x connector, Release all clips then repeater connector before removal, Camera harness is very short, Ensure excess force is not exerted on harness
-
Release LH front wheel liner from fore fender flare carrier
Nota4x push clips
-
Remove LH front fore fender flare carrier
Nota6x bolts, 10mm, 6 Nm, 1x connector, Disconnect BLE module then remove carrier, Release locking tab
-
Remove LH front wheel well BLE endpoint
Nota2x bolts, T20, 1.5 Nm, Discard bolts
-
Install LH front wheel well BLE endpoint
Nota2x bolts, T20, 1.5 Nm, Install new bolts
-
Install LH front fore fender flare carrier
Nota6x bolts, 10mm, 6 Nm, 1x connector, Connect BLE then install carrier, Engage locking tab
-
Install clips securing LH front wheel liner to fore fender flare carrier
Nota4x push clips
-
Install LH front fender flare cover
Nota11x clips, 3x datums, 1x connector, Make camera connection before flare installation, Ensure excess force is not exerted on camera harness, Replace any missing or damaged clips
-
Reinstall software via UI
NotaVia Controls > Service Mode > Software Reinstall, Select Reinstall button at Software Reinstall dialogue box, Reinstall will begin immediately, Once firmware redeploy is complete, Verify release notes are present via UI
- Ejecutar la rutina ODIN PROC_ICE_X_EXIT-SERVICE-MODEvia Toolbox: (link)
- Raise LH front window
- Close LH front door