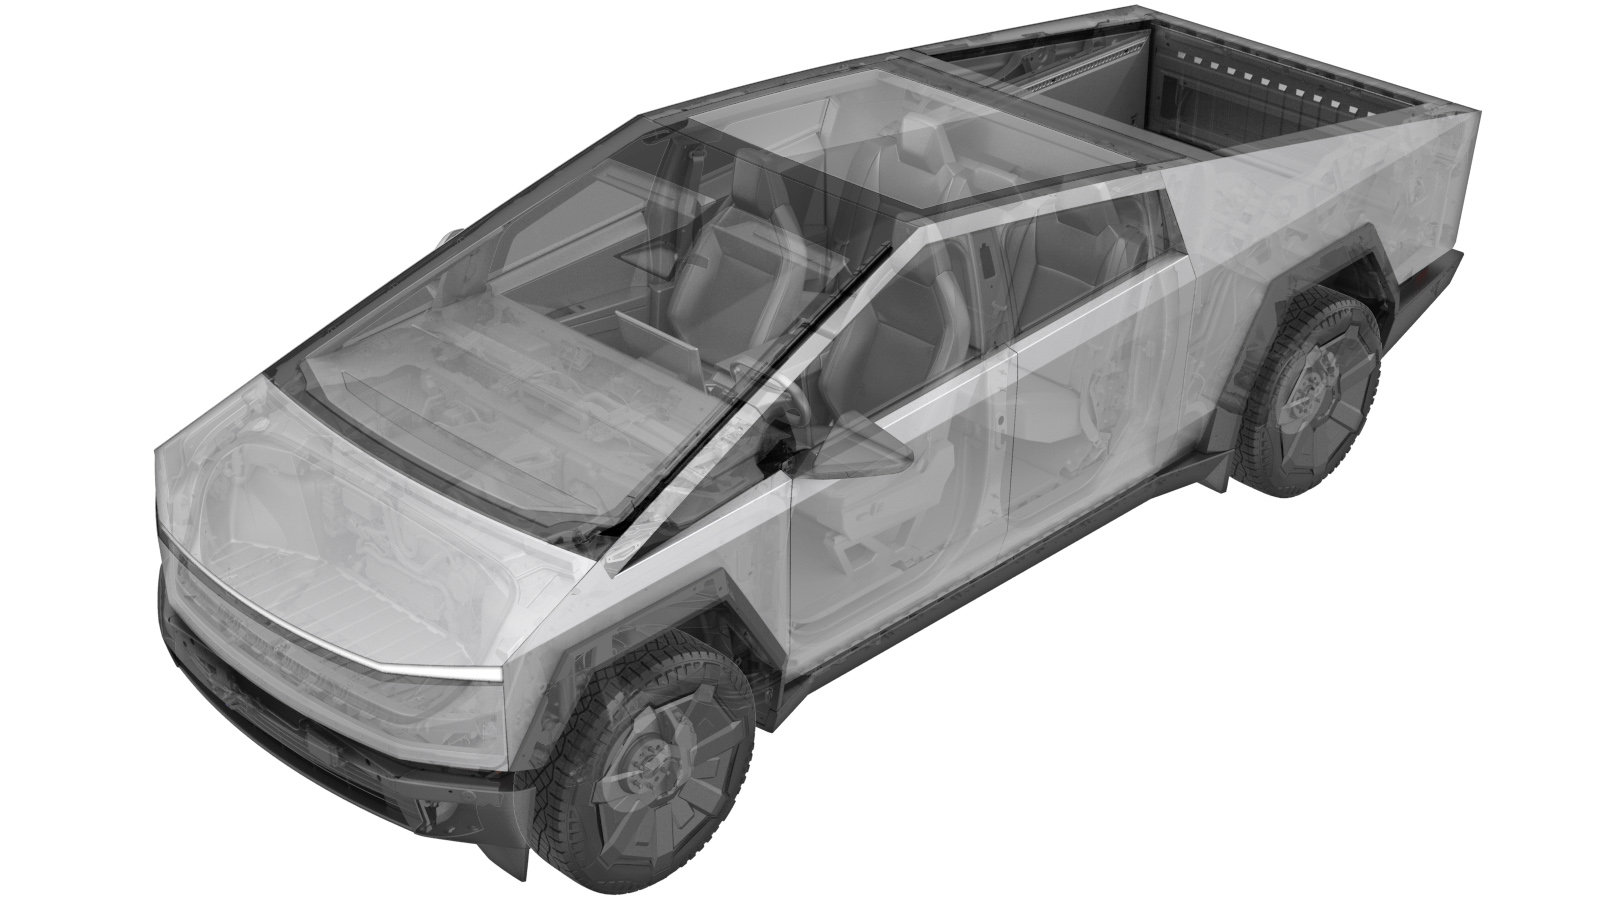
Rocker - Structural - Off Road - LH (Remove and Install)
 Código de corrección
TBD
FRT: 0.6
NOTA: Salvo que se indique lo contrario explícitamente en el procedimiento, el código de corrección anterior y el FRT reflejan todo el trabajo necesario para realizar este procedimiento, incluidos los procedimientos vinculados. No acumule códigos de corrección a menos que se le indique explícitamente que lo haga.
NOTA: Consulte (FRT)Tiempos de tarifa plana para obtener más información sobre los FRT y cómo se crean. Para enviar sus comentarios sobre los valores de FRT, escriba a ServiceManualFeedback@tesla.com.
NOTA: Consulte Protección personal para asegurarse de llevar el EPI adecuado al realizar el siguiente procedimiento.
NOTA: Consulte Precauciones ergonómicas para ver información sobre prácticas de trabajo seguras.
- 2025-08-21: Released new procedure.
-
Open LH front door
NotaPush LH B-pillar door trigger to release
-
Lower LH front window
-
Set air suspension ride height to “High”
NotaVia UI > Controls > Ride Height > High
-
Place air suspension into "Jack Mode"
NotaControls > Service > Jack Mode
-
Partially release aft section of LH front fender flare cover
Nota11x clips, 3x datum, 1x connector total, Release as needed for clearance, Full removal not required
-
Remove clip securing LH front wheel liner to rocker cover
Nota1x clip
-
Partially release fore section of LH rear fender flare cover
Nota13x clips, 3x datums total, Release as needed for clearance, Full removal not required
-
Remove clip securing LH rocker cover to rear wheel liner
Nota1x clip
-
Remove LH rocker trim panel
Nota2x bolts, 10mm, 4 Nm, 14x clips, Release working at three points along length
-
Remove LH rocker carrier
Nota5x bolts, 10mm, 13Nm, 13 clips, 1x datum, Release working at three points along length
-
Remove fasteners securing LH structural rocker to door ring
Nota2x bolts, 10mm, 14Nm, Recommend assistance, Support rocker with floor jack during fastener removal, Use two floor jacks if assistance unavailable, Place rag on floor jack to protect paint
-
Remove fasteners securing LH structural rocker to u-nuts
Nota12x bolts, EP10, 13Nm, Avoid moving u-nuts from center during this step
-
Remove LH structural rocker
Nota4x bolts, 13mm, 28 Nm, 1x bolt, 15mm, 28 Nm, Recommend assistance, Lower floor jack to remove LH structural rocker
-
Position LH structural rocker
Nota2x bolts, 10mm, 14 Nm, Recommend assistance, Use two floor jacks if assistance unavailable, Use rag to protect paint, Position rocker onto lower door ring then tighten bolts at front and rear of rocker, Hand tighten only
-
Install underbody fasteners securing LH structural rocker
Nota4x bolts, 13mm, 28 Nm, 1x bolt, 15mm, 28 Nm, Install bolts by hand until flush with rocker, Do not tighten, Position floor jack as required to allow bolts to get good thread engagement, Forward most bolt is longer with a 15mm head, Do not install longer bolt in incorrect position
-
Install fasteners securing LH structural rocker
Nota12x bolts, EP10, 13Nm, Install bolts hand tight only, Torque at a later step, Use floor jack as required to raise or lower structural rocker to achieve alignment with u-nuts, Avoid moving u-nuts from center during this step
-
Torque fasteners securing LH structural rocker
Nota12x bolts, EP10, 13Nm, 4x bolts, 13mm, 28Nm, 1x bolt, 15mm, 28mm 2x bolts, 10mm, 14Nm, Torque underbody fasteners before torquing body side fasteners
-
Install LH rocker carrier
Nota5x bolts, 10mm, 13Nm, 13 clips, 1x datum, Position rocker carrier to structural rocker then engage clips along length, Ensure carrier is fully seated then install fasteners securing carrier
-
Install LH rocker trim panel
Nota2x bolts, 10mm, 4 Nm, 14x clips, Ensure trim panel is fully seated along length of rocker
-
Secure fore section of LH rear fender flare cover
Nota13x clips, 3x datums total, Replace any missing or damaged clips
-
Install clip securing LH front wheel liner to rocker cover
Nota1x clip
-
Secure aft section of LH front fender flare cover
Nota11x clips, 3x datum, 1x connector total, Replace any missing or damaged clips
-
Install clip securing LH rear wheel liner to rocker cover
Nota1x clip
-
Remove air suspension from "Jack Mode" and set to "Medium"
NotaVia UI > Controls > Service > Jack Mode, Via UI > Controls > Ride Height > Medium
-
Raise LH front window
-
Close LH front door