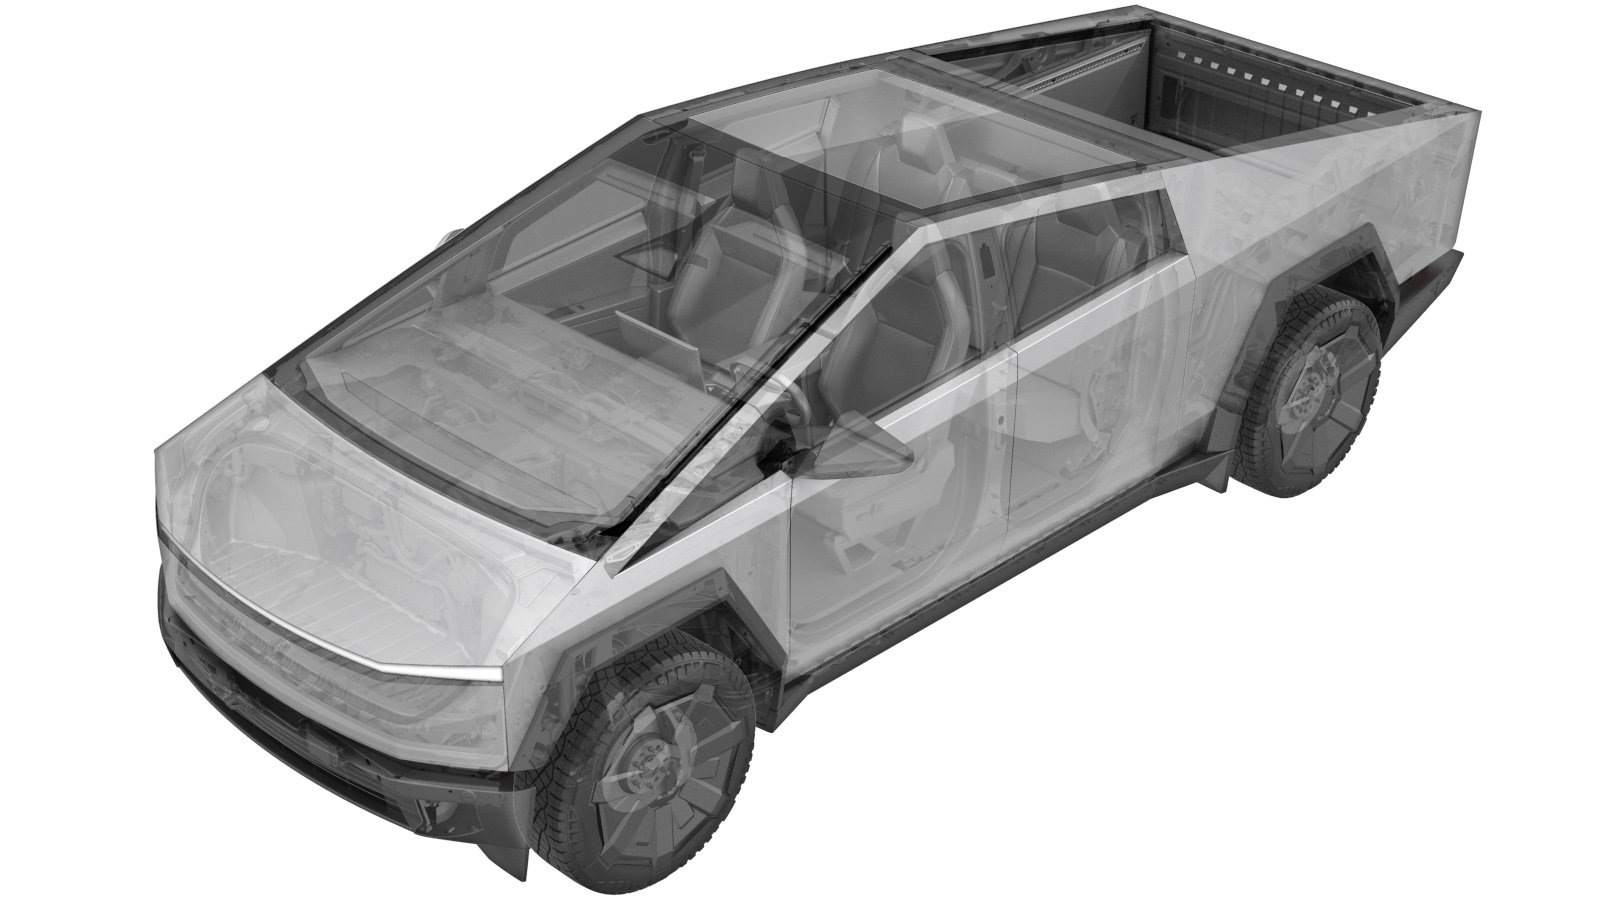
Rear Fascia (Remove and Replace)
 Código de corrección
1001089052
0.90
NOTA: Salvo que se indique lo contrario explícitamente en el procedimiento, el código de corrección anterior y el FRT reflejan todo el trabajo necesario para realizar este procedimiento, incluidos los procedimientos vinculados. No acumule códigos de corrección a menos que se le indique explícitamente que lo haga.
NOTA: Consulte (FRT)Tiempos de tarifa plana para obtener más información sobre los FRT y cómo se crean. Para enviar sus comentarios sobre los valores de FRT, escriba a ServiceManualFeedback@tesla.com.
NOTA: Consulte Protección personal para asegurarse de llevar el EPI adecuado al realizar el siguiente procedimiento.
NOTA: Consulte Precauciones ergonómicas para ver información sobre prácticas de trabajo seguras.
Código de corrección
1001089052
0.90
NOTA: Salvo que se indique lo contrario explícitamente en el procedimiento, el código de corrección anterior y el FRT reflejan todo el trabajo necesario para realizar este procedimiento, incluidos los procedimientos vinculados. No acumule códigos de corrección a menos que se le indique explícitamente que lo haga.
NOTA: Consulte (FRT)Tiempos de tarifa plana para obtener más información sobre los FRT y cómo se crean. Para enviar sus comentarios sobre los valores de FRT, escriba a ServiceManualFeedback@tesla.com.
NOTA: Consulte Protección personal para asegurarse de llevar el EPI adecuado al realizar el siguiente procedimiento.
NOTA: Consulte Precauciones ergonómicas para ver información sobre prácticas de trabajo seguras.
Retirar
- Remove the rear fascia assembly. See Rear Fascia (Remove and Install).
- Remove the rear diffuser. See Diffuser - Rear (Remove and Install).
- Remove the rear fascia harness. See Harness - Fascia - Rear (Remove and Replace).
-
Release the clips (x2) that attach the
LH rear reflector to the rear fascia assembly, disconnect the electrical connector, and
then remove the LH rear reflector from the assembly. Repeat this step for the RH rear
reflector.
Figura 1. LH shown; RH similar -
Remove the bolts (x3) that attach the
LH reverse light to the rear fascia assembly, disconnect the reverse light electrical
connector, and then remove the light from the assembly. Repeat this step for the RH
reverse light.
 5 Nm (3.7 lbs-ft)TIpSe recomienda utilizar las siguientes herramientas:
- Vaso Torx T20
Figura 2. LH shown; RH similar Figura 3. LH shown; RH similar - Remove the trailer hitch cover. See Trailer Hitch Cover (Remove and Install).
Instalar
- Place the rear fascia on a stable work stand.
- Install the trailer hitch cover. See Trailer Hitch Cover (Remove and Install).
-
Position the LH reverse light into the rear fascia assembly, connect the electrical
connector, and then install the bolts (x3) that attach the light to the assembly. Repeat
this step for the RH reverse light.5 Nm (3.7 lbs-ft)TIpSe recomienda utilizar las siguientes herramientas:
- Vaso Torx T20
Figura 4. LH shown; RH similar Figura 5. LH shown; RH similar -
Position the LH rear reflector onto the rear fascia assembly, connect the electrical
connector, and then secure the clips (x2) that attach the LH rear reflector to the
assembly. Repeat this step for the RH rear reflector.
Figura 6. LH shown; RH similar - Install the rear fascia harness. See Harness - Fascia - Rear (Remove and Replace).
- Install the rear diffuser. See Diffuser - Rear (Remove and Install).
- Install the rear fascia assembly. See Rear Fascia (Remove and Install).