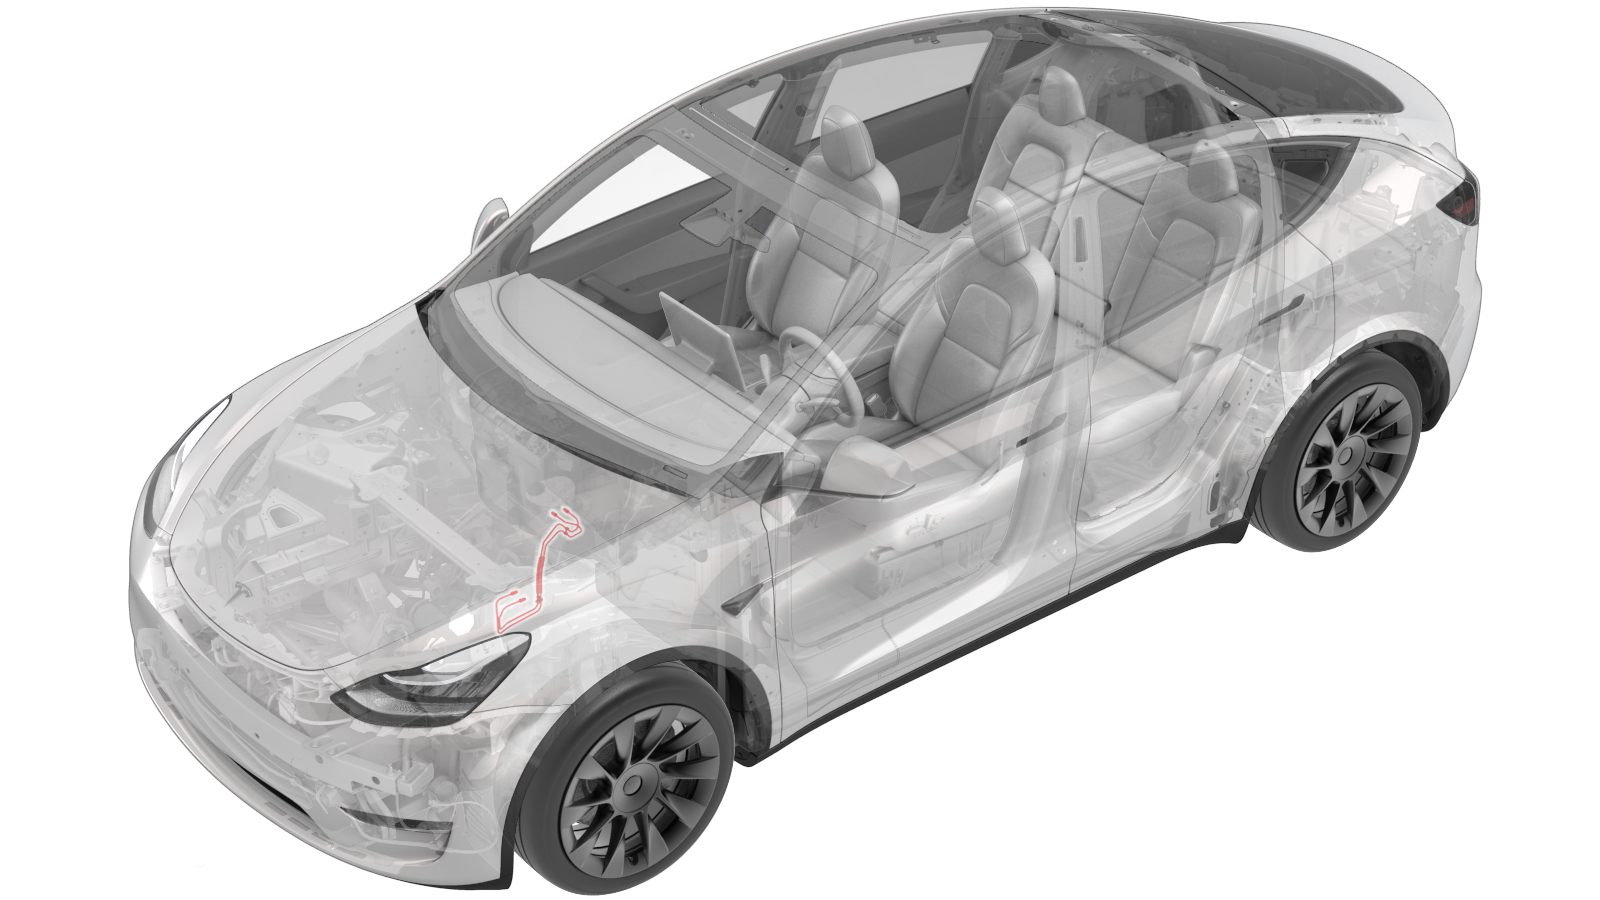
Latiguillos de freno - Cilindro principal a ABS (Paquete estructural) (LHD) (Desinstalación y sustitución)
 Código de corrección
33034012 1.56
NOTA: Salvo que se indique lo contrario explícitamente en el procedimiento, el código de corrección anterior y el FRT reflejan todo el trabajo necesario para realizar este procedimiento, incluidos los procedimientos vinculados. No acumule códigos de corrección a menos que se le indique explícitamente que lo haga.
NOTA: Consulte Tiempos de tarifa plana (FRT) para obtener más información sobre los FRT y cómo se crean. Para enviar sus comentarios sobre los valores de FRT, escriba a ServiceManualFeedback@tesla.com.
NOTA: Consulte Protección personal para asegurarse de llevar el EPI adecuado al realizar el siguiente procedimiento. Consulte Precauciones ergonómicas para ver prácticas de trabajo seguras.
Retirar
- Open the LH front door and lower the LH front window.
- Remove the rear underhood apron. See Faldón del vano del motor - Parte trasera (Desinstalación y sustitución).
- Remove the underhood storage unit. See Unidad de almacenamiento del vano del motor (Desinstalación y sustitución).
- Disconnect 12V power. See Alimentación de 12 V/baja tensión (Desconexión y conexión).
- Remove the 12V battery. See Batería de 12 V/baja tensión (Desinstalación y sustitución).
- Remove front aero shield. See Panel - Deflector aerodinámico - Delantero (Paquete estructural) (Desinstalación y sustitución).
- Disconnect the electrical connector from the ABS unit.
- Position the oil drain under the ABS unit.
-
Loosen the nut that attaches the
master cylinder secondary brake line to the ABS unit.
 16 Nm (11.8 lbs-ft)
 -
Loosen the nut that attaches the primary cylinder secondary brake line to the ABS
unit.
 16 Nm (11.8 lbs-ft)
 - Place an absorbent material beneath the brake booster and reservoir area.
- Using a brake fluid syringe, remove the brake fluid from the reservoir.
-
Loosen the nut that attaches the secondary brake line to the master cylinder, and
then remove the secondary brake line.
 16 Nm (11.8 lbs-ft)
 -
Loosen the nut that attaches the
primary brake line to the master cylinder, and then remove the primary brake line.
 16 Nm (11.8 lbs-ft)
 -
Release the primary and secondary
brake lines from the brake line bundle clip.
-
Loosen the harness clip that attaches
the master cylinder brake lines to the rear of the hydraulic control unit bracket.
-
Route the master cylinder brake lines
towards the front controller, and then remove the master cylinder brake line bundle from
the vehicle.
Instalar
- Place the master cylinder brake line bundle into position for installation
-
Install the secondary brake line to the master cylinder, and then fasten the nut that
attaches the secondary brake line.
 16 Nm (11.8 lbs-ft)
 -
Install the primary brake line to the master cylinder, and then fasten the nut that
attaches the primary brake line.
 16 Nm (11.8 lbs-ft)
 - Remove the absorbent material from underneath the brake booster and brake fluid reservoir area.
-
Install the harness clip that attaches the master cylinder brake lines to the rear of
the hydraulic control unit bracket.
-
Attach the primary and secondary brake lines to the brake line bundle clip.
-
Fasten the nut that attaches the master cylinder secondary brake line to the ABS
unit.
 16 Nm (11.8 lbs-ft)
 -
Fasten the nut that attaches the primary cylinder secondary brake line to the ABS
unit.
 16 Nm (11.8 lbs-ft)
 - Clean the ABS unit surface of residual brake fluid.
- Remove the oil drain container from underneath vehicle
- Reconnect 12V power. See Alimentación de 12 V/baja tensión (Desconexión y conexión).
- Bleed the brakes. See Purga/limpieza del líquido de frenos
- Install the front aero shield. See Panel - Deflector aerodinámico - Delantero (Paquete estructural) (Desinstalación y sustitución).
- Install the HEPA filter. See Conjunto - Filtro - HEPA (Desinstalación y sustitución).
- Install the underhood storage unit. See Unidad de almacenamiento del vano del motor (Desinstalación y sustitución).
- Install the rear underhood apron. See Faldón del vano del motor - Parte trasera (Desinstalación y sustitución).
-
Perform a test drive.
NotaPer current FRT (00040100) 0.3 hrs, If alignment was adjusted verify tracking, If DAS components were adjusted verify operation, If brakes were serviced perform burnishing