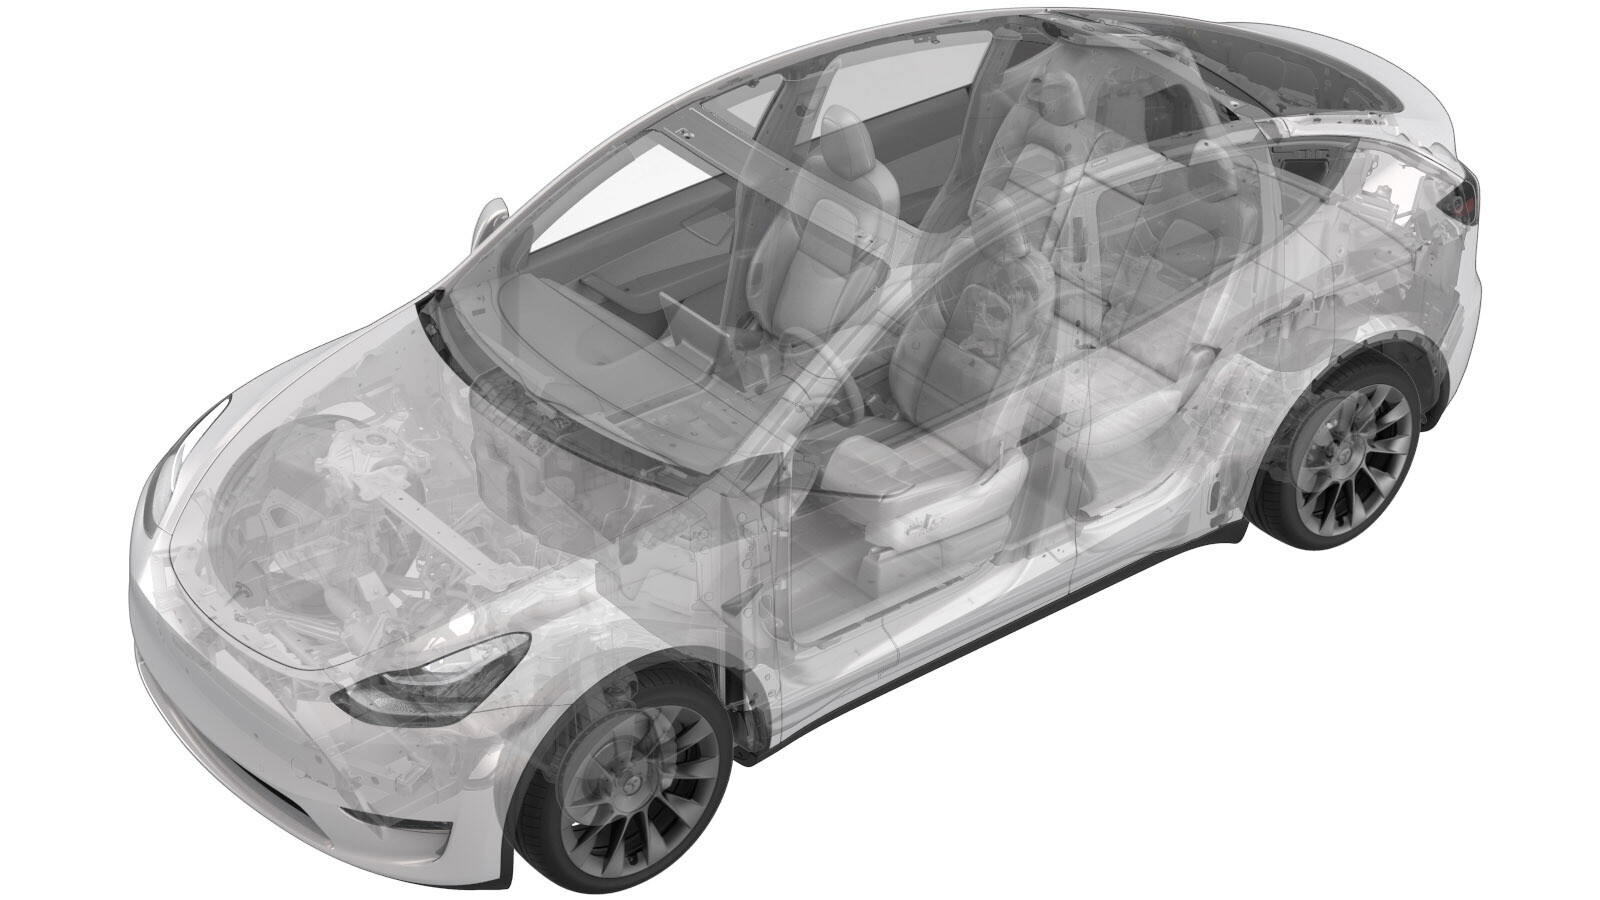
Barra colectora - Entrada - Negativa - Carga rápida - Batería de alta tensión (Paquete estructural) (Desinstalación y sustitución)
 Código de corrección
16307402 1.92
NOTA: Salvo que se indique lo contrario explícitamente en el procedimiento, el código de corrección anterior y el FRT reflejan todo el trabajo necesario para realizar este procedimiento, incluidos los procedimientos vinculados. No acumule códigos de corrección a menos que se le indique explícitamente que lo haga.
NOTA: Consulte Tiempos de tarifa plana (FRT) para obtener más información sobre los FRT y cómo se crean. Para enviar sus comentarios sobre los valores de FRT, escriba a ServiceManualFeedback@tesla.com.
NOTA: Consulte Protección personal para asegurarse de llevar el EPI adecuado al realizar el siguiente procedimiento. Consulte Precauciones ergonómicas para ver prácticas de trabajo seguras.
Retirar
- Open all the doors and lower all the windows.
- Place the vehicle into Service Mode. See Modo de servicio.
- Remove the ancillary bay cover. See Cubierta - Compartimento auxiliar (Paquete estructural) (Desinstalación y sustitución).
- Retire el dispositivo pirotécnico de desconexión de la batería. Consulte Dispositivo pirotécnico de desconexión de la batería (Paquete estructural) (desinstalación y sustitución).
-
Release the clip that attaches the DC
fast charge HVIL connector to the tray.
-
Release the connector lock, and then
disconnect the ancillary bay harness from the HV connector harness.
-
Slide the DC fast charge HV connector
straight up to remove it from the assembly.
-
Disconnect the shunt assembly
connector.
-
Release the clip that attaches the
shunt harness branch to the tray.
-
Disconnect the fast charge contactor
connector.
NotaPush on both side of connector to release the tabs, and then pull upward to disconnect.
-
Remove and discard the bolt that
attaches the AC filter harness to the negative DC inlet busbar.
TIpSe recomienda utilizar las siguientes herramientas:
- Vaso de 13 mm
-
Remove and discard the bolt that
attaches the AC filter harness to the positive DC inlet busbar.
TIpSe recomienda utilizar las siguientes herramientas:
- Vaso de 13 mm
-
Release the clips (x2) that attach the
AC filter harness to the tray.
-
Release the securing tabs (x3), and
then remove the FC contactor cover.
-
Lift the HV battery fast charge
negative inlet busbar to remove it from the tray assembly.
Instalar
-
Install the HV battery fast charge
negative inlet busbar into the vehicle.
-
Position the FC contactor cover into
the vehicle, and then secure the tabs (x3) that secure the cover to the vehicle.
-
Install the DC fast charge HV
connector.
PRECAUCIÓNBe careful not to pinch the harness.
-
Secure the DC fast charge HVIL
connector to the tray.
-
Connect the ancillary bay harness to the
HV connector harness, and then engage the connector lock.
-
Install a new bolt that attaches the
AC filter harness to the positive DC inlet busbar.
 15 Nm (11.1 lbs-ft) -180 degrees
 5 Nm (3.7 lbs-ft) +60 degreesNotaTighten the bolt to 15 Nm, back off 180 degrees, then torque to 5 Nm +60 degrees.TIpSe recomienda utilizar las siguientes herramientas:
- Vaso de 13 mm
-
Install a new bolt that attaches the
AC filter harness to the negative DC inlet busbar.
 15 Nm (11.1 lbs-ft) -180 degrees
 5 Nm (3.7 lbs-ft) +60 degreesNotaTighten the bolt to 15 Nm, back off 180 degrees, then torque to 5 Nm +60 degrees.TIpSe recomienda utilizar las siguientes herramientas:
- Vaso de 13 mm
-
Use a Hioki resistance meter to
measure the resistance at the HV joint between the AC filter harness and the positive DC
inlet busbar.
NotaThe resistance should be 150µΩ or less.
-
Use a Hioki resistance meter to
measure the resistance at the HV joint between the AC filter harness and the negative DC
inlet busbar.
NotaThe resistance should be 150µΩ or less.
-
Connect the fast charge contactor
connector.
- Mida la tensión en los puntos de montaje del dispositivo pirotécnico de desconexión de la batería y, a continuación, instale el dispositivo pirotécnico de desconexión de la batería. Consulte Dispositivo pirotécnico de desconexión de la batería (Paquete estructural) (desinstalación y sustitución).
- Install the ancillary bay cover. See Cubierta - Compartimento auxiliar (Paquete estructural) (Desinstalación y sustitución).
- Exit Service Mode. See Modo de servicio.
- Remove the vehicle from the lift. See Elevación del vehículo - Elevador de 2 columnas.
- Raise all the windows and close all the doors.