Moqueta - Delantera - Lado derecho (Paquete estructural) (Desinstalación y sustitución)
 Código de corrección
15301122 0.30
NOTA: Salvo que se indique lo contrario explícitamente en el procedimiento, el código de corrección anterior y el FRT reflejan todo el trabajo necesario para realizar este procedimiento, incluidos los procedimientos vinculados. No acumule códigos de corrección a menos que se le indique explícitamente que lo haga.
NOTA: Consulte Tiempos de tarifa plana (FRT) para obtener más información sobre los FRT y cómo se crean. Para enviar sus comentarios sobre los valores de FRT, escriba a ServiceManualFeedback@tesla.com.
NOTA: Consulte Protección personal para asegurarse de llevar el EPI adecuado al realizar el siguiente procedimiento. Consulte Precauciones ergonómicas para ver prácticas de trabajo seguras.
Retirar
- Remove the RH mid A-pillar trim. See Guarnecido - Pilar A - Central - Lado izquierdo (Desinstalación y sustitución).
- Remove the RH lower A-pillar trim. See Guarnecido - Pilar A - Inferior - Lado izquierdo (Desinstalación y sustitución).
- Remove the RH center console side panel. See Panel lateral - Consola central - Lado izquierdo (Desinstalación y sustitución).
- Remove the passenger footwell cover. See Cubierta - Zona de los pies - Pasajero delantero (LHD) (Desinstalación y sustitución).
- Move the RH front seat fully forward.
-
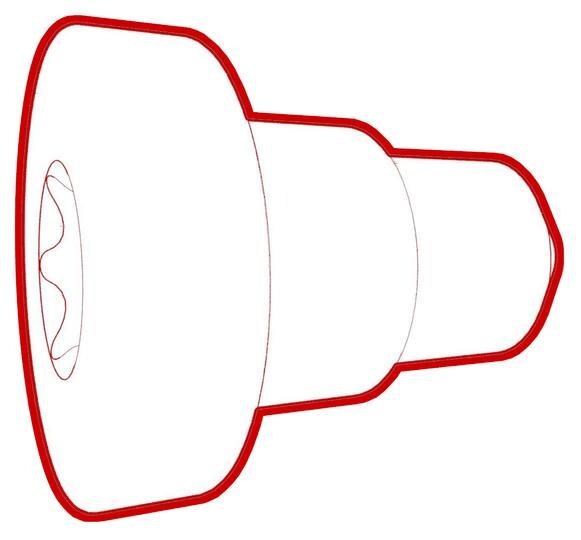
Remove and discard the bolts (x2) that
attach the rear of the 1st row RH seat to the body.
PRECAUCIÓNUse only the Torx Plus T45 bit to remove the seat bolts.NotaSe recomienda utilizar las siguientes herramientas:
- Vaso Torx Plus T45
- Carraca estándar de cabezal flexible de 3/8 pulg.
- Llave dinamométrica de cabezal flexible de 3/8 pulg. (solo instalación)
Figura 1. LH shown; RH similar - Move the RH front seat fully rearward.
-
Remove and discard the bolts (x2) that
attach the front of the 1st row RH seat to the body.
PRECAUCIÓNUse only the Torx Plus T45 bit to remove the seat bolts.NotaSe recomienda utilizar las siguientes herramientas:
- Vaso Torx Plus T45
- Carraca estándar de cabezal flexible de 3/8 pulg.
- Llave dinamométrica de cabezal flexible de 3/8 pulg. (solo instalación)
-
Position the RH front seat up and
carefully tilt the seat backwards.
-
Release the clips (x2) that attach the
RH front carpet to the cabin support.
-
Release the clips (x4) that attach the
RH front carpet underneath the RH front seat.
Figura 2. Seat removed for clarity -
Release the seat harness clip and
harness, release all edges, and then remove the RH front carpet from the vehicle.
NotaTake note of the short edge under the center console.
Instalar
-
Position the RH front carpet into the vehicle, and then secure the seat harness clip
and harness and all edges.
NotaTuck the short edge underneath the center console.
-
Install the clips (x4) that attach the RH front carpet underneath the RH front
seat.
Figura 3. Seat removed for clarity -
Install the clips (x2) that attach the RH front carpet to the cabin support.
-
Carefully position the RH front seat down.
-
Coloque los pernos nuevos (2 uds.) que fijan la parte delantera del asiento derecho de la 1.ª fila a la carrocería.
 33.5 Nm (24.7 lbs-ft)PRECAUCIÓNUse only the Torx Plus T45 bit to install the seat bolts.NotaSe recomienda utilizar las siguientes herramientas:
- Vaso Torx Plus T45
- Carraca estándar de cabezal flexible de 3/8 pulg.
- Llave dinamométrica de cabezal flexible de 3/8 pulg. (solo instalación)
Figura 4. LH shown; RH similar - Move the RH front seat fully forward.
-
Coloque los pernos nuevos (2 uds.) que fijan la parte trasera del asiento derecho de la 1.ª fila a la carrocería.
 33.5 Nm (24.7 lbs-ft)PRECAUCIÓNUse only the Torx Plus T45 bit to install the seat bolts.NotaSe recomienda utilizar las siguientes herramientas:
- Vaso Torx Plus T45
- Carraca estándar de cabezal flexible de 3/8 pulg.
- Llave dinamométrica de cabezal flexible de 3/8 pulg. (solo instalación)
Figura 5. LH shown; RH similar - Install the passenger footwell cover. See Cubierta - Zona de los pies - Pasajero delantero (LHD) (Desinstalación y sustitución).
- Install the RH center console side panel. See Panel lateral - Consola central - Lado izquierdo (Desinstalación y sustitución).
- Install the RH lower A-pillar trim. See Guarnecido - Pilar A - Inferior - Lado izquierdo (Desinstalación y sustitución).
- Install the RH mid A-pillar trim. See Guarnecido - Pilar A - Central - Lado izquierdo (Desinstalación y sustitución).
- Move the RH front seat to the original position.