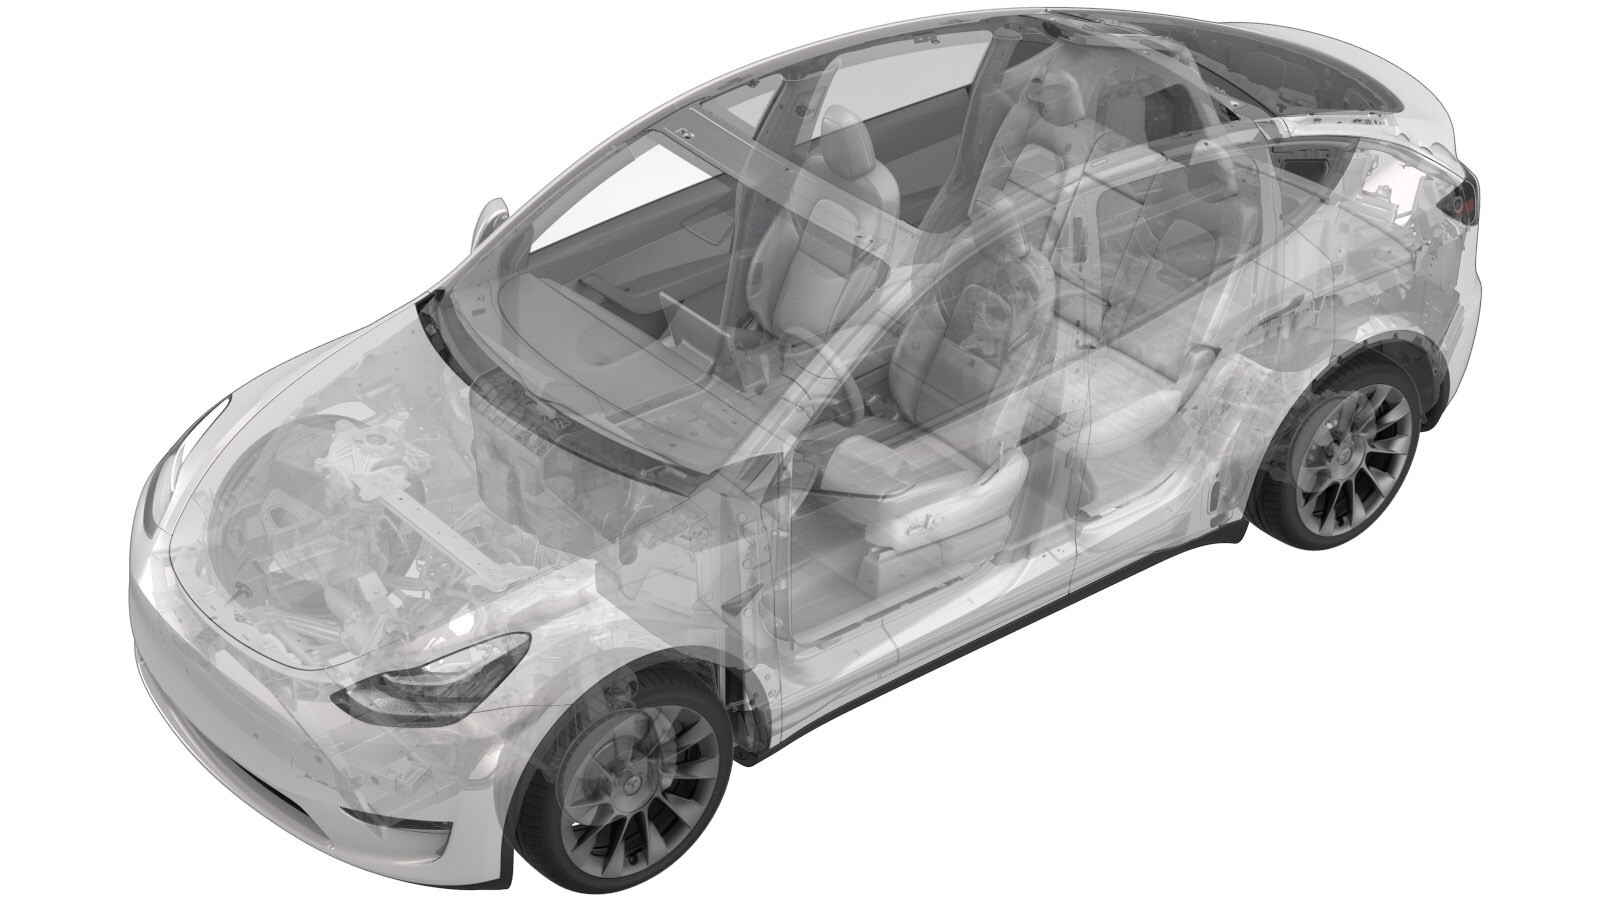
Revestimiento del paso de la rueda - Parte delantera - Lado izquierdo (Paquete estructural) (Desinstalación y sustitución)
 Código de corrección
12010912 0.36
NOTA: Salvo que se indique lo contrario explícitamente en el procedimiento, el código de corrección anterior y el FRT reflejan todo el trabajo necesario para realizar este procedimiento, incluidos los procedimientos vinculados. No acumule códigos de corrección a menos que se le indique explícitamente que lo haga.
NOTA: Consulte Tiempos de tarifa plana (FRT) para obtener más información sobre los FRT y cómo se crean. Para enviar sus comentarios sobre los valores de FRT, escriba a ServiceManualFeedback@tesla.com.
NOTA: Consulte Protección personal para asegurarse de llevar el EPI adecuado al realizar el siguiente procedimiento. Consulte Precauciones ergonómicas para ver prácticas de trabajo seguras.
Retirar
- Raise and support the vehicle. See Elevación del vehículo - Elevador de 2 columnas.
- Remove the LH front wheel. See Conjunto de rueda (Desinstalación e instalación).
- Raise the vehicle to a comfortable working height.
-
Remove the rocker bolt and aero shield bolts (x2) that attach the LH front wheel arch liner to the HV battery.
TIpUse of the following tool(s) is recommended:
- 10 mm socket
- Lower the vehicle partially.
- Remove the LH front fender garnish. See Embellecedor - Aleta guardabarros - Parte delantera - Lado izquierdo (Desinstalación y sustitución).
-
Remove the push clips (x10 and metal clips (x5) that attach the LH front wheel arch liner to the vehicle.
NotaMetal clips are located behind the rotor.TIpUse a prytool to get cutters under the metal clip.
-
Release the LH front wheel arch liner from the studs (x5), and then remove the liner from the vehicle.
Instalar
-
Position the LH front wheel arch liner into the vehicle and onto the studs (x5), and then tuck the liner behind the front aero shield.
-
Install the push clips (x10) and metal clips (x5) that attach the LH front wheel arch liner to the vehicle.
NotaUse a socket to press the metal clip into the liner evenly.
- Install the LH front fender garnish. See Embellecedor - Aleta guardabarros - Parte delantera - Lado izquierdo (Desinstalación y sustitución).
-
Apply Loctite 222 to the aero shield bolts (x2), and then install the aero shield bolts (x2) and rocker bolt that attach the LH front wheel arch liner to the HV battery.
 12 Nm (8.8 lbs-ft)
 6 Nm (4.4 lbs-ft)NotaTorque the rocker bolt to 12 Nm and the aero shield bolts (x2) to 6 Nm.TIpUse of the following tool(s) is recommended:
- 10 mm socket
- Install the LH front wheel. See Conjunto de rueda (Desinstalación e instalación).
- Remove the vehicle from the lift.