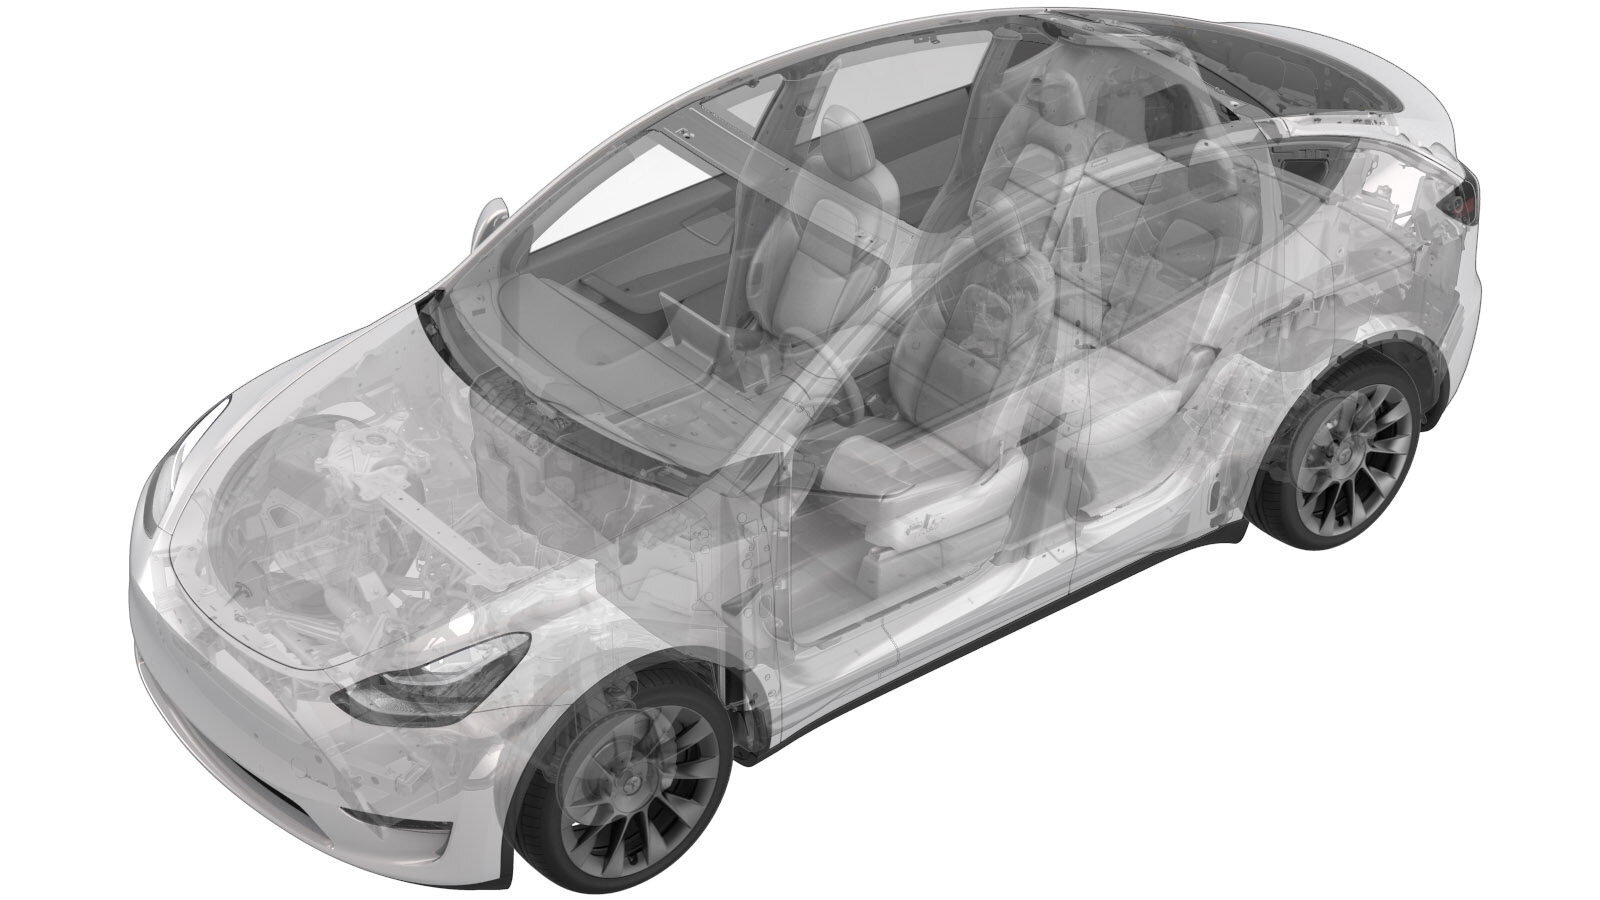
Cinturón de seguridad - 2.ª fila - Lado izquierdo (7 plazas) (Desinstalación y sustitución)
 Código de corrección
20056122 0.30
NOTA: Salvo que se indique lo contrario explícitamente en el procedimiento, el código de corrección anterior y el FRT reflejan todo el trabajo necesario para realizar este procedimiento, incluidos los procedimientos vinculados. No acumule códigos de corrección a menos que se le indique explícitamente que lo haga.
NOTA: Consulte Tiempos de tarifa plana (FRT) para obtener más información sobre los FRT y cómo se crean. Para enviar sus comentarios sobre los valores de FRT, escriba a ServiceManualFeedback@tesla.com.
NOTA: Consulte Protección personal para asegurarse de llevar el EPI adecuado al realizar el siguiente procedimiento. Consulte Precauciones ergonómicas para ver prácticas de trabajo seguras.
- 2026-01-02: Added tip to move C-pillar trim to access anchor bolt.
Retirar
- Open the LH front door and lower the LH front window.
- Move the driver seat forward.
- Open the LH rear door and lower the LH rear window.
- Move the LH 2nd row seat back assembly forward.
- Open the liftgate.
- Remove the rear underhood apron. See Faldón del vano del motor - Parte trasera (Desinstalación y sustitución).
- Disconnect 12V power. See Alimentación de 12 V/baja tensión (Desconexión y conexión).
- Remove the rear load floor. See Suelo del maletero - Parte trasera (Desinstalación y sustitución).
-
Release the clips (x4) that attach the LH side of the trunk sill trim to the vehicle, and then partially release the LH side of the trunk sill trim.
- Remove the LH load floor bracket. See Soporte - Suelo del maletero - Lado izquierdo (Desinstalación y sustitución).
- Remove the LH trunk pocket bracket. See Soporte - Compartimento del maletero - Lado izquierdo (Desinstalación y sustitución).
-
Release the upper portion of the LH trunk side trim.
-
Release the clips (x6) that attach the upper C-pillar trim, and then set the trim aside.
NotaGuide the front upper corner groove out of the headliner.
-
Retire y deseche el perno que fija el anclaje del cinturón de seguridad inferior izquierdo de la 2.ª fila a la carrocería.
TIpSe recomienda utilizar las siguientes herramientas:
- Vaso de 15 mm
TIpThe lower LH C-pillar trim can be slightly lifted to access the bolt. -
Release the clips that attach the guide bezel to the LH upper C-pillar trim, and then separate the bezel from the seat belt.
-
Feed the seat belt through the LH upper C-pillar trim, and then remove the trim.
-
Release the connector lock, and then disconnect the LH 2nd row seat belt connector.
NotaLift the red locking tab, and then release the connector.
-
Remove and discard the bolt that attaches the LH 2nd row seatbelt to the body, and then remove the seatbelt from the vehicle.
 35 Nm (25.8 lbs-ft)TIpSe recomienda utilizar las siguientes herramientas:
- Vaso de 13 mm
Instalar
-
Position the LH 2nd row seatbelt into the vehicle, and then install a new bolt that attaches the seatbelt to the body.
 35 Nm (25.8 lbs-ft)NotaNote the position of the locating tabs.TIpSe recomienda utilizar las siguientes herramientas:
- Vaso de 13 mm
-
Connect the LH 2nd row seat belt connector, and then engage the connector lock.
- Install the LH upper C-pillar trim. See Guarnecido - Pilar C - Superior - Lado izquierdo (Desinstalación y sustitución).
- Connect 12V power. See Alimentación de 12 V/baja tensión (Desconexión y conexión).
- Install the rear underhood apron. See Faldón del vano del motor - Parte trasera (Desinstalación y sustitución).
- Move the driver seat to the original position.
- Raise the LH front window and close the LH front door.
- Move LH 2nd row seat back to the original position.
- Raise the LH rear window and close the LH rear door.
- Close the liftgate.