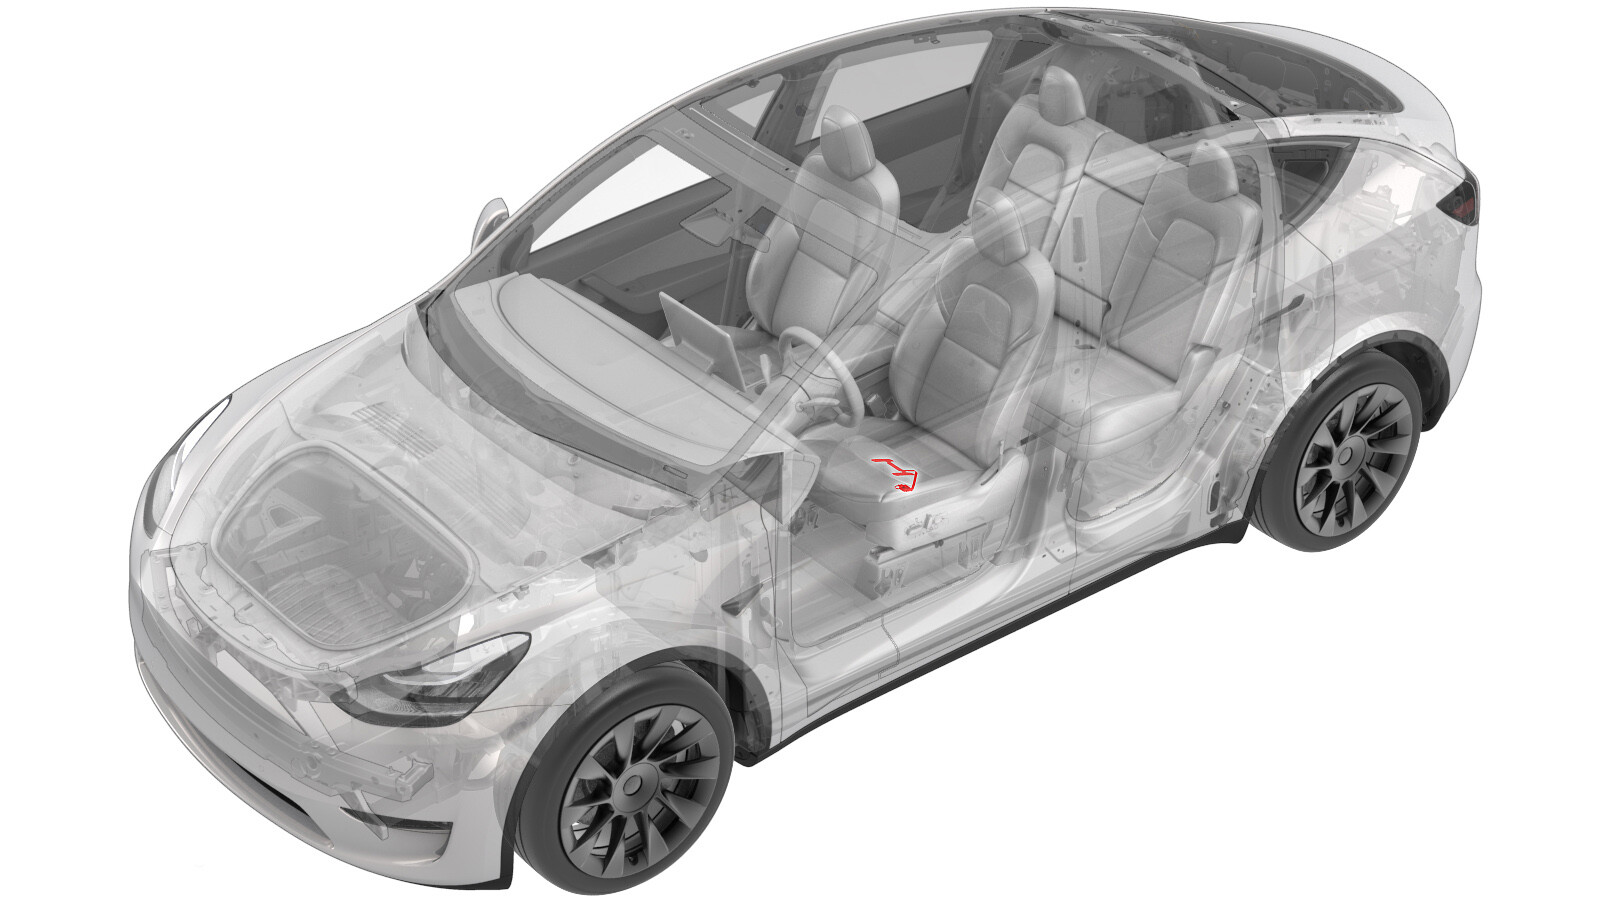
Sensor - Resistivo - Ocupación - Asiento delantero - Lado derecho (Desinstalación y sustitución)
 Código de corrección
20202202 0.84
NOTA: Salvo que se indique lo contrario explícitamente en el procedimiento, el código de corrección anterior y el FRT reflejan todo el trabajo necesario para realizar este procedimiento, incluidos los procedimientos vinculados. No acumule códigos de corrección a menos que se le indique explícitamente que lo haga.
NOTA: Consulte Tiempos de tarifa plana (FRT) para obtener más información sobre los FRT y cómo se crean. Para enviar sus comentarios sobre los valores de FRT, escriba a ServiceManualFeedback@tesla.com.
NOTA: Consulte Protección personal para asegurarse de llevar el EPI adecuado al realizar el siguiente procedimiento. Consulte Precauciones ergonómicas para ver prácticas de trabajo seguras.
Retirar
- Remove the passenger seat cushion trim. See Guarnecido - Cojín - Asiento del conductor (Desinstalación y sustitución).
-
While wearing cut-resistant gloves, carefully use a razor blade to separate the resistive occupancy sensor from the passenger seat cushion foam.
AvisoAlways wear cut-resistant gloves when using cutting tools.PRECAUCIÓNTake care not to damage the sensor harness, seat trim, or other surrounding components with the razor blade.PRECAUCIÓNTake care to remove as little foam as possible.
-
From the underside of the cushion, carefully route the resistive occupancy sensor harness up through the top of the cushion, and then remove the sensor from the cushion.
PRECAUCIÓNWhile removing the harness, take care not to damage the foam.
Instalar
-
Position the resistive occupancy sensor on top of the passenger seat cushion foam, and then route the sensor harness through the harness opening in the foam.
PRECAUCIÓNWhile installing the harness, take care not to damage the foam.
Figura 1. Resistive occupancy sensor positioned on top of the front seat cushion foam Figura 2. Resistive occupancy sensor harness routed through the bottom of the front seat cushion foam -
Peel the protective backing off of the resistive occupancy sensor, exposing the adhesive, and then install the sensor on top of the foam.
NotaAlign the sensor with the indentations on the foam.
- Install the passenger seat cushion trim. See Guarnecido - Cojín - Asiento del conductor (Desinstalación y sustitución).
-
Si se realiza el mantenimiento del asiento del pasajero delantero en un vehículo norteamericano:
- Retire todos los objetos del asiento del pasajero delantero antes de comenzar la calibración.
- En la pantalla táctil del vehículo, toque y compruebe la versión de firmware del vehículo. Si la versión de firmware del vehículo no es 2023.2.11 o una posterior, ejecute una reinstalación de software. Consulte Reinstalación de software - Pantalla táctil. Si la versión de firmware del vehículo no es 2023.2.11 o una posterior, actualice el firmware del vehículo. Consulte Actualización de software.
- Conecte un ordenador portátil con Toolbox 3 al vehículo. Consulte Toolbox (Conexión y desconexión).
- Desbloquee la puerta de enlace del vehículo. Consulte Puerta de enlace (Desbloquear).
- En Toolbox, haga clic en la pestaña Acciones y, a continuación, busque "OCS".
- Ejecute la rutina PROC_OCS1P_SELF-CALIBRATIONvia Toolbox: (link)via Service Mode Plus: Safety & Restraints ➜ Seats ➜ OCS1P Self Capacitance Calibration.
- Haga clic en la pestaña Acciones y busque "Seat calibration".
- Ejecute la rutina PROC_VCRIGHT_SEAT-CALIBRATEvia Toolbox: (link)via Service Mode Plus: Low Voltage ➜ Seats ➜ Calibrate.
- Desconecte Toolbox y retire el ordenador portátil del vehículo.