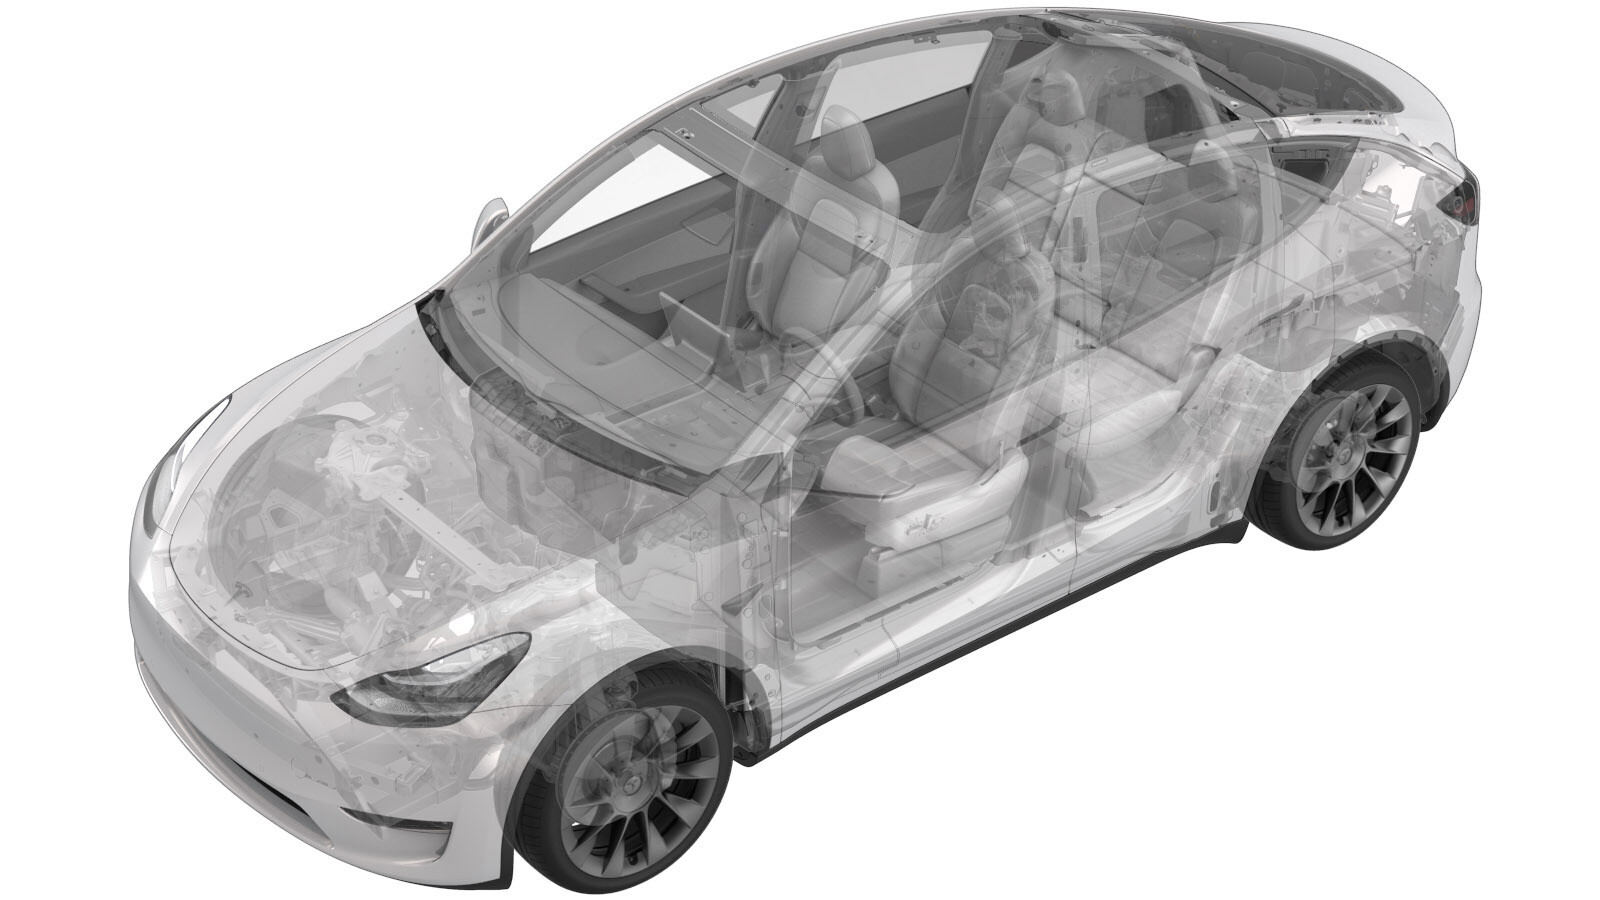
Mazo de cables - Respaldo - Asiento de la 2.ª fila - Lado derecho (7 plazas) (Desinstalación y sustitución)
 Código de corrección
17100142 0.18
NOTA: Salvo que se indique lo contrario explícitamente en el procedimiento, el código de corrección anterior y el FRT reflejan todo el trabajo necesario para realizar este procedimiento, incluidos los procedimientos vinculados. No acumule códigos de corrección a menos que se le indique explícitamente que lo haga.
NOTA: Consulte Tiempos de tarifa plana (FRT) para obtener más información sobre los FRT y cómo se crean. Para enviar sus comentarios sobre los valores de FRT, escriba a ServiceManualFeedback@tesla.com.
NOTA: Consulte Protección personal para asegurarse de llevar el EPI adecuado al realizar el siguiente procedimiento. Consulte Precauciones ergonómicas para ver prácticas de trabajo seguras.
Retirar
- Open the RH doors and lower the RH windows.
- Move the RH front seat fully forward.
- Fold the RH 2nd row seat to the down position.
- Use the towel bar to move the RH 2nd row seat forward.
- Remove the RH 2nd row seat back panel. See Panel trasero - Asiento de la 2.ª fila - Lado derecho (Desinstalación y sustitución).
- Remove the RH 2nd row seat shoulder switch. See Interruptor de hombro - Respaldo - 2.ª fila - Lado izquierdo (retirada y sustitución).
- Remove the RH 2nd row toe kick cover. See Cubierta - Zona de los pies - Asiento de la 2.ª fila - Lado derecho (7 plazas) (Desinstalación y sustitución).
-
Release the clips (x2) that attach the
RH 2nd row seat backrest harness to the bottom side of the seat frame, disconnect the
connector, and then remove the seat harness from the seat assembly.
NotaRemove the elastic harness holder to the release harness.
-
Disconnect the RH 2nd row seat heater
connector.
-
Release the clip that attaches the RH
2nd row seat heater connector to the seat assembly.
-
Release the fir tree clips (x2), and
then release the shoulder switch harness from the harness guides (x5) on the upholstery
support.
-
Use a pry tool to release the shoulder
switch connection from between the seatback and seat frame, and then remove the harness
from the seat assembly.
Instalar
-
Use a pry tool to insert the shoulder
switch connection between the seatback and seat frame, and then route the harness onto
the seat assembly.
-
Secure the fir tree clips (x2), and then secure the shoulder switch harness to the
harness guides (x5) on the upholstery support.
-
Install the clip that attaches the RH 2nd row seat heater connector to the seat
assembly.
-
Connect the RH 2nd row seat heater connector.
-
Secure the clips (x2) that attach the RH 2nd row seat backrest harness to the bottom
side of the seat frame, and then connect the connector.
NotaInstall the plastic harness retainer.
- Install the RH 2nd row toe kick cover. See Cubierta - Zona de los pies - Asiento de la 2.ª fila - Lado derecho (7 plazas) (Desinstalación y sustitución).
- Install the RH 2nd row seat shoulder switch. See Interruptor de hombro - Respaldo - 2.ª fila - Lado izquierdo (retirada y sustitución).
- Install the RH 2nd row seat back panel. See Panel trasero - Asiento de la 2.ª fila - Lado derecho (Desinstalación y sustitución).
- Fold the RH 2nd row seat to the up position.
- Move the RH front seat to the original position.
- Raise the RH windows and close the RH doors.