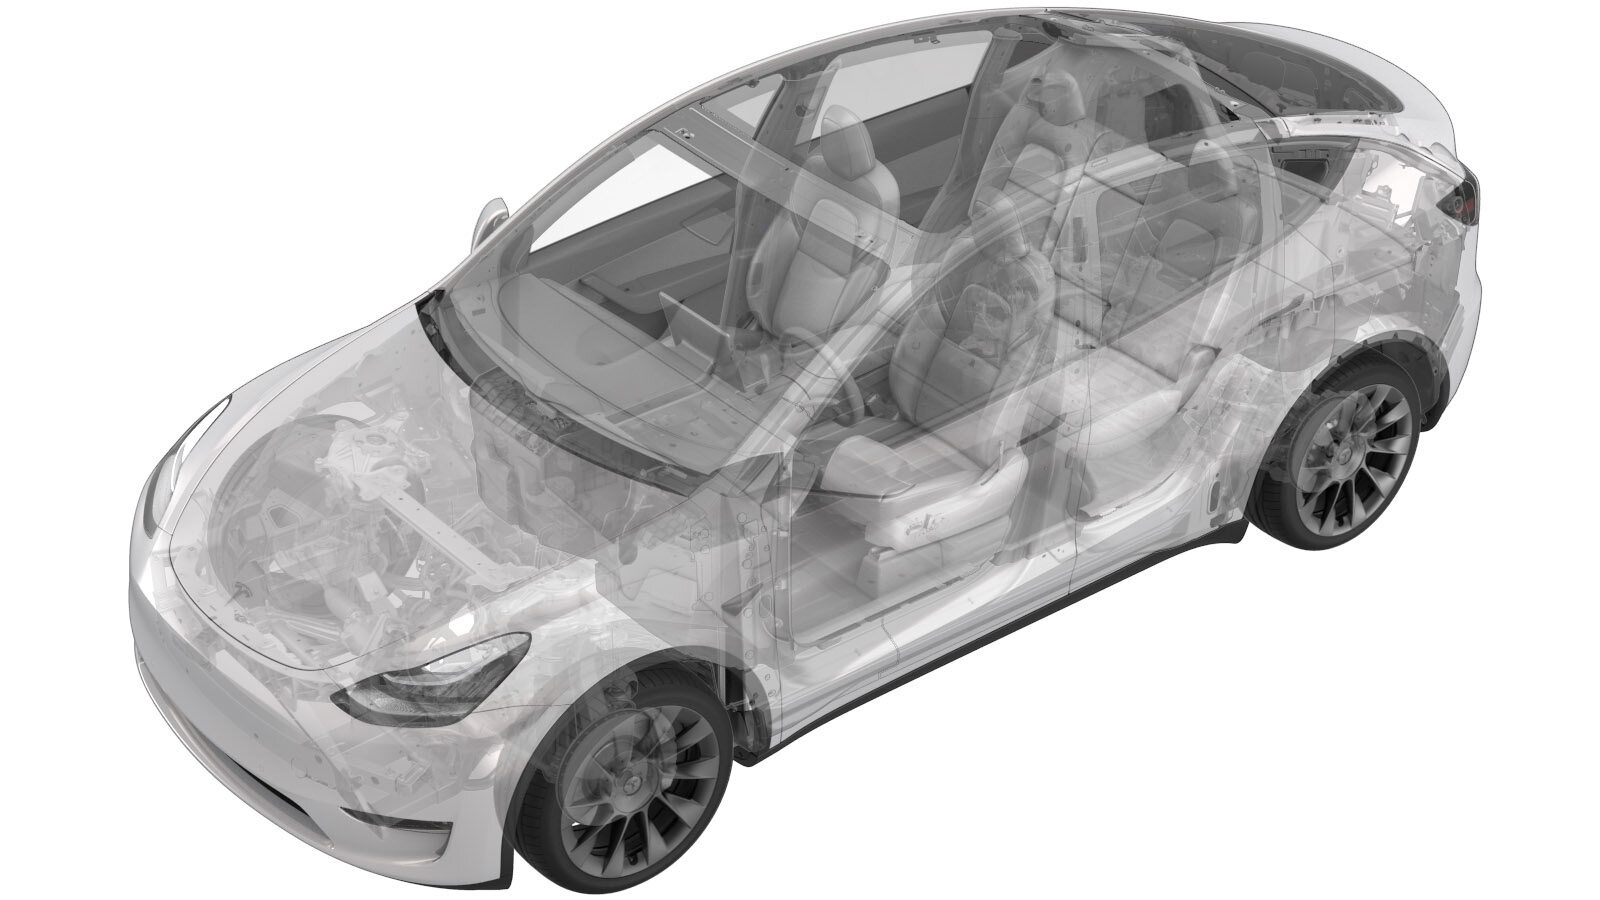
Toma de corriente de 12 V - Maletero trasero (Desinstalación y sustitución)
 Código de corrección
17303202 0.12
NOTA: Salvo que se indique lo contrario explícitamente en el procedimiento, el código de corrección anterior y el FRT reflejan todo el trabajo necesario para realizar este procedimiento, incluidos los procedimientos vinculados. No acumule códigos de corrección a menos que se le indique explícitamente que lo haga.
NOTA: Consulte Tiempos de tarifa plana (FRT) para obtener más información sobre los FRT y cómo se crean. Para enviar sus comentarios sobre los valores de FRT, escriba a ServiceManualFeedback@tesla.com.
NOTA: Consulte Protección personal para asegurarse de llevar el EPI adecuado al realizar el siguiente procedimiento. Consulte Precauciones ergonómicas para ver prácticas de trabajo seguras.
N/A
Retirar
- Open the liftgate.
- Open the LH front door.
- Disconnect 12V/LV power. See Alimentación de 12 V/baja tensión (Desconexión y conexión).
-
Release the clips (x4) that attach the top edge of the LH trunk side trim to the vehicle, and then carefully pull back the top edge of the trim.
TIpSe recomienda utilizar las siguientes herramientas:
- Plastic trim tool
-
Disconnect the rear trunk power socket 12V connector.
PRECAUCIÓNAvoid pulling the connector wiring. Press and pull to release the connector.
-
Release the rear trunk power socket 12V connector from the LH trunk side trim.
NotaPull the connector upwards until it clears the mounting tab.
-
Gently push the rear trunk power socket 12V forward, while simultaneously pulling the upper and lower mount tabs outward to release the power socket 12V from the LH trunk side trim, and then remove the power socket 12V from the vehicle.
TIpSe recomienda utilizar las siguientes herramientas:
- Ganzúa en miniatura de mango blando, punta de 90 grados, 6 pulg.
Instalar
-
Position the rear trunk power socket 12V on the vehicle, insert the connector first, followed by the mount, and then the power socket 12V outlet. Gently push the outlet with the cover facing upwards to secure in place.
NotaEnsure proper fitment of the power socket 12V.
-
Install the rear trunk power socket 12V connector on the LH trunk side trim.
NotaPush the connector downwards until fully lowered on the mounting tab.
-
Connect the rear trunk power socket 12V connector.
-
Install the clips (x4) that attach the top edge of the LH trunk side trim to the vehicle.
NotaReplace clips as necessary. Attach the clip closest to rear seat back first, and then work towards the liftgate.
- Connect 12V/LV power. See Alimentación de 12 V/baja tensión (Desconexión y conexión).
- Close the liftgate.
- Close the LH front door.