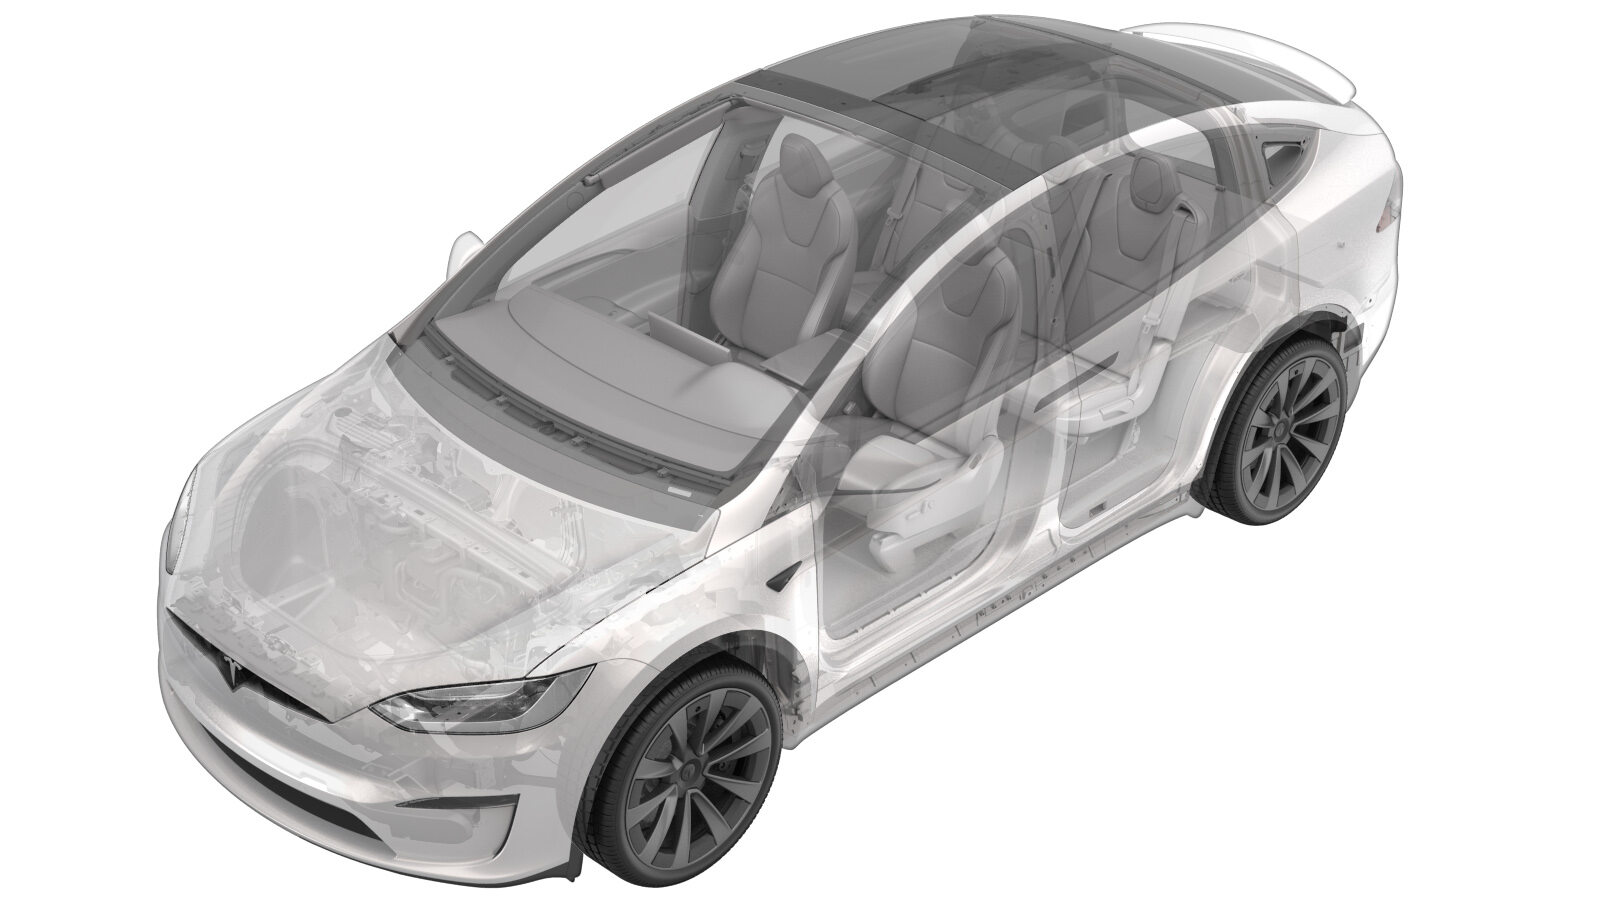
Phares - réglage - (global) (méthode du mur)
 Code de correction
17400160 0.18
REMARQUE : À moins d’indications explicites contraires dans la procédure, le code de correction et le temps forfaitaire ci-dessus représentent tout le travail à être fait pour cette procédure, notamment les procédures connexes. N’appliquez pas plusieurs codes de correction à la fois, à moins qu’il vous soit explicitement indiqué de le faire.
REMARQUE : Consultez Temps forfaitaires pour en apprendre plus à propos des temps forfaitaires et de leur création. Vous pouvez transmettre par courriel vos commentaires relatifs aux valeurs des temps forfaitaires à ServiceManualFeedback@tesla.com.
NOTE : Consultez Protection individuelle pour veiller à porter l’ÉPI approprié lorsque vous effectuez la procédure ci-dessous.
REMARQUE : À moins d’indications explicites contraires dans la procédure, le code de correction et le temps forfaitaire ci-dessus représentent tout le travail à être fait pour cette procédure, notamment les procédures connexes. N’appliquez pas plusieurs codes de correction à la fois, à moins qu’il vous soit explicitement indiqué de le faire.
REMARQUE : Consultez Temps forfaitaires pour en apprendre plus à propos des temps forfaitaires et de leur création. Vous pouvez transmettre par courriel vos commentaires relatifs aux valeurs des temps forfaitaires à ServiceManualFeedback@tesla.com.
REMARQUE : Consultez Protection individuelle pour vous assurer de porter l’équipement de protection individuelle adéquat lorsque vous effectuez la procédure ci-dessous.
REMARQUE : Voir Précautions ergonomiques pour consulter les pratiques de travail sécuritaires et saines.
- 2024-06-13: Completely revised procedure.
- 2024-04-01: Updated measurements and units.
Adjustment
-
Apply tape to a wall at 81 cm (31.8
in) from the floor.
-
Apply tape to the floor at ~ 7.6 m (25
ft) from the wall.
-
Park the vehicle on a flat level
surface perpendicular to the wall and align the front fascia with the tape on the
floor.
RemarqueChoose a dark work area with low ambient lighting for best results. Make sure that tire pressure is set to specification.
-
Measure the distance from both front wheels to the wall.
RemarqueIf equal, this ensures vehicle is perpendicular to wall. If not equal, re-position the vehicle accordingly. Maximum difference between left and right is 3 mm.
-
Find the target's center line by projecting a laser perpendicular to the wall onto
the center point of the vehicle. Mark the center position with a piece of tape,
vertically on the wall.
-
Mark the vertical reference points: measure 79.5 cm (31.2 in) left and right from the
center line and apply tape on each side, vertically to the wall.
-
Set vehicle ride height to "Low"
through the touchscreen.
RemarqueTouch .
-
Set air suspension into "Jack Mode"
through the touchscreen.
RemarqueTouch .
-
Enter the headlight adjustment mode through the touchscreen.
RemarqueTouch .
- Switch on the headlights.
- Completely cover the RH headlight with a fender cover or shop towel.
-
On the vehicle touchscreen, touch
Left.
-
On the steering wheel, use the left
scroll wheel to adjust the beam.
RemarqueAdjust LH headlight so that the RH part of the beam sits between the vertical reference marks and crosses the middle of the horizontal mark.
- Remove the cover from the RH headlight, and then completely cover the LH headlight.
-
On the vehicle touchscreen, touch
Right.
-
On the steering wheel, use the left scroll wheel to adjust the beam.
RemarqueAdjust the RH headlight so that the LH part of the beam is below the horizontal marking and the RH part of the beam is on the RH side of the RH vertical mark.
- Exit the headlight adjustment mode through the touchscreen.
- Deactivate Jack Mode.