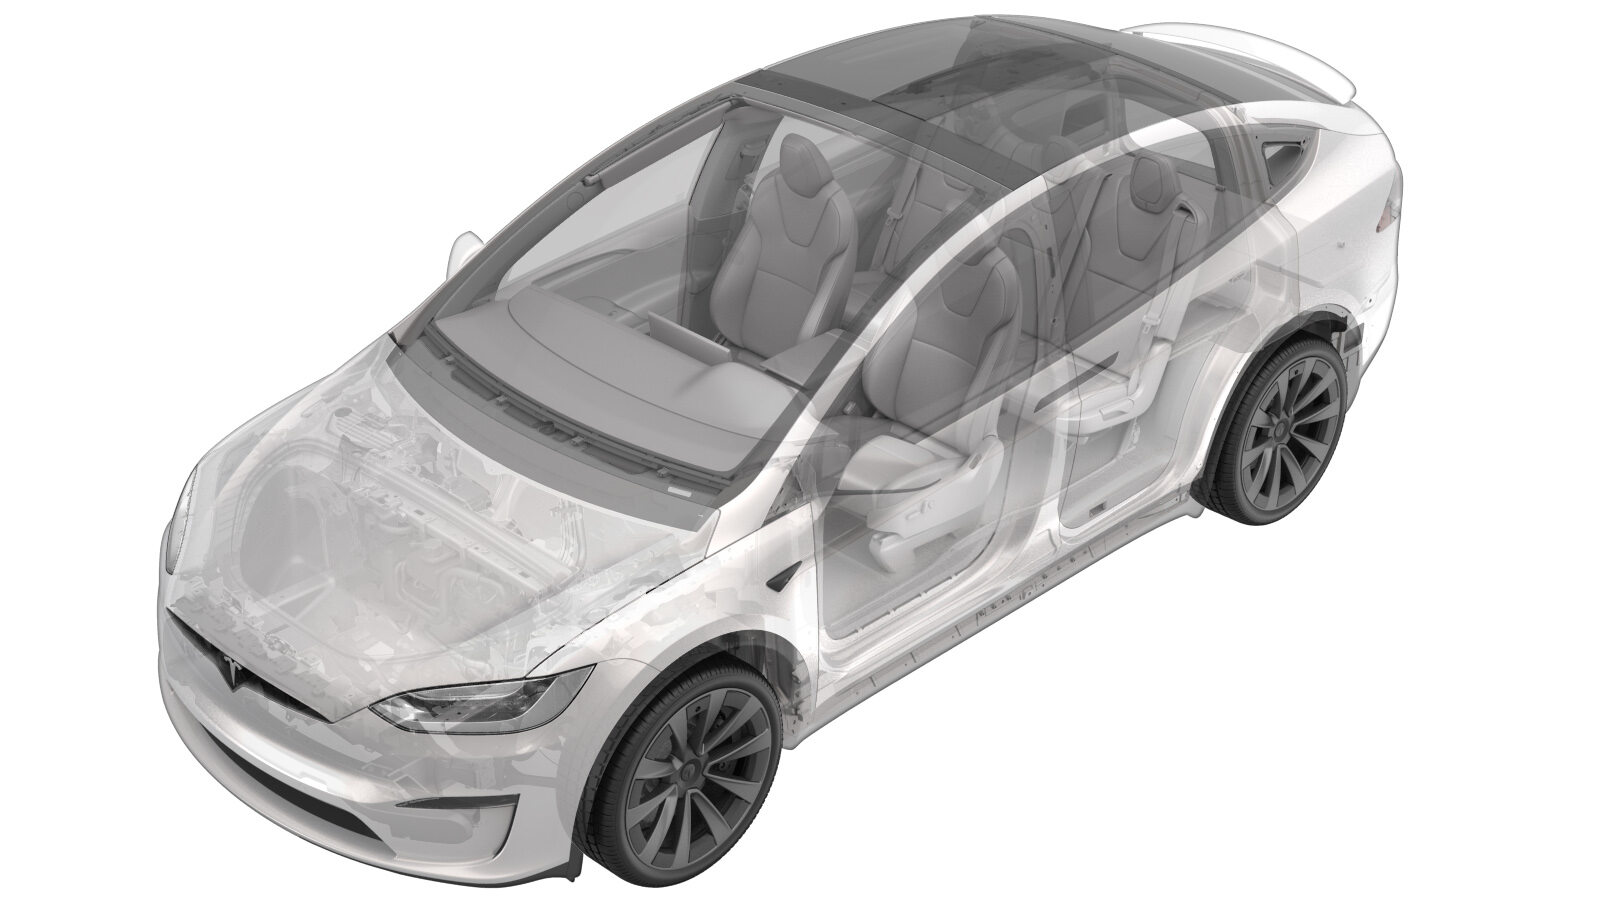
Capteur – ultrasonique – porte arrière – gauche (retrait et remplacement)
 Code de correction
11334312 0.66
REMARQUE : À moins d’indications explicites contraires dans la procédure, le code de correction et le temps forfaitaire ci-dessus représentent tout le travail à être fait pour cette procédure, notamment les procédures connexes. N’appliquez pas plusieurs codes de correction à la fois, à moins qu’il vous soit explicitement indiqué de le faire.
REMARQUE : Consultez Temps forfaitaires pour en apprendre plus à propos des temps forfaitaires et de leur création. Vous pouvez transmettre par courriel vos commentaires relatifs aux valeurs des temps forfaitaires à ServiceManualFeedback@tesla.com.
NOTE : Consultez Protection individuelle pour veiller à porter l’ÉPI approprié lorsque vous effectuez la procédure ci-dessous.
- 2025-02-28: Updated temperature and force to be applied when installing the ultrasonic sensor.
Retirer
- Open the LH front door.
- Lower the LH front window.
- Lower the LH rear window.
- Open the LH falcon wing door.
- Remove the LH rear door trim panel. See Panneau - garniture de portière - arrière - gauche (retirez et remplacez).
- Disconnect LV power. See Alimentation 12 BT (déconnecter et connecter).
- Remove the LH rear door closeout panel. See Panneau de fermeture - porte - arrière - gauche (retirez et remplacez).
-
Remove the cap, spring and spacer from the LH rear door ultrasonic sensor.
-
Release the LH rear door ultrasonic sensor locking clip, and then disconnect the sensor connector.
RemarqueNous recommandons l’utilisation des outils suivants :
- Outil de levier avec pince
-
Remove the LH rear door ultrasonic sensor from the vehicle.
Installer
-
Use IPA wipes to clean the LH rear door ultrasonic sensor mounting area. Allow 1 minute dry time.
-
Use an infrared (IR) thermometer to read the temperature of the LH rear door ultrasonic sensor mounting area on the door panel prior to sensor installation. The door panel must be 25º C or warmer. Use a heat gun to warm the sensor mounting area until the required temperature range is achieved.
RemarqueNous recommandons l’utilisation des outils suivants :
- Heat gun
- IR thermometer
-
Peel off the adhesive from the new LH rear door ultrasonic sensor.
-
Use an infrared (IR) thermometer to
read the temperature of the LH rear door ultrasonic sensor prior to installation. The
sensor must be 70ºC (158ºF) Use a heat gun to warm the sensor until the required
temperature is achieved.
RemarqueNous recommandons l’utilisation des outils suivants :
- Heat gun
- IR thermometer
-
Install the LH rear door ultrasonic sensor on the door panel.
-
Attach the 22 mm tip to the force
gauge, and then apply a force of 65 N for 30 seconds to fully press the LH rear door
ultrasonic sensor onto the door.
RemarqueNous recommandons l’utilisation des outils suivants :
- Force gauge - 1080978-00-B
-
Install the cap, spring and spacer on the LH rear door ultrasonic sensor.
-
Connect the LH rear door ultrasonic sensor, and then engage the locking clip.
- Install the LH rear door closeout panel. See Panneau de fermeture - porte - arrière - gauche (retirez et remplacez).
- Install the LH rear door trim panel. See Panneau - garniture de portière - arrière - gauche (retirez et remplacez).
- Connect LV power. See Alimentation 12 BT (déconnecter et connecter).
-
Calibrate the LH and RH falcon wing doors.
RemarqueIf the "Calibration Needed" message appears on the vehicle touchscreen, touch and hold Calibrate to calibrate the rear doors.
- Raise the LH rear window.
- Raise the LH front window.
- Close the LH front door.