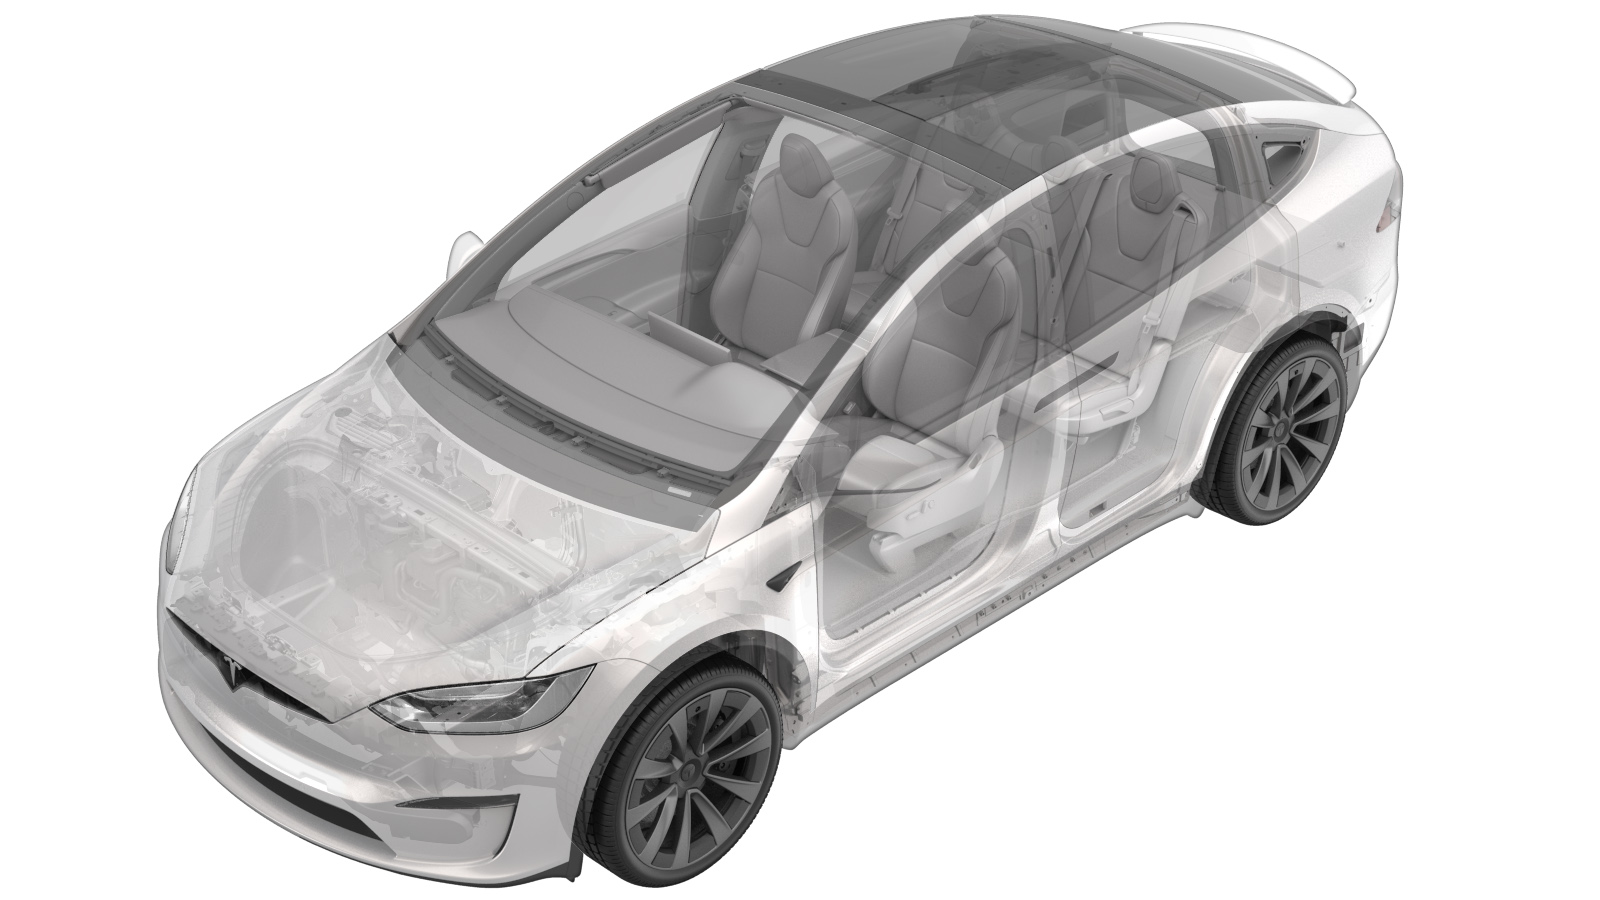
Carénage - Roue - Avant - Gauche (Retrait et installation)
 Code de correction
12202231 0.20
REMARQUE : À moins d’indications explicites contraires dans la procédure, le code de correction et le temps forfaitaire ci-dessus représentent tout le travail à être fait pour cette procédure, notamment les procédures connexes. N’appliquez pas plusieurs codes de correction à la fois, à moins qu’il vous soit explicitement indiqué de le faire.
REMARQUE : Consultez Temps forfaitaires pour en apprendre plus à propos des temps forfaitaires et de leur création. Vous pouvez transmettre par courriel vos commentaires relatifs aux valeurs des temps forfaitaires à ServiceManualFeedback@tesla.com.
NOTE : Consultez Protection individuelle pour veiller à porter l’ÉPI approprié lorsque vous effectuez la procédure ci-dessous.
- 2024-05-20: Changed procedure from Remove and Replace to Remove and Install, since the front wheel fairing is no longer separately serviceable.
Retirer
- Open the LH front door and lower the LH front window.
- Press the brake pedal to turn on drive rails.
- On the center display, set the air suspension to "Jack Mode".
-
Release the clip and the tabs (x8)
that attach the LH front wheel arch liner cover to the LH front wheel arch liner, and
then remove the cover from the liner.
-
Remove the clip that attaches the LH
front wheel fairing to the LH front wheel arch liner.
-
Remove the bolts (x2) and release the
tab that attach the LH front wheel fairing to the valance, and then remove the fairing
from the valance.
 1.5 Nm (1.1 lbs-ft)TIpUse of the following tool(s) is recommended:
- 10mm socket
-
Starting from the rear, release the
clips (x5) and tabs (x9) that attach the LH front fender garnish to the vehicle,
disconnect the electrical connector, and then remove the garnish from the vehicle.
RemarqueRelease the connector lock before disconnecting the electrical connector.
-
Remove the screw that attaches the LH
front wheel fairing to the LH front fender garnish, and then remove the fairing from the
garnish.
 1.5 Nm (1.1 lbs-ft)TIpUse of the following tool(s) is recommended:
- T25 socket
Installer
-
Position the LH front wheel fairing into the LH front fender garnish, and then
install the screw that attaches the fairing to the garnish.
 1.5 Nm (1.1 lbs-ft)TIpUse of the following tool(s) is recommended:
- T25 socket
-
Connect the electrical harness to the
LH front fender garnish parking sensor connector, and then starting from the front and
working rearward, fasten the clips (x5) and tabs (x9) that attach the fender garnish to
the body.
-
Install the LH front wheel fairing to
the valance, and then fasten the tab and install the bolts (x2) that attach the wheel
fairing to the valance.
 1.5 Nm (1.1 lbs-ft)TIpUse of the following tool(s) is recommended:
- 10mm socket
-
Install the LH front wheel arch liner
cover to the LH front wheel arch liner, and then fasten the clip and the tabs (x8) that
attach the cover to the liner.
-
Fasten the clip that attaches the LH
front wheel fairing to the LH front wheel arch liner.
- Press the brake pedal to turn on drive rails.
- Use the center display to remove the air suspension from "Jack Mode".
- Raise the LH front window and close the LH front door.