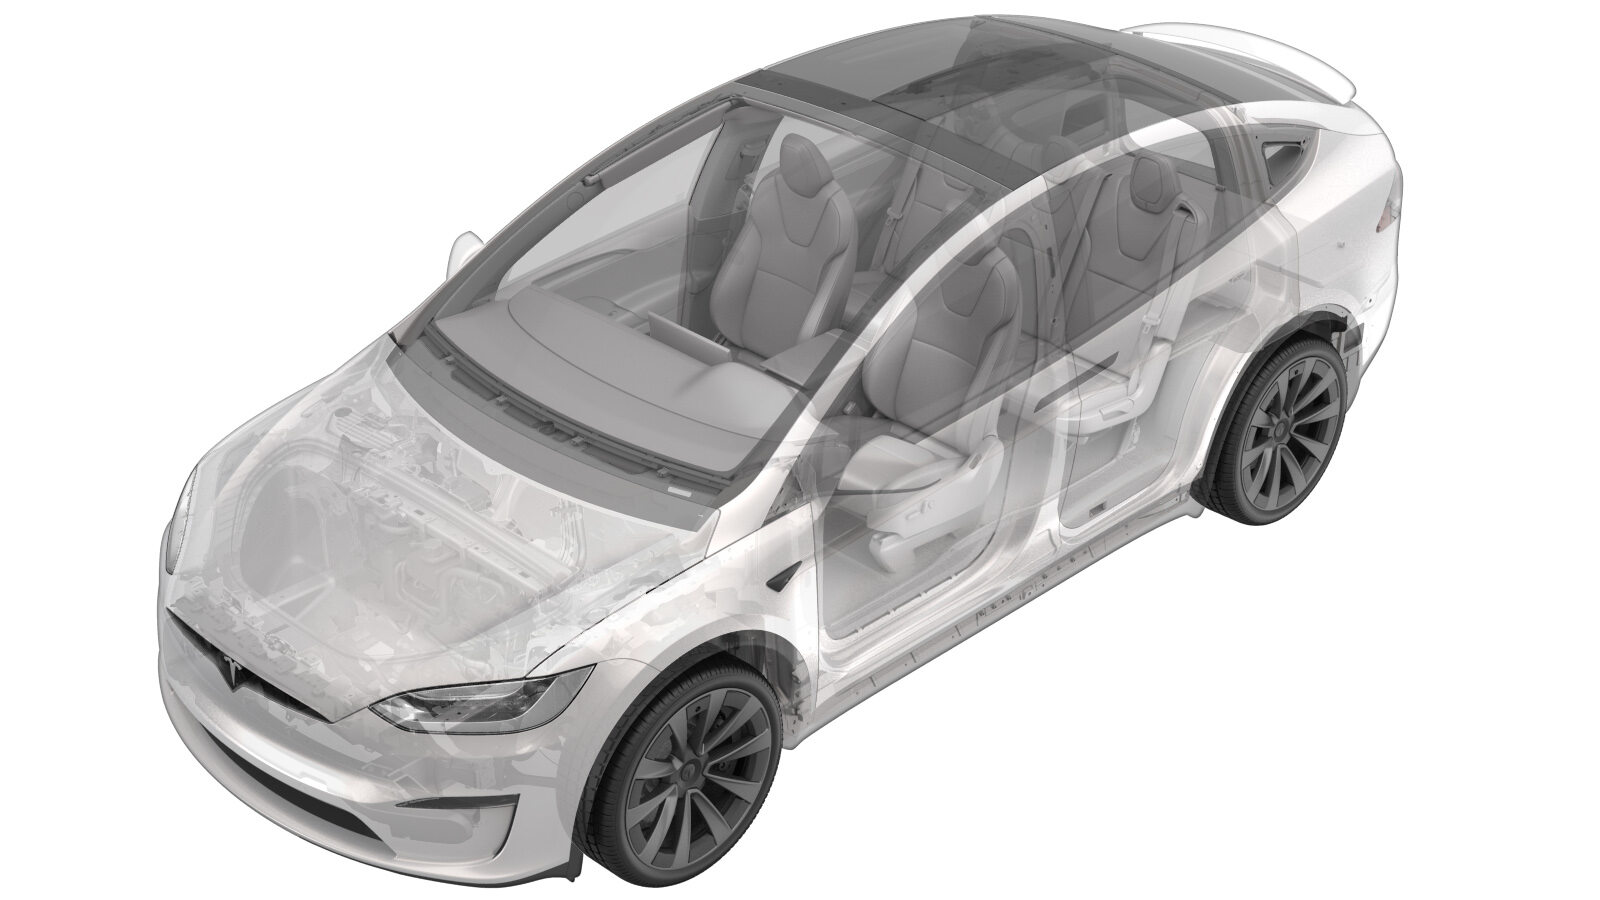
Klaxon - graves (retirez et remplacez)
 Code de correction
17530302 0.30
REMARQUE : À moins d’indications explicites contraires dans la procédure, le code de correction et le temps forfaitaire ci-dessus représentent tout le travail à être fait pour cette procédure, notamment les procédures connexes. N’appliquez pas plusieurs codes de correction à la fois, à moins qu’il vous soit explicitement indiqué de le faire.
REMARQUE : Consultez Temps forfaitaires pour en apprendre plus à propos des temps forfaitaires et de leur création. Vous pouvez transmettre par courriel vos commentaires relatifs aux valeurs des temps forfaitaires à ServiceManualFeedback@tesla.com.
NOTE : Consultez Protection individuelle pour veiller à porter l’ÉPI approprié lorsque vous effectuez la procédure ci-dessous.
Retirer
- Open the LH front door.
- Lower the LH front window.
- Remove the LH front wheel. See Ensemble de roue (retrait et installation).
-
Release the clips (x6) and push nut that partially attach the front portion of the LH front wheel house liner to the vehicle body, and then move the liner aside for access.
TIpNous recommandons l’utilisation des outils suivants :
- Outil de levier avec pince
-
Disconnect the low tone horn locking connector.
TIpNous recommandons l’utilisation des outils suivants :
- Small flat head screwdriver
RemarqueRelease the red locking tab. -
Disconnect the high tone horn locking connector.
TIpNous recommandons l’utilisation des outils suivants :
- Small flat head screwdriver
RemarqueRelease the red locking tab. -
Remove the nut that attaches the horn assembly to the vehicle body, and then remove the horn assembly from the vehicle.
TIpNous recommandons l’utilisation des outils suivants :
- Rallonge de 2 po
- Douille longue de 10 mm
- Clé à cliquet à tête flexible/clé dynamométrique à tête flexible
-
Remove the nut that attaches the low tone horn to the horn assembly bracket, and then remove the low tone horn from the bracket.
TIpNous recommandons l’utilisation des outils suivants :
- Douille de 10 mm
- Adapter 1/4in Dr. to 1/4in Hex Bit Quick Change
- Cordless 1/4in Hex Driver
Installer
-
Position the low tone horn on the horn assembly bracket, and then install the nut that attaches the low tone horn to the bracket.
 9 Nm (6.6 lbs-ft)TIpNous recommandons l’utilisation des outils suivants :
- Douille de 10 mm
- Adapter 1/4in Dr. to 1/4in Hex Bit Quick Change
- Cordless 1/4in Hex Driver
- Clé dynamométrique avec mesure angulaire
-
Position the horn assembly on the vehicle, and then install the nut that attaches the horn assembly to the vehicle body.
 12 Nm (8.8 lbs-ft)TIpNous recommandons l’utilisation des outils suivants :
- Rallonge de 2 po
- Douille longue de 10 mm
- Clé à cliquet à tête flexible/clé dynamométrique à tête flexible
-
Connect the high tone horn locking connector.
RemarqueVerify the red locking tab is fully seated and engaged.
-
Connect the low tone horn locking connector.
RemarqueVerify the red locking tab is fully seated and engaged.
-
Install the clips (x6) and push nut that attach the front portion of the LH front wheel house liner to the vehicle body.
- Install the LH front wheel. See Ensemble de roue (retrait et installation).
- Raise the LH front window.
- Close the LH front door.