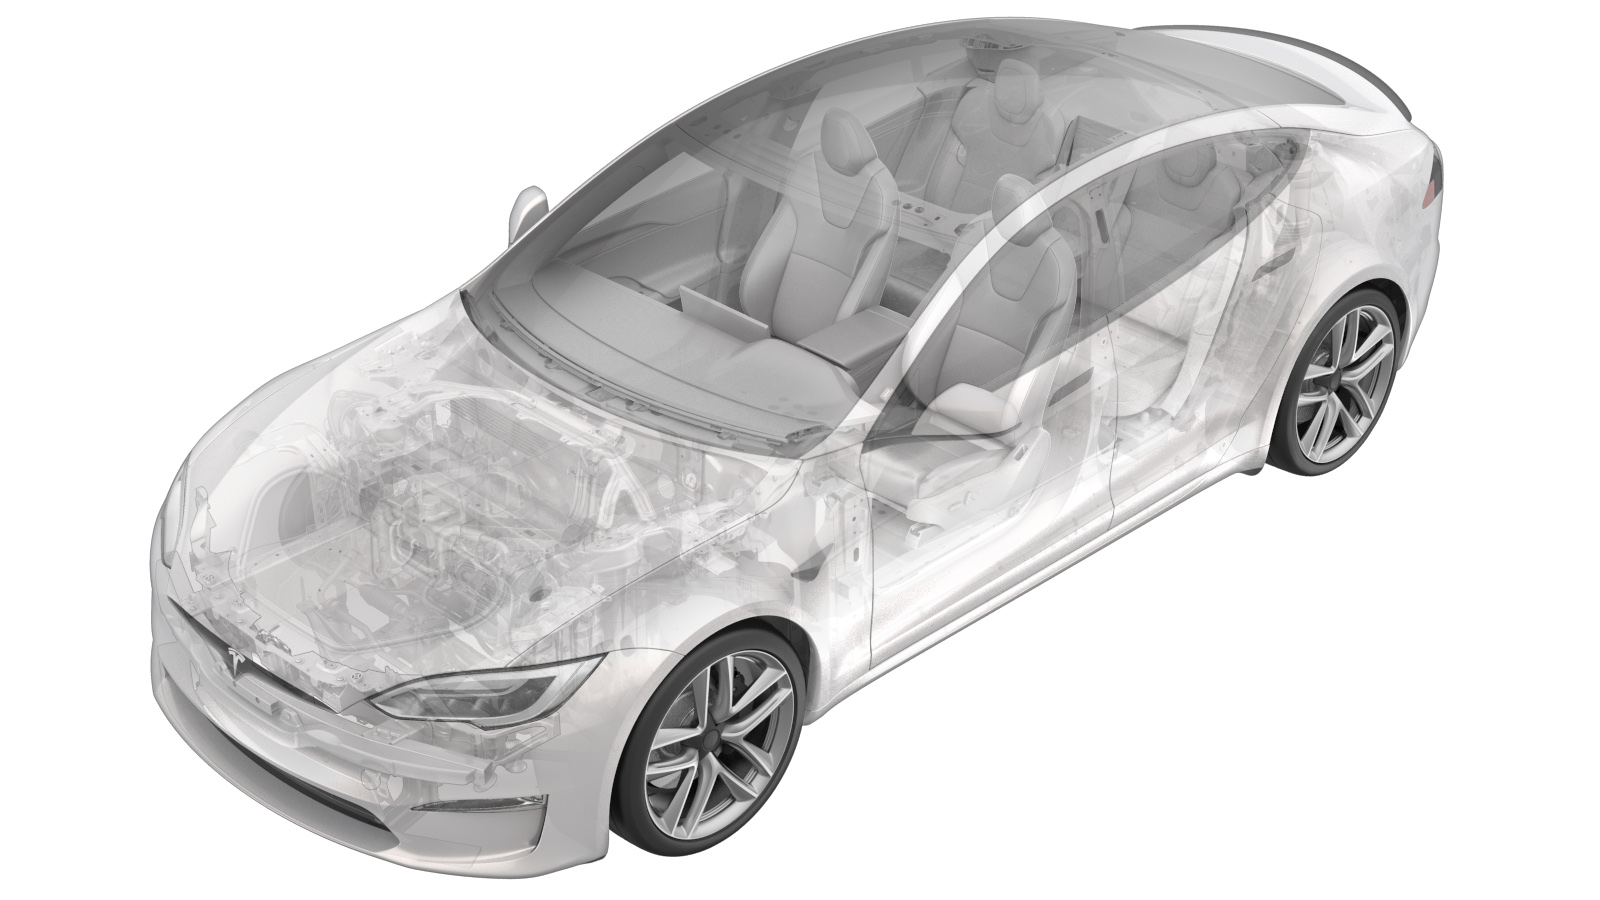
Pastillas y discos de freno - Parte trasera - Juego (Desinstalación y sustitución)
 Código de corrección
33011005 1.14
NOTA: Salvo que se indique lo contrario explícitamente en el procedimiento, el código de corrección anterior y el FRT reflejan todo el trabajo necesario para realizar este procedimiento, incluidos los procedimientos vinculados. No acumule códigos de corrección a menos que se le indique explícitamente que lo haga.
NOTA: Consulte Tiempos de tarifa plana para obtener más información sobre los FRT y cómo se crean. Para enviar sus comentarios sobre los valores de FRT, escriba a ServiceManualFeedback@tesla.com.
NOTA: Consulte Protección personal para asegurarse de que lleva puesto el EPI adecuado al realizar el siguiente procedimiento.
- 2025-05-14: Paso de pulido de frenos actualizado.
- 04/06/2024: Se ha actualizado la referencia del modo de servicio del EPB.
- 09/11/2023: Se ha actualizado el par de apriete de la pinza trasera a la mangueta a 115 Nm.
- 25/10/2023: Se ha actualizado la referencia del modo de servicio del EPB.
- 16/10/2023: Se ha añadido un paso para verificar que la superficie del pistón de la pinza está alineada para las pinzas Mando.
- 24/03/2023: Se ha movido el bombeo del pedal de freno a antes de la comprobación del nivel del depósito y se han añadido pasos preventivos para derrames de líquido.
Retirar
- Extraiga el faldón trasero del vano del motor. Consulte Faldón del vano del motor - Parte trasera (Desinstalación y sustitución).
-
Coloque material absorbente debajo del servofreno y de la zona del depósito de líquido de frenos.
-
Limpie la zona alrededor del depósito de líquido de frenos y, a continuación, retire el tapón del depósito.
- Eleve y apoye el vehículo. Consulte Elevación del vehículo - Elevador de 2 columnas.
- Desmonte las ruedas traseras. Consulte Conjunto de rueda (Desinstalación e instalación).
- Coloque el vehículo en el Modo de servicio del EPB. Consulte Pinza del freno de estacionamiento - Liberación.
-
Desenchufe el conector del mazo de cables del EPB del motor de la pinza de freno izquierda.
PRECAUCIÓNPresione la pestaña de bloqueo roja del conector para acoplar el mecanismo de bloqueo. NO presione ni tire hacia arriba de la pestaña de bloqueo roja.
-
Retire la pinza trasera izquierda del soporte y cuélguela de la carrocería.
-
Utilice un kit de extensión de pinzas o una herramienta similar para insertar con suavidad el pistón de nuevo en la pinza de freno trasera izquierda.
-
Extraiga las pastillas de freno del soporte de la pinza trasera izquierda.
-
Con un cepillo de nailon, limpie la pinza de freno trasera izquierda y los muelles antivibraciones.
-
Retire los pernos que sujetan el soporte de la pinza trasera izquierda al vehículo.
-
Si está colocado, quite el perno que fija el rotor trasero izquierdo al conjunto de la mangueta.
NotaEs posible que algunos vehículos no tengan esta fijación instalada de fábrica.
- Repita el paso 7 a través del paso 13 en el lado derecho del vehículo.
Instalar
-
Coloque el rotor delantero izquierdo en el conjunto de la mangueta.
NotaNo es necesario colocar el perno que fija el rotor al buje.
-
Coloque los pernos que sujetan el soporte de la pinza de freno trasera izquierda al vehículo.
Nota2 pernos, E18, 115 Nm
-
Aplique una capa uniforme de lubricante Silaramic en los puntos de contacto de las pastillas de freno traseras izquierdas.
-
Instale las pastillas de freno en el soporte de la pinza trasera izquierda.
-
Si se usa una pinza Mando, utilice unos alicates de punta fina para asegurarse de que las ranuras de la superficie del pistón de la pinza de freno trasera se encuentran en las posiciones de las 12 y las 6 en punto.
-
Coloque los pernos que sujetan la pinza de freno trasera izquierda al soporte de la pinza.
Nota2 pernos, 14 mm, 26 Nm
-
Conecte el conector del mazo de cables de la pinza izquierda del EPB.
PRECAUCIÓNInserte la pestaña de bloqueo roja en el conector para acoplar el bloqueo del conector.
- Repita el paso 1 a través del paso 7 en el lado derecho del vehículo.
- Mantenga pisado el pedal de freno y seleccione la posición de estacionamiento en la pantalla táctil para desactivar el modo de servicio del EPB.
- Monte las ruedas traseras. Consulte Conjunto de rueda (Desinstalación e instalación).
- Baje el vehículo.
- Bombee el pedal de freno repetidamente hasta que se asienten firmemente las pastillas de freno contra los rotores.
-
Compruebe el nivel de líquido de frenos y rellene el depósito si es necesario.
NotaSi el nivel del líquido de frenos está por encima de la línea "Max", retire el líquido de frenos adicional.
-
Coloque el tapón del depósito de líquido de frenos.
-
Retire el material absorbente de debajo del servofreno y de la zona del depósito de líquido de frenos.
- Coloque el faldón trasero del vano del motor. Consulte Faldón del vano del motor - Parte trasera (Desinstalación y sustitución).
-
Asiente los frenos. Consulte Pastillas de freno - Pulido.
NotaDurante la conducción del vehículo, asegúrese de que el tacto y el rendimiento del pedal de freno sean correctos.NotaAñada el código de corrección para el pulido de las pastillas de freno 33013000 como una actividad independiente a la visita de servicio.