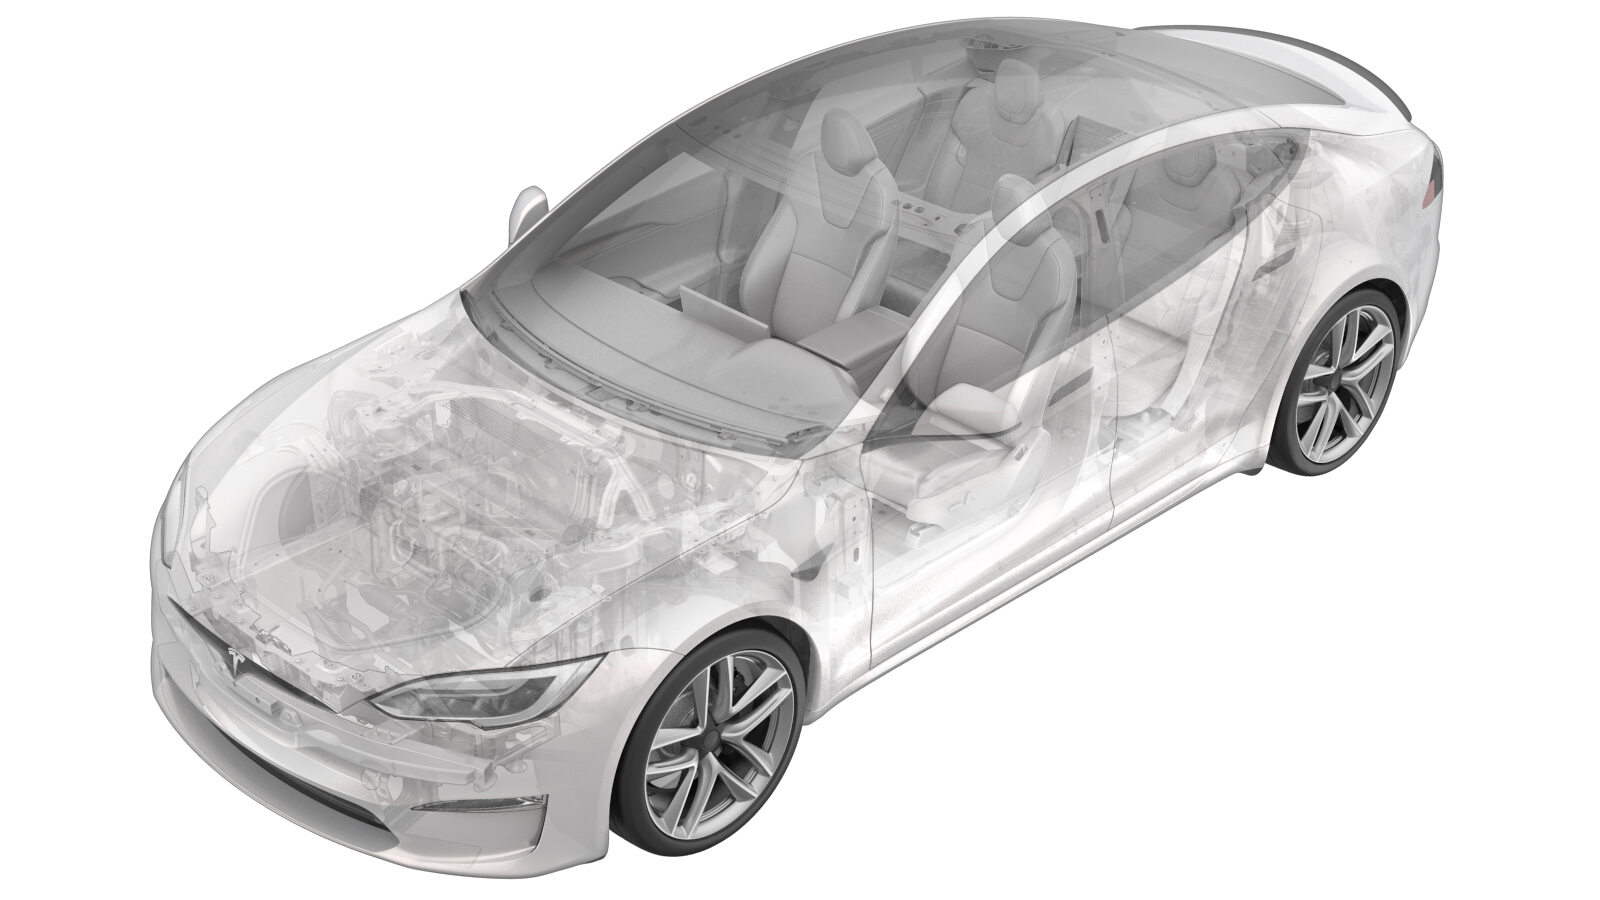
Interruptor - Luz de freno (Desinstalación y sustitución)
 Código de corrección
33252002 0.24
NOTA: Salvo que se indique lo contrario explícitamente en el procedimiento, el código de corrección anterior y el FRT reflejan todo el trabajo necesario para realizar este procedimiento, incluidos los procedimientos vinculados. No acumule códigos de corrección a menos que se le indique explícitamente que lo haga.
NOTA: Consulte Tiempos de tarifa plana para obtener más información sobre los FRT y cómo se crean. Para enviar sus comentarios sobre los valores de FRT, escriba a ServiceManualFeedback@tesla.com.
NOTA: Consulte Protección personal para asegurarse de que lleva puesto el EPI adecuado al realizar el siguiente procedimiento.
- 2023-12-15: Removed brake stiffness routine.
Retirar
- Move the LH front seat rearwards.
- Disconnect LV power. See Alimentación de baja tensión (Desconexión y conexión).
- Remove the driver footwell cover. See Cubierta - Zona de los pies - Conductor (Desinstalación y sustitución).
- Remove the driver knee airbag. See Airbag de rodilla - Conductor (Desinstalación y sustitución).
-
Release the tab that attaches the driver floor jumper air duct to the HVAC assembly, and then remove the duct from the vehicle.
-
Disconnect the LH body harness connector.
TIpSe recomienda utilizar las siguientes herramientas:
- Flashlight LED
- Ganzúa en miniatura de mango blando, punta de 90 grados, 6 pulg.
-
Release the brake light switch from the pedal assembly, and then remove the switch from the vehicle.
NotaRotate the switch 45 degrees clockwise to release.TIpSe recomienda utilizar las siguientes herramientas:
- Flashlight LED
- Ganzúa en miniatura de mango blando, punta de 90 grados, 6 pulg.
Instalar
-
Position the brake light switch on the vehicle, and then install the switch on the pedal assembly.
NotaRotate the switch 45 degrees counter-clockwise to install.TIpSe recomienda utilizar las siguientes herramientas:
- Flashlight LED
-
Connect the LH body harness connector.
TIpSe recomienda utilizar las siguientes herramientas:
- Flashlight LED
-
Position the driver floor jumper air duct on the vehicle, and then install the tab that attaches the duct to the HVAC assembly.
- Install the driver knee airbag. See Airbag de rodilla - Conductor (Desinstalación y sustitución).
- Install the driver footwell cover. See Cubierta - Zona de los pies - Conductor (Desinstalación y sustitución).
- Connect LV power. See Alimentación de baja tensión (Desconexión y conexión).
- Move the LH front seat to its original position.