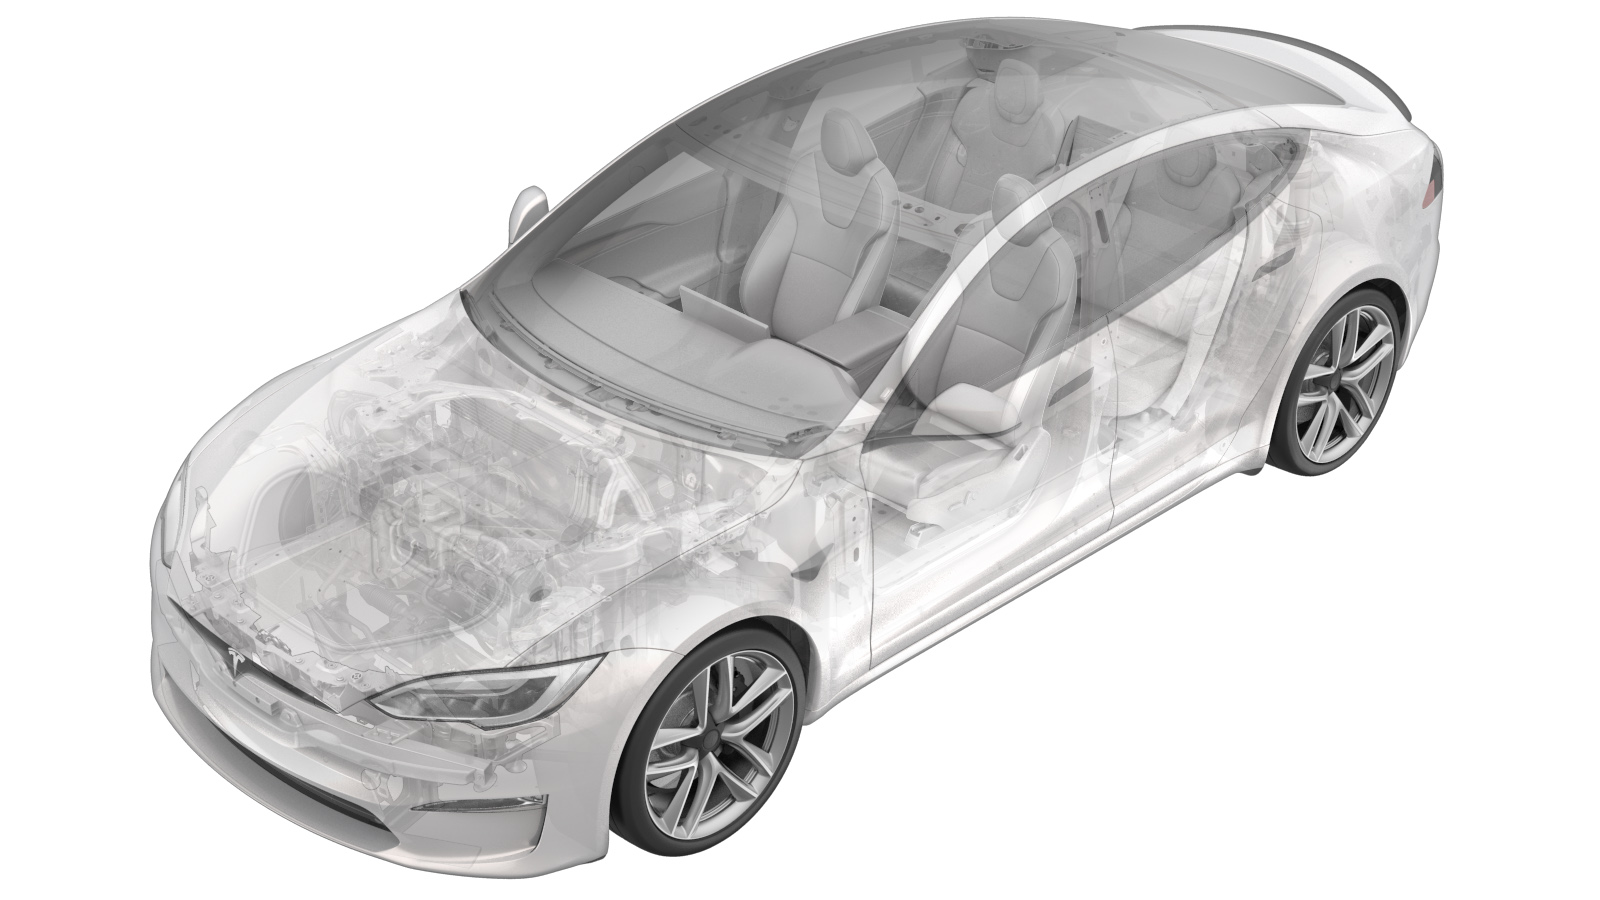
Cable de tierra - Batería de alta tensión (Desinstalación y sustitución)
 Código de corrección
16100022 0.48
NOTA: Salvo que se indique lo contrario explícitamente en el procedimiento, el código de corrección anterior y el FRT reflejan todo el trabajo necesario para realizar este procedimiento, incluidos los procedimientos vinculados. No acumule códigos de corrección a menos que se le indique explícitamente que lo haga.
NOTA: Consulte Tiempos de tarifa plana para obtener más información sobre los FRT y cómo se crean. Para enviar sus comentarios sobre los valores de FRT, escriba a ServiceManualFeedback@tesla.com.
NOTA: Consulte Protección personal para asegurarse de que lleva puesto el EPI adecuado al realizar el siguiente procedimiento.
Retirar
-
Raise and support vehicle.
NotaSet air suspension to "Jack Mode".
-
Raise vehicle fully and lower lift
onto locks.
NotaSet vehicle to comfortable working height, Make sure there's an audible click of the locks on both sides before lowering, otherwise vehicle may tilt to the side.
-
Remove clips securing front aero
shield.
Nota5x push clips.
-
Remove bolts securing front aero
shield and remove from vehicle.
Nota9x bolts, 10mm, 6 Nm.
-
Release clips securing wheel house
liner to front skid plate.
Nota4x clips.
-
Remove bolts securing front skid plate
to body sill.
Nota2x bolts, 15mm, 30 Nm.
-
Remove bolts securing front skid plate
to body casting.
Nota2x bolts, 15mm, 60 Nm.
-
Remove bolts securing front skid plate
to front subframe and remove skid plate.
Nota4x bolts, 15mm, 70 Nm, 2x bolts, 10mm, 10 Nm.
-
Release bolt securing ground strap to
body.
Nota1x bolt, 10mm, 9 Nm.
-
Release clip securing ground cable to
battery.
Nota1x clip.
-
Remove bolt securing ground cable to
HV battery and remove assembly.
Nota1x bolt, 10mm, 10 Nm? torque.
Instalar
-
Route and install bolt securing ground cable to HV battery .
Nota1x bolt, 10mm, 10 Nm? torque.
-
Install clip securing ground cable to battery.
Nota1x clip.
-
Install bolt securing ground strap to body.
Nota1x bolt, 10mm, 9 Nm.
-
Position front skid plate for installation and thread in all bolts .
Nota4x bolts, 15mm, 70 Nm, 2x bolts, 15mm, 60 Nm, 2x bolts, 15mm, 30 Nm, 2x bolts, 10mm, 10 Nm, Torque at later step.
-
Torque bolts securing front skid plate to body casting.
Nota2x bolts, 15mm, 60 Nm.
-
Torque bolts securing front skid plate to body sill.
Nota2x bolts, 15mm, 30 Nm.
-
Torque bolts securing front skid plate to front subframe.
Nota4x bolts, 15mm, 70 Nm, 2x bolts, 10mm, 10 Nm.
-
Secure clips securing wheel house liner to front skid plate.
Nota4x clips.
-
Apply Loctite 222 onto front aero shield bolts and install fasteners securing front
aero shield to vehicle.
Nota9x bolts, 10mm, 6 Nm.
-
Install clips securing front aero shield.
Nota5x push clips.
-
Lower vehicle fully.
NotaRaise lift off locks, then hold lock release lever to keep locks free while vehicle is lowered.
-
Remove vehicle from lift.
NotaLower rack arms fully and remove them from under vehicle, Remove air suspension from "Jack Mode".