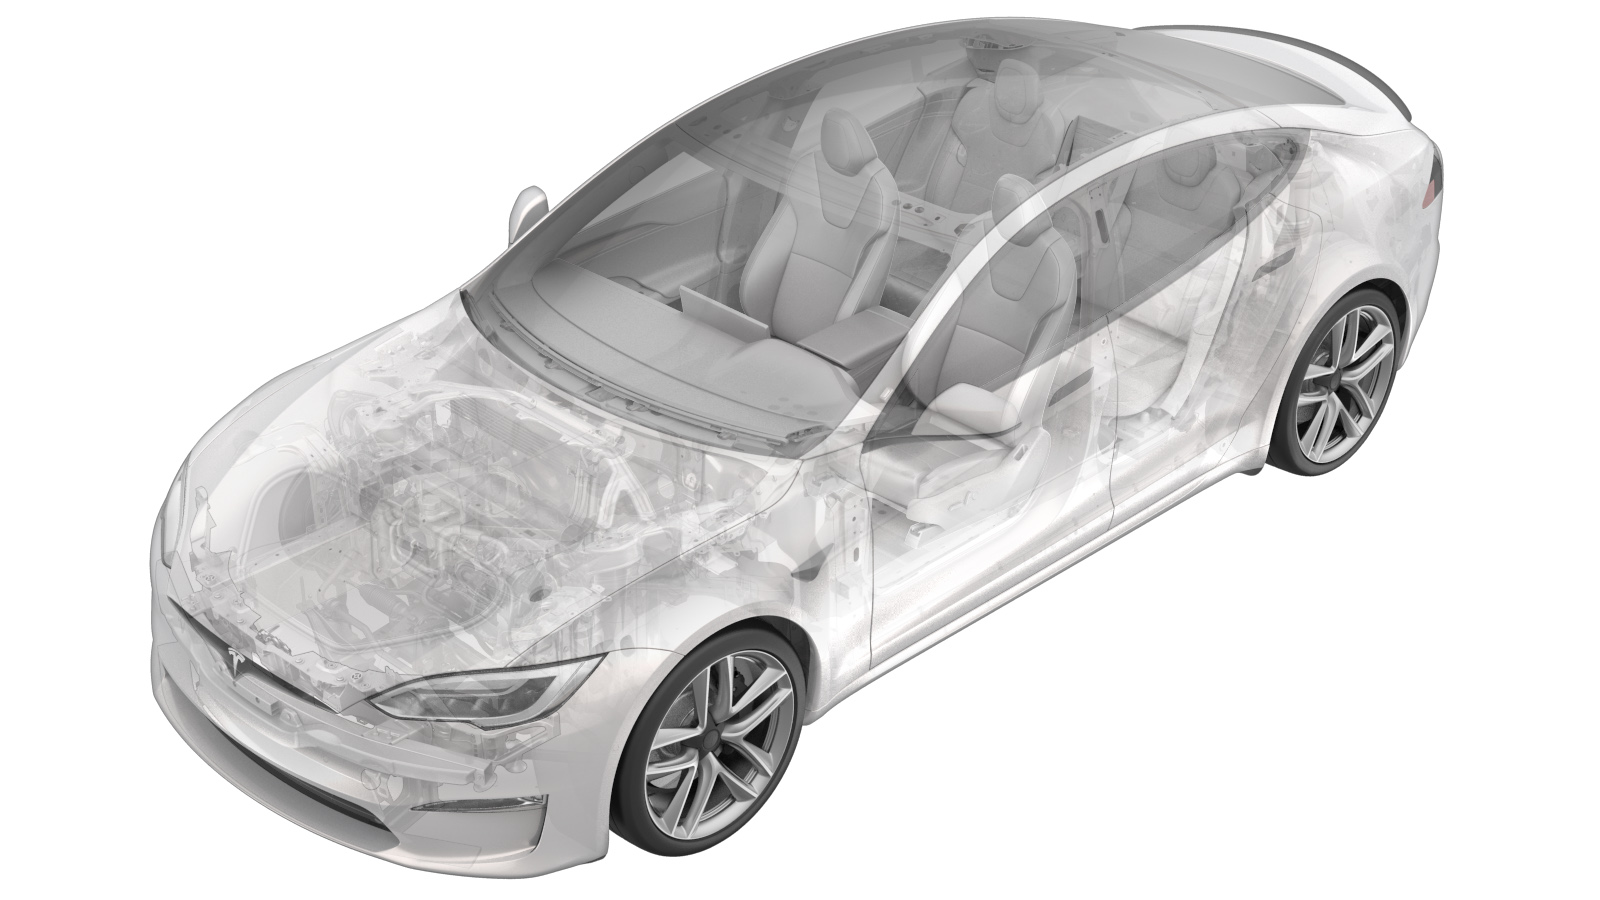
Spoiler–Rear–Install (Remove and Install)
 Código de corrección
12201006
0.30
NOTA: Salvo que se indique lo contrario explícitamente en el procedimiento, el código de corrección anterior y el FRT reflejan todo el trabajo necesario para realizar este procedimiento, incluidos los procedimientos vinculados. No acumule códigos de corrección a menos que se le indique explícitamente que lo haga.
NOTA: Consulte Tiempos de tarifa plana (FRT) para obtener más información sobre los FRT y cómo se crean. Para enviar sus comentarios sobre los valores de FRT, escriba a ServiceManualFeedback@tesla.com.
NOTA: Consulte Protección personal para asegurarse de llevar el EPI adecuado al realizar el siguiente procedimiento.
NOTA: Consulte Precauciones ergonómicas para ver información sobre prácticas de trabajo seguras.
- 2025-10-02: Released new procedure.
-
Clean the liftgate area with isopropyl alcohol. Allow 1 minute to dry.
NotaIf the area requires any paint correction, request assistance from the shop detailer before installation.
-
Line up the spoiler alignment jigs with the edgses of the liftgate.
TIpTape the jigs down as needed.
-
Perform a dry fit of spoiler. Adjust the jigs as needed to center the spoiler.
-
Peel away the adhesive tape and install the spoiler. Apply pressure from the center and work outwards.
NotaVerify that the spoiler is fully adhered.
-
Remove the spoiler alignment jigs.
- Verify that the spoiler is properly installed. Wipe away any excess debris.