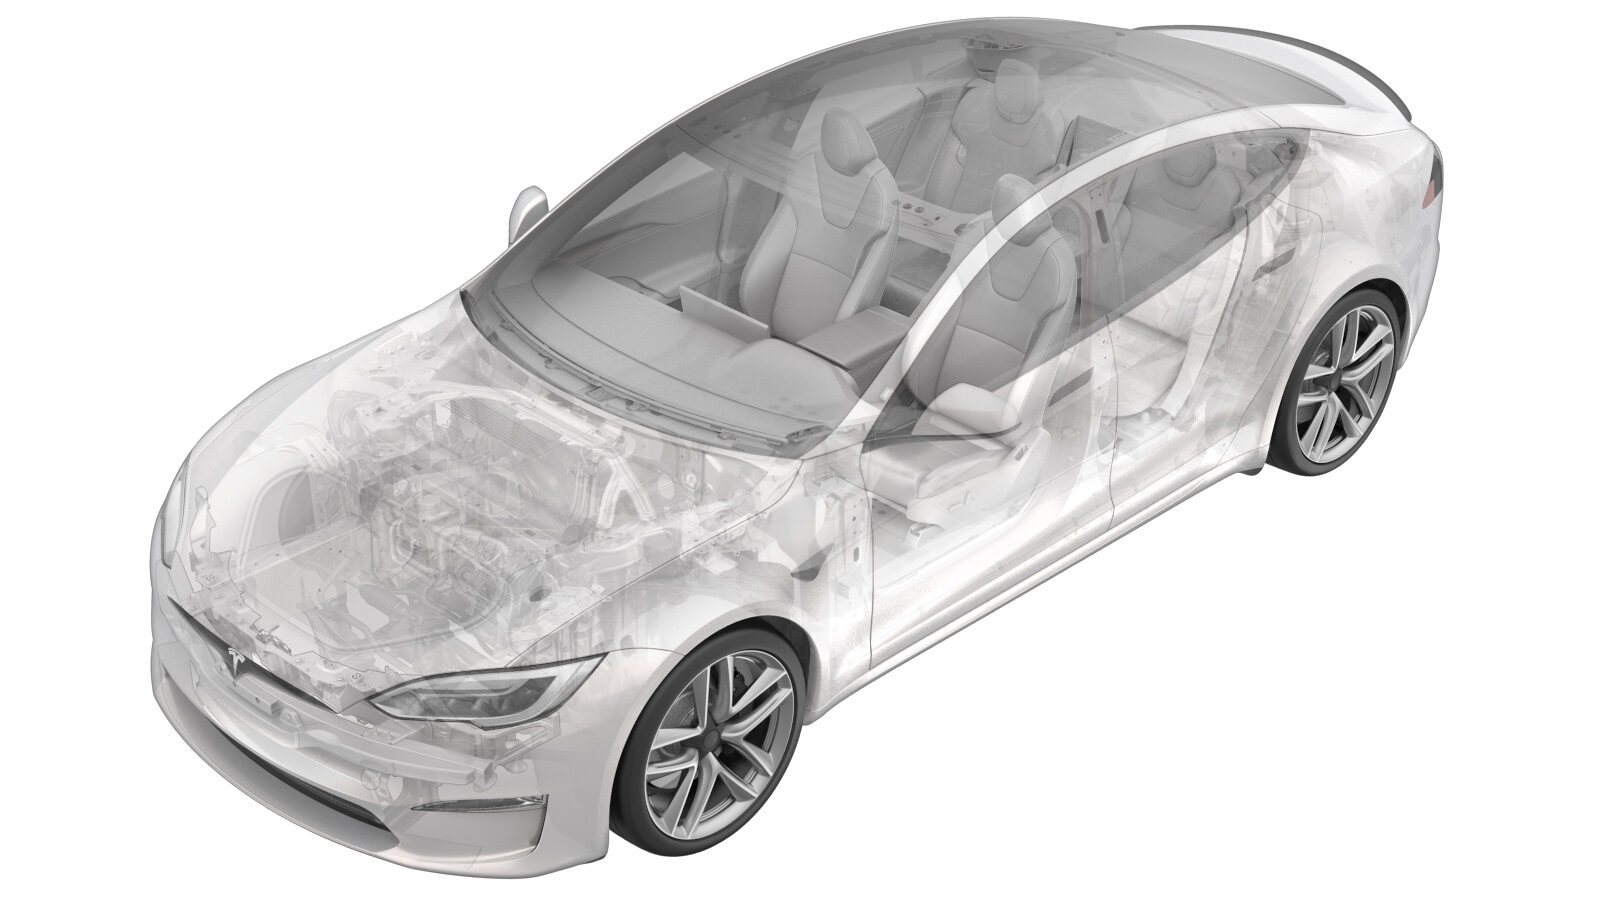
Cámara - Orientada hacia atrás (HW4) (Desinstalación y sustitución)
 Código de corrección
17222012
NOTA: Salvo que se indique lo contrario explícitamente en el procedimiento, el código de corrección anterior y el FRT reflejan todo el trabajo necesario para realizar este procedimiento, incluidos los procedimientos vinculados. No acumule códigos de corrección a menos que se le indique explícitamente que lo haga.
NOTA: Consulte Tiempos de tarifa plana (FRT) para obtener más información sobre los FRT y cómo se crean. Para enviar sus comentarios sobre los valores de FRT, escriba a ServiceManualFeedback@tesla.com.
NOTA: Consulte Protección personal para asegurarse de llevar el EPI adecuado al realizar el siguiente procedimiento.
NOTA: Consulte Precauciones ergonómicas para ver información sobre prácticas de trabajo seguras.
- 2023-06-20: Switch the steps so that DAS Reset occurs directly before the Camera Connection Test.
Retirar
- Abra la puerta delantera izquierda y baje la ventanilla delantera izquierda.
- Active el modo de servicio. Consulte Modo de servicio (Activación y desactivación).
-
Partially open the liftgate.
NotaAllow the liftgate to open fully, and then pull the liftgate back to a comfortable working height.
-
Apply masking tape around the liftgate applique to protect the painted surrounding area.
-
Remove the bolts (x3) that attach the liftgate applique bracket to the liftgate.
 2 Nm (1.5 lbs-ft)TIpSe recomienda utilizar las siguientes herramientas:
- TP20 bit (Mini ratchet bit set - 1450424-00-A)
-
Remove the liftgate applique bracket.
NotaPull the bracket using the handle opening rearwards until the tabs back off from the liftgate.
-
Disconnect the rear facing camera electrical connector.
NotaPush to lift the tab, and then disconnect the electrical connector.
-
Remove the bolts (x2) that attach the rear facing camera to the liftgate applique bracket, and then remove the camera from the bracket.
 0.8 Nm (7 lbs-in)TIpSe recomienda utilizar las siguientes herramientas:
- TP20 bit (Mini ratchet bit set - 1450424-00-A)
Instalar
-
Carefully remove the old double sided tape, clean the body surface with Isopropyl Alcohol (IPA) wipes, and then install new double sided tape.
-
Install the bolts (x2) that attach the rear facing camera to the liftgate applique bracket.
 0.8 Nm (7 lbs-in)TIpSe recomienda utilizar las siguientes herramientas:
- TP20 bit (Mini ratchet bit set - 1450424-00-A)
-
Secure the rear facing camera electrical connector on the liftgate applique bracket, and then connect the camera electrical connector.
-
Restablezca el sistema de asistencia al conductor (DAS).
-
Solo para cámaras HW4: Ejecute la prueba de conexión de la cámara para actualizar el nuevo firmware de la cámara.
NotaLas cámaras DAS no son módulos CAN y no se pueden actualizar mediante la reinstalación de firmware o la implementación de sustitución de piezas.
- Disconnect the laptop with Toolbox from the vehicle. See Toolbox (Conexión y desconexión).
- Exit Service Mode. See Modo de servicio (Activación y desactivación).
-
Install the liftgate applique bracket.
- Peel off the new double sided tape.
- Align the tabs to the liftgate holes, and then push the bracket into position.
- Apply pressure on the applique to help with the tape and bracket mating.
-
Install the bolts (x3) that attach the liftgate applique bracket to the liftgate.
 2 Nm (1.5 lbs-ft)TIpSe recomienda utilizar las siguientes herramientas:
- TP20 bit (Mini ratchet bit set - 1450424-00-A)
-
Remove all masking tape from the vehicle after 5 minutes for the applique to properly adhere to the liftgate.
- Close the liftgate.
- Suba la ventanilla delantera izquierda y cierre la puerta delantera izquierda.