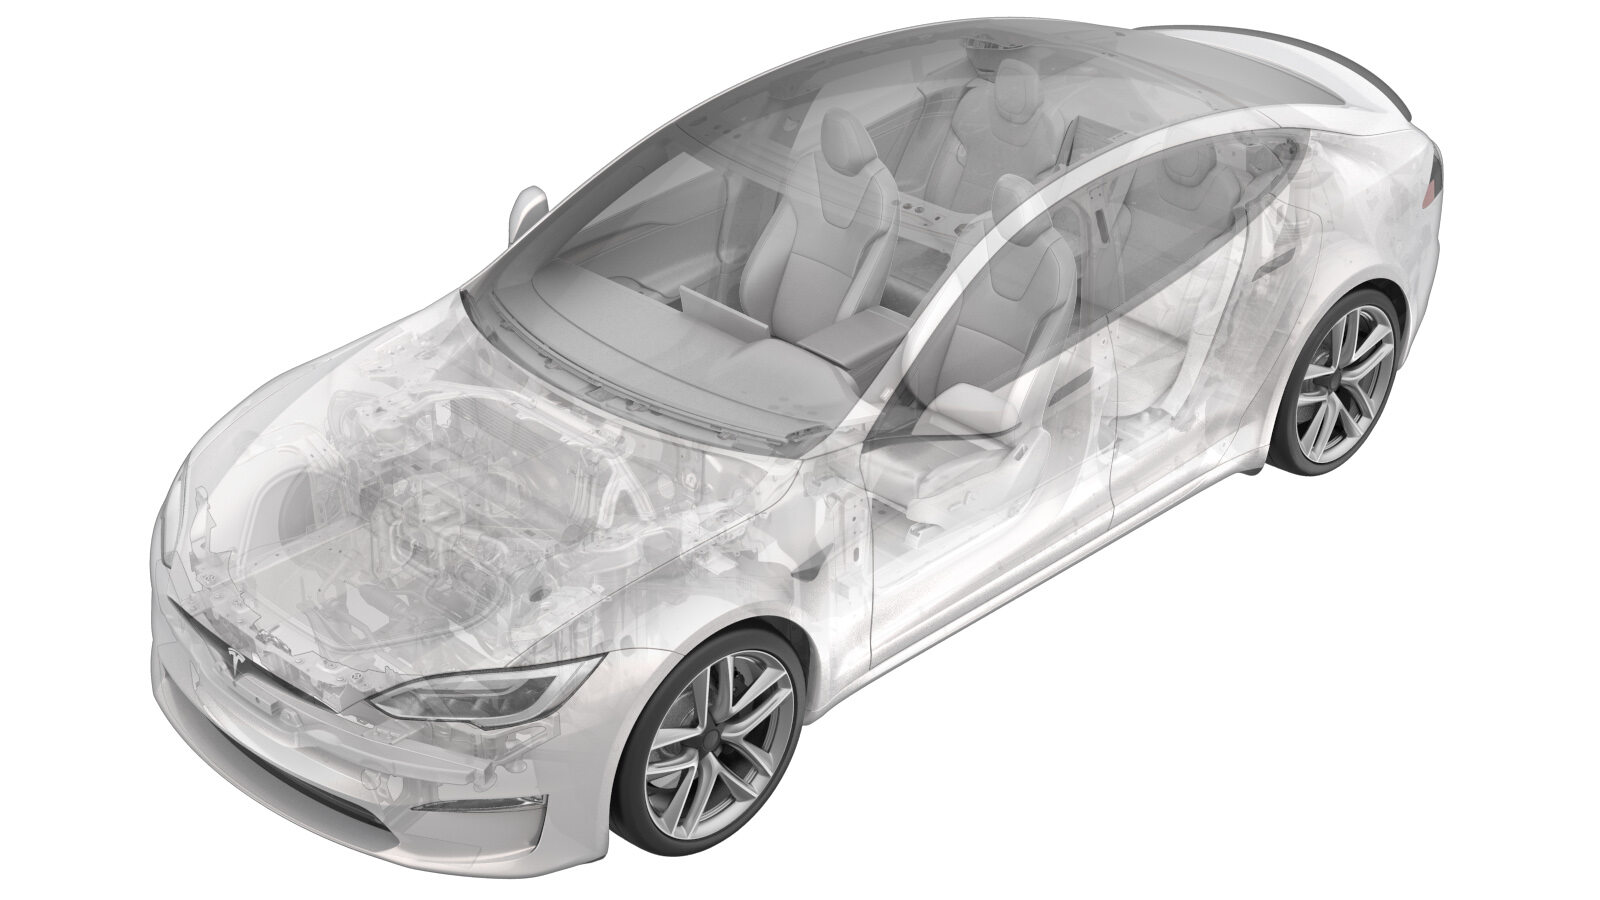
Sensor - Radar - Parte delantera (Rectificación)
 Código de corrección
17201612 0.48
NOTA: Salvo que se indique lo contrario explícitamente en el procedimiento, el código de corrección anterior y el FRT reflejan todo el trabajo necesario para realizar este procedimiento, incluidos los procedimientos vinculados. No acumule códigos de corrección a menos que se le indique explícitamente que lo haga.
NOTA: Consulte Tiempos de tarifa plana para obtener más información sobre los FRT y cómo se crean. Para enviar sus comentarios sobre los valores de FRT, escriba a ServiceManualFeedback@tesla.com.
NOTA: Consulte Protección personal para asegurarse de que lleva puesto el EPI adecuado al realizar el siguiente procedimiento.
- Open the LH front door.
- Lower the LH front window.
- Remove the front fascia assembly. See Conjunto de defensa - Parte delantera (Desinstalación e instalación).
-
Disconnect the front radar sensor connector.
TIpUse of the following tool(s) is recommended:
- Small flat head screwdriver
-
Install the dummy plugs (x2) on the front radar sensor and the sensor connector.
-
Use harness tape to attach the front radar sensor connector to the frunk harness.
TIpUse of the following tool(s) is recommended:
- Harness tape
- Install the front fascia assembly. See Conjunto de defensa - Parte delantera (Desinstalación e instalación).
- Connect a laptop with Toolbox to the vehicle. See Toolbox (Conexión y desconexión).
-
In Toolbox, click the Dashboards tab, Infotainment Dashboard, and then Vehicle Configuration.
NotaConfiguration values should load automatically, if not click Read Config and Run to load configuration values.
- In Toolbox, navigate to "forwardRadarHw", click on the current front radar configuration, and then change the configuration to "NONE".
-
In Toolbox, click Apply Changes and Run to save the updated front radar configuration.
NotaThe center display will reboot and Toolbox connection will be lost. Select "X" at top right of window to close once complete.
- Disconnect the laptop with Toolbox from the vehicle. See Toolbox (Conexión y desconexión).
- Raise the LH front window.
- Close the LH front door.