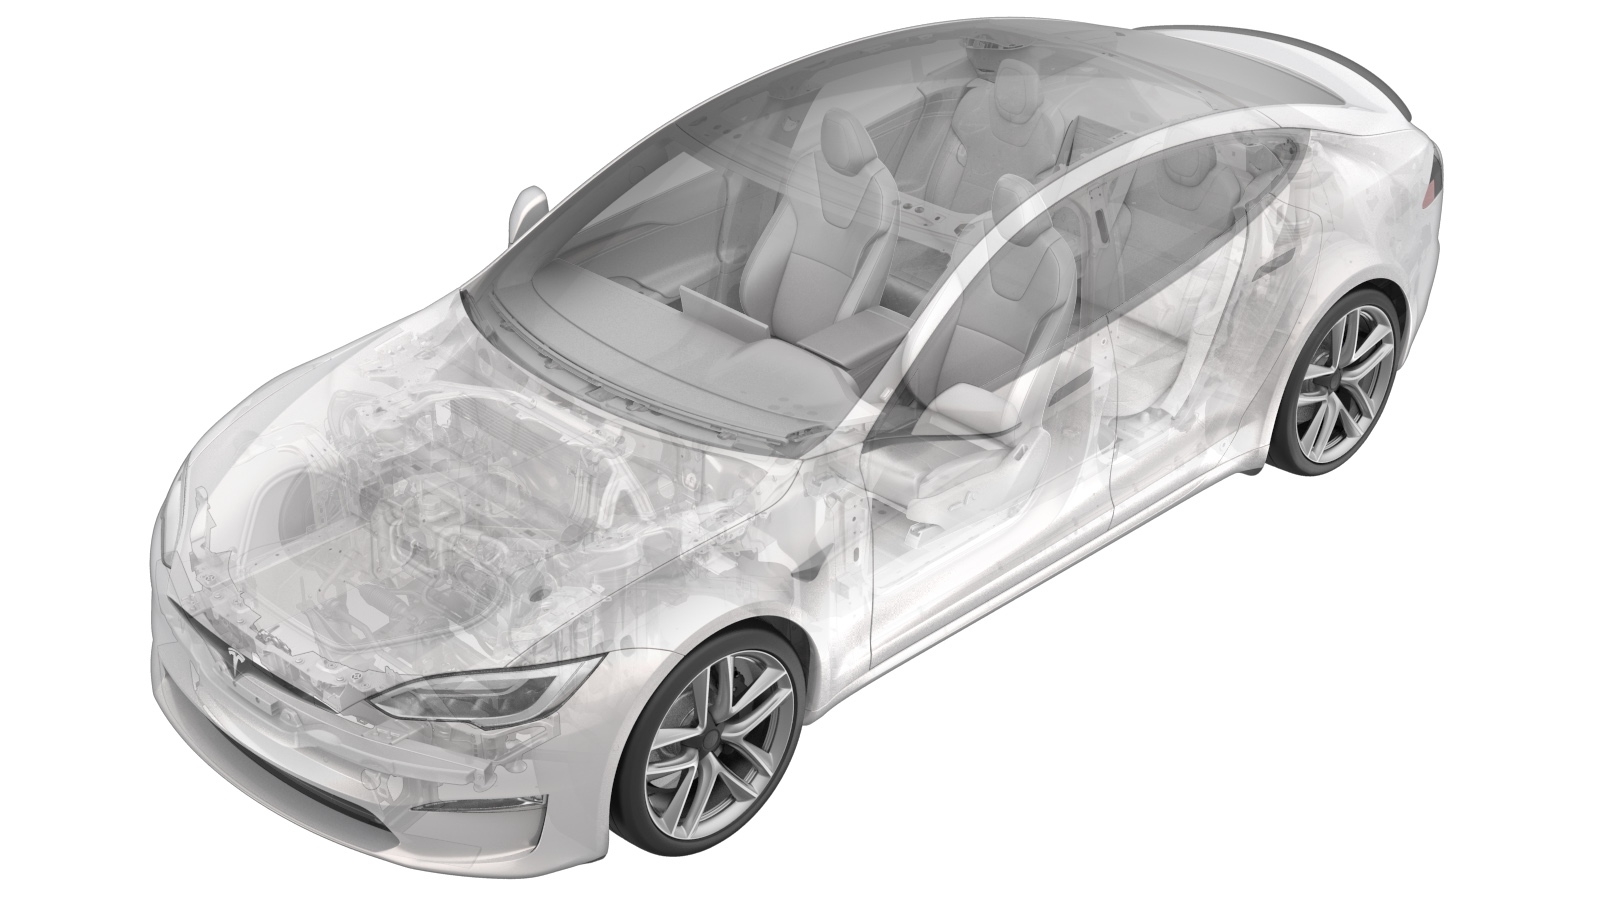
Mazo de cables - Puerta trasera - Lado izquierdo (Desinstalación y sustitución)
 Código de corrección
17102802 0.48
NOTA: Salvo que se indique lo contrario explícitamente en el procedimiento, el código de corrección anterior y el FRT reflejan todo el trabajo necesario para realizar este procedimiento, incluidos los procedimientos vinculados. No acumule códigos de corrección a menos que se le indique explícitamente que lo haga.
NOTA: Consulte Tiempos de tarifa plana para obtener más información sobre los FRT y cómo se crean. Para enviar sus comentarios sobre los valores de FRT, escriba a ServiceManualFeedback@tesla.com.
NOTA: Consulte Protección personal para asegurarse de que lleva puesto el EPI adecuado al realizar el siguiente procedimiento.
- Open LH front door
- Open LH rear door
-
Move LH front seat forward
-
Partially release LH lower B-pillar
Nota6x clips, Release from upper trim and body
-
Remove LH upper B-pillar
Nota7x clips, Release clips and route seatbelt through B-pillar, Be cautious not to separate the upper B-pillar, There are plastic welds near the center of trim holding upper and lower portion together
-
Disconnect LH rear door harness connector from body harness
Nota1x connector, route harness from B-pillar to gain access
-
Remove service covers from LH rear door panel
Nota2x covers
-
Remove fasteners securing LH rear door panel under armrest and door trim handle
Nota2x bolts, T30, 6 Nm
-
Remove LH rear door panel assembly
Nota7x clips, 1x connector, Pull bottom of door panel to release clips then lift panel up to disengage from inner belt seal, Pull red tab to disengage lock then disconnect door harness
-
Disconnect LH rear door handle controller connector
Nota1x connector, Pull white tab to disengage lock then disconnect
-
Disconnect LH rear door pressure sensor connector
Nota1x connector, Do not push down on red tab, Pull red tab to disengage lock, Pull again to release connector
-
Remove bolts securing LH rear closeout panel assembly to door
Nota6x bolts, 8mm, 4 Nm
-
Release clips securing harness and remove LH rear closeout panel assembly
Nota3x clips, Release clips from back of panel to prevent damage
-
Disconnect LH rear door speaker connector
Nota1x connector
-
Remove bolts securing speaker to LH rear door
Nota4x bolts, 8mm, 4 Nm
-
Remove speaker from LH rear door
Nota2x datums, Lift speaker up then pull away from door
-
Disconnect LH rear regulator motor connector
Nota1x connector
-
Disconnect connector for LH rear door handle
Nota1x connector, Release red locking tab before disconnecting
-
Remove rubber grommets and push into LH rear door
NotaPush both rubber grommets into LH rear door with harness pass through and connector.
-
Release clips holding harness to LH rear door
Nota8X clips
-
Remove harness from LH rear door
-
Install LH rear door harness into LH rear door
NotaSlide connector for regulator motor between regulator and door
-
Attach clips to fasten harness to LH rear door
Nota8x clips
-
Install rubber grommets to LH rear door and B-pillar
NotaSlide connector and harness into B-pillar, press firmware to ensure proper sealing
-
Connect door handle harness
Nota1x connector, Press in red locking tab
-
Connect LH rear regulator motor connector
Nota1x connector
-
Install speaker onto LH rear door
Nota2x datums
-
Install bolts securing speaker to LH rear door
Nota4x bolts, 8mm, 4 Nm, Hand start bolts to prevent stripping threads
-
Connect LH rear door speaker connector
Nota1x connector
-
Install LH rear closeout panel assembly onto door
Nota6x bolts, 8mm, 4 Nm, Hand start bolts to prevent stripping threads
-
Secure harness onto LH rear closeout panel assembly
Nota3x clips, An audible click ensures clips are fully engaged
-
Connect LH rear door pressure sensor connector
Nota1x connector, Engage locking tab
-
Connect LH rear door handle controller connector
Nota1x connector, Engage locking tab
-
Install LH upper B-pillar
Nota7x clips, Route seatbelt through B-pillar, Replace any damaged or missing clips
-
Reinstall top portion of LH lower B-pillar
Nota6x clips, Replace any damaged or missing clips
-
Move LH front seat to original position
-
Install LH rear door panel assembly
Nota7x clips, 1x connector, Connect door harness then engage locking tab, Slide top portion of panel into door seal first, then swing bottom into place, Ensure all clips and retainers are seated
-
Install fasteners securing door panel to rear door
Nota2x bolts, T30, 6 Nm
-
Install service covers onto LH rear door
Nota2x covers
- Close LH rear door
- Close LH front door