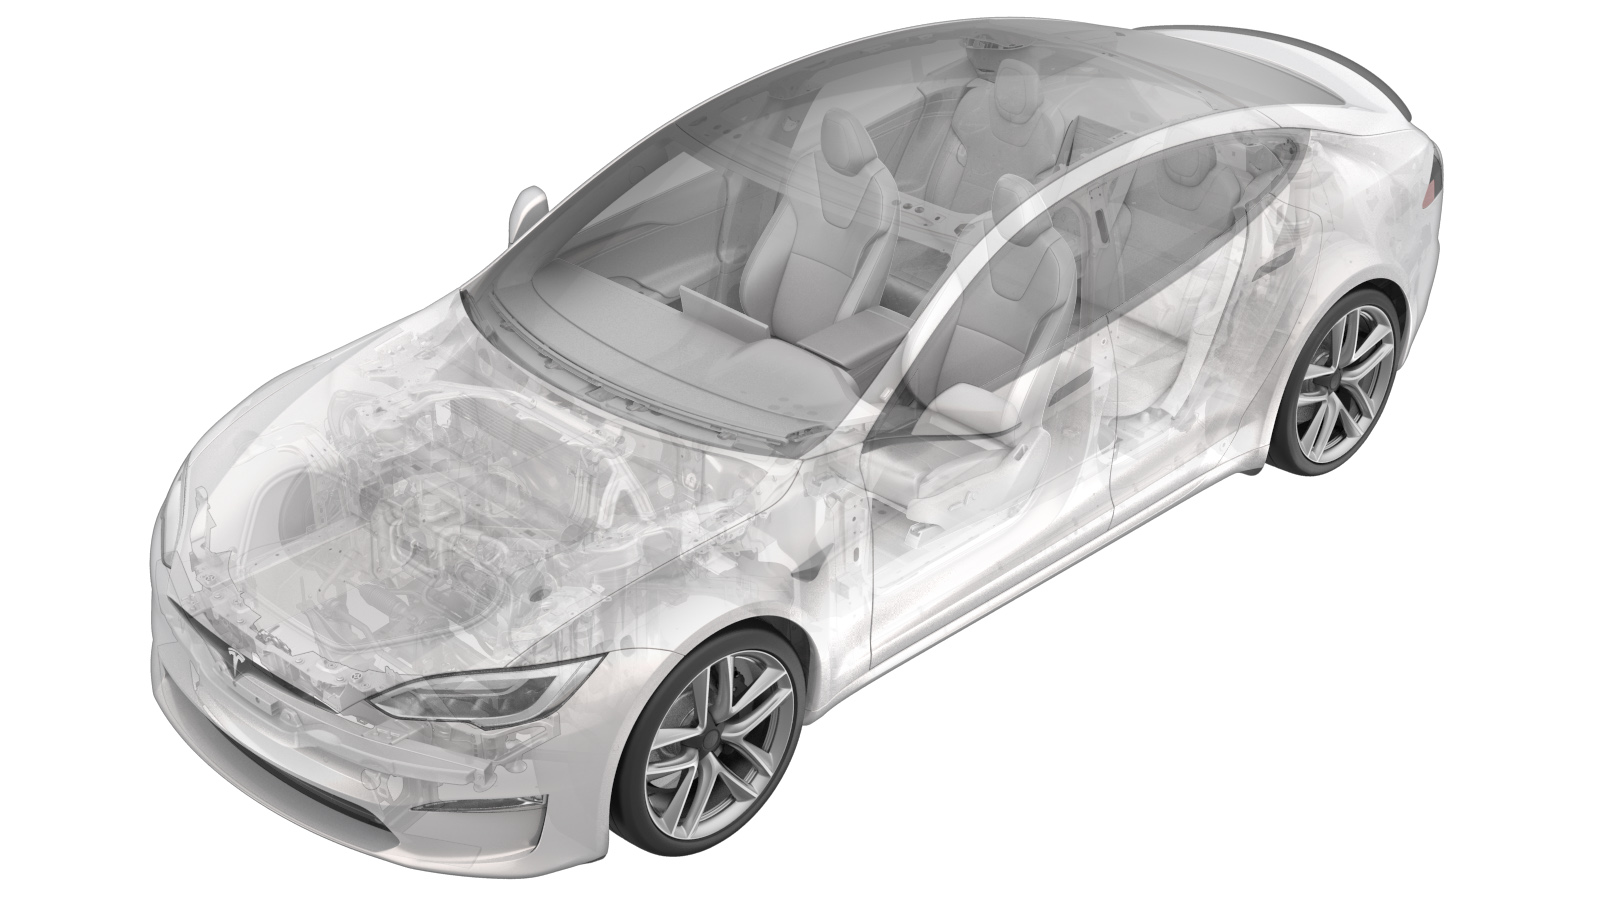
Flap - ISOFIX - Pair (Retrofit)
 Código de corrección
13050006
0.40
NOTA: Salvo que se indique lo contrario explícitamente en el procedimiento, el código de corrección anterior y el FRT reflejan todo el trabajo necesario para realizar este procedimiento, incluidos los procedimientos vinculados. No acumule códigos de corrección a menos que se le indique explícitamente que lo haga.
NOTA: Consulte Tiempos de tarifa plana (FRT) para obtener más información sobre los FRT y cómo se crean. Para enviar sus comentarios sobre los valores de FRT, escriba a ServiceManualFeedback@tesla.com.
NOTA: Consulte Protección personal para asegurarse de llevar el EPI adecuado al realizar el siguiente procedimiento.
NOTA: Consulte Precauciones ergonómicas para ver información sobre prácticas de trabajo seguras.
- Open all four doors
- Lower LH front window
- Move LH front seat forward
- Move RH front seat forward
-
Remove LH side bolster trim
Nota1x clip, 1x tab, Start by releasing upper portion
-
Remove RH side bolster trim
Nota1x clip, 1x tab, Start by releasing upper portion
-
Remove 2nd row seat cushion assembly
Nota2x clips, 2x connectors, Disengage locking clips and lift up on seat cushion, Release connections, If 2nd row seats are folded down then fold up for time being
-
Remove 2nd row LH side isofix bracket
Nota2x bolts, 11mm, 26 Nm, Discard after removal
-
Remove 2nd row RH side isofix bracket
Nota2x bolts, 11mm, 26 Nm, Discard after removal
-
Prepare LH and RH 2nd row isofix flap for installation
Nota4x tabs, Trim off locator tabs along yellow line, Note: this results in no self location of the assembly while fitting mounting screws.
-
Trim back LH NVH foam
NotaTest fit isofix assembly and cut off trim from impressions left in NVH surface
-
Trim back RH NVH foam
NotaTest fit isofix assembly and cut off trim from impressions left in NVH surface
-
Install new LH 2nd row isofix assembly
Nota2x patch bolts, 11mm, 26 Nm, Install new fasteners
-
Install new RH 2nd row isofix assembly
Nota2x patch bolts, 11mm, 26 Nm, Install new fasteners
-
Install new 2nd row seat cushion assembly
Nota2x clips, 2x connectors, Secure connections and slide seat belt buckles through seat cushion, Tuck seat cushion and foam into place, Engage clips
-
Install LH side bolster trim
Nota1x clip, 1x tab, Replace clip if damaged, Hook bottom portion and then secure the top
-
Install RH side bolster trim
Nota1x clip, 1x tab, Replace clip if damaged, Hook bottom portion and then secure the top
- Move RH front seat to original position
- Move LH front seat to original position
- Raise LH front window
- Close all four doors