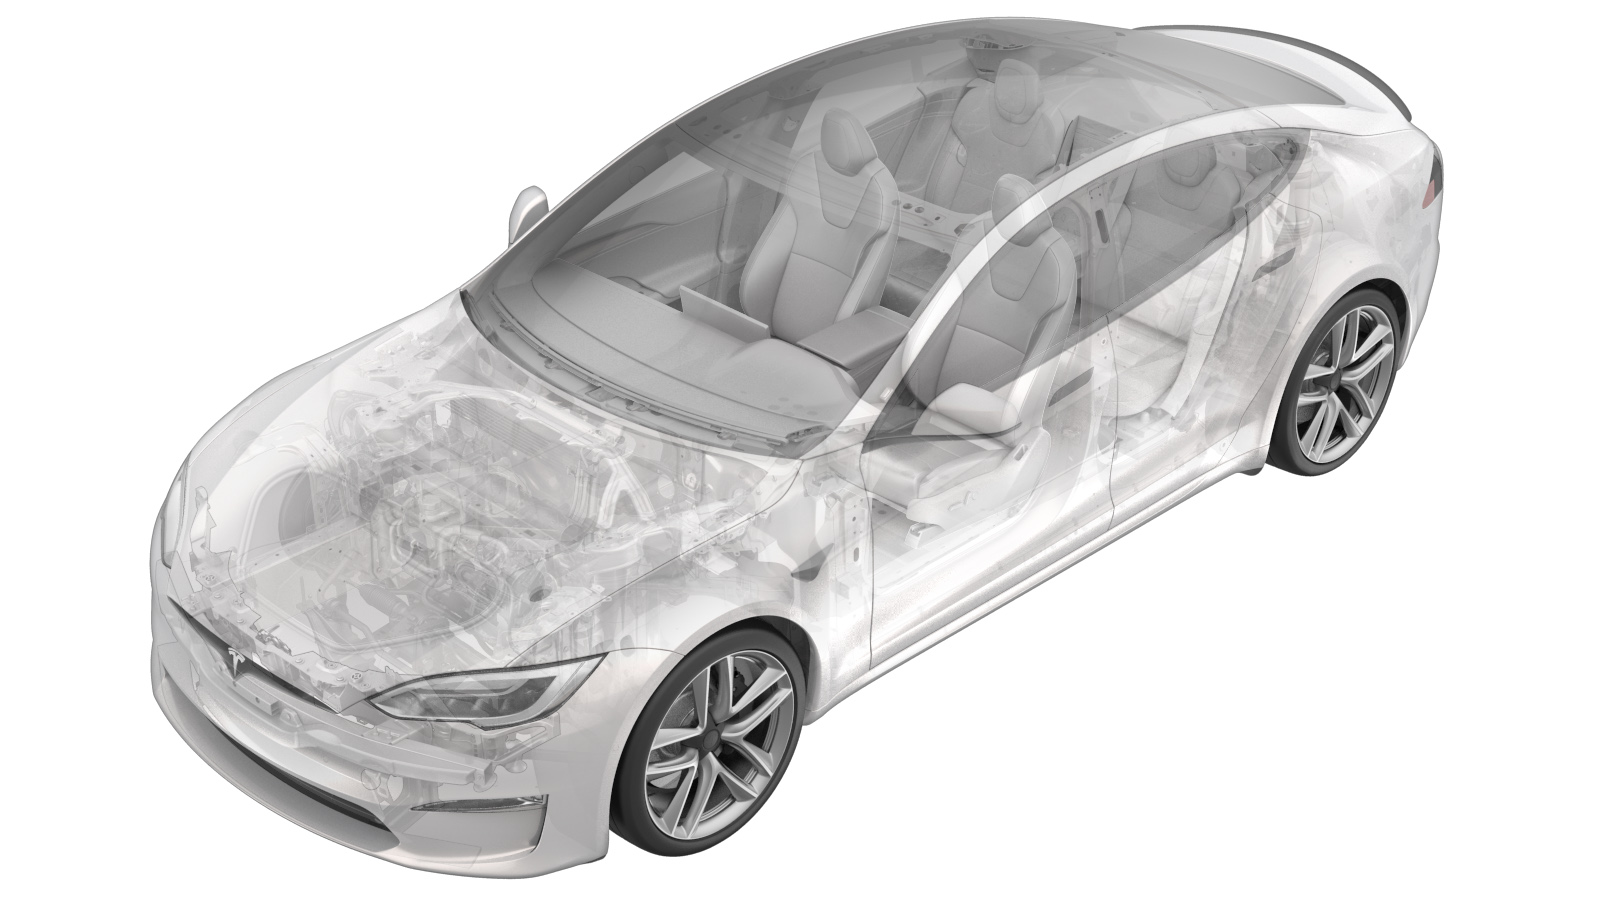
Conjunto de consola central (Desinstalación e instalación)
 Código de corrección
15192401 0.36
NOTA: Salvo que se indique lo contrario explícitamente en el procedimiento, el código de corrección anterior y el FRT reflejan todo el trabajo necesario para realizar este procedimiento, incluidos los procedimientos vinculados. No acumule códigos de corrección a menos que se le indique explícitamente que lo haga.
NOTA: Consulte Tiempos de tarifa plana para obtener más información sobre los FRT y cómo se crean. Para enviar sus comentarios sobre los valores de FRT, escriba a ServiceManualFeedback@tesla.com.
NOTA: Consulte Protección personal para asegurarse de que lleva puesto el EPI adecuado al realizar el siguiente procedimiento.
Retirar
- Abra todas las puertas y ventanillas.
- Move the driver and front passenger seats fully forward.
- Remove the center console lower rear panel. See Panel - Parte inferior trasera - Consola central (Desinstalación y sustitución).
-
Remove the bolts (x2) that attach the LH and RH rear console carrier to the body.
 12 Nm (8.8 lbs-ft)TIpSe recomienda utilizar las siguientes herramientas:
- Vaso de 10 mm
- Move the driver and front passenger seats fully rearward.
- Remove the LH and RH floor mats.
- Remove the LH and RH center console side panel carpets. See Moqueta - Panel lateral - Consola central - Lado izquierdo (Desinstalación y sustitución).
-
Remove the bolt that attaches the LH toeboard lower bracket to the center console. Repeat this step for the RH bracket.
 10 Nm (7.4 lbs-ft)TIpSe recomienda utilizar las siguientes herramientas:
- Vaso de 10 mm
-
Release the harness clips (x2), and then disconnect the center console electrical connectors (x4).
-
Remove the bolts (x2) that attach the LH and RH console carrier center bracket.
 12 Nm (8.8 lbs-ft)TIpSe recomienda utilizar las siguientes herramientas:
- Vaso de 10 mm
- Recline the backrest for the driver and front passenger seats.
-
With an assistant, remove the console assembly from the vehicle.
NotaLift at the rear of the center console, then rotate the front from under the instrument panel, and then remove the center console assembly through the front passenger door.NotaDo not to scratch the seats, instrument panel, or inner door panel.
Instalar
-
With an assistant, install the console assembly on the vehicle:
Notax3 datumsNotaCarefully maneuver the front of the center console assembly under and into the instrument panel carrier and lower the rear of the center console into place. Align the datums into the instrument panel carrier and engage forward.
-
Install the bolt that attaches the LH toeboard lower bracket to the center console. Repeat this step for the RH bracket.
 10 Nm (7.4 lbs-ft)TIpSe recomienda utilizar las siguientes herramientas:
- Vaso de 10 mm
-
Fasten the harness clips (x2), and then connect the center console electrical connectors (x4).
NotaMake sure all connector locks are engaged.
-
Install the bolts (x2) that attach the LH and RH console carrier center bracket.
 12 Nm (8.8 lbs-ft)TIpSe recomienda utilizar las siguientes herramientas:
- Vaso de 10 mm
- Install the LH and RH center console side panel carpets. See Moqueta - Panel lateral - Consola central - Lado izquierdo (Desinstalación y sustitución).
- Install the LH and RH floor mats.
- Move the driver and front passenger seats fully forward.
-
Install the bolts (x2) that attach the LH and RH rear console carrier.
 12 Nm (8.8 lbs-ft)TIpSe recomienda utilizar las siguientes herramientas:
- Vaso de 10 mm
- Install the center console lower rear panel. See Panel - Parte inferior trasera - Consola central (Desinstalación y sustitución).
- Restore the driver and front passenger seats back to their original position.
- Raise all windows and close all doors.