2025-07-24
Windshield Chip Repair
Correction code 10200108
CAUTION
The following procedure is applicable to windshield chip repairs only.
- Inspect the windshield for repair eligibility. See .
- Open the LH and RH front doors.
- Lower the LH and RH front windows.
- Use IPA wipes to clean the windshield thoroughly.
-
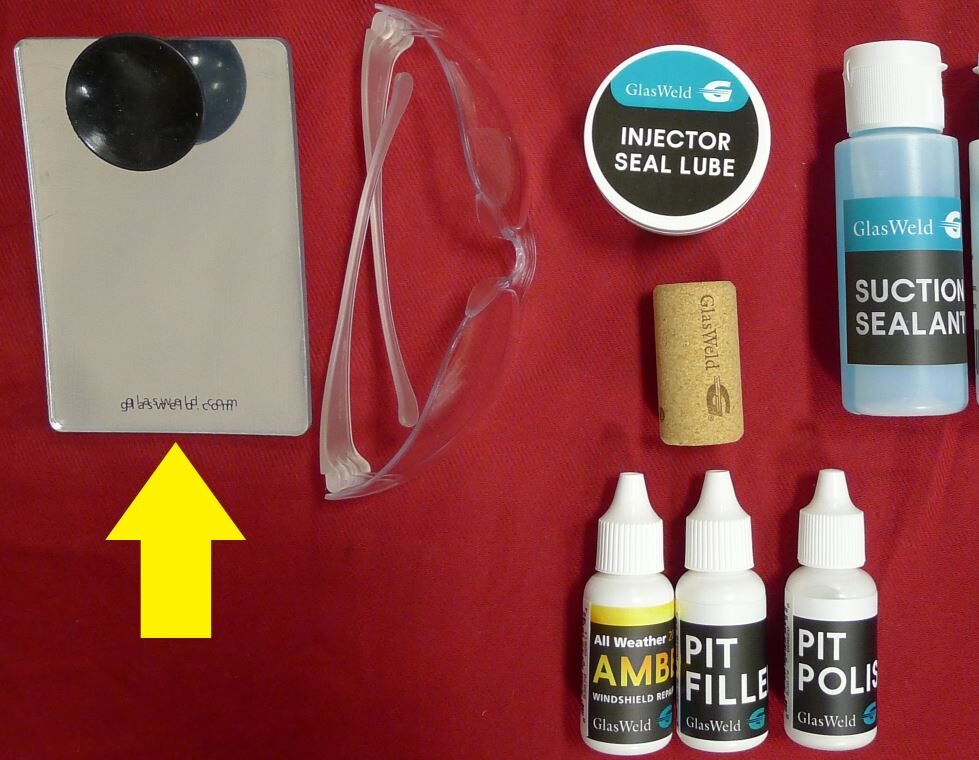
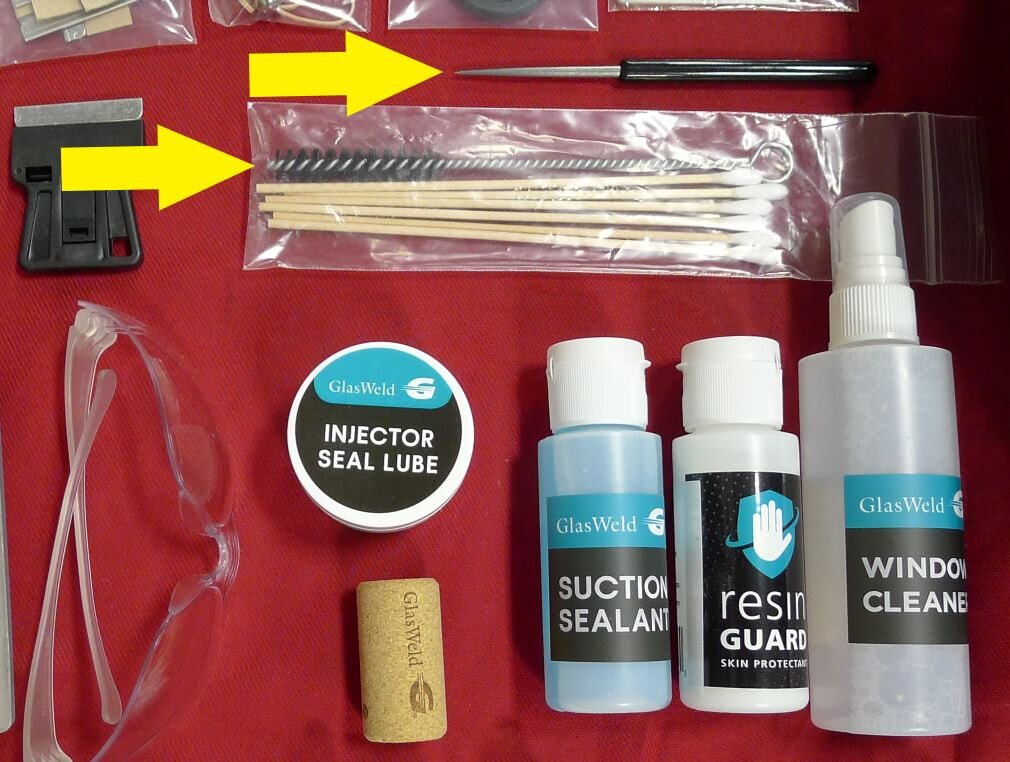
Inspect the glass crack repair kit, ensure all tools are present and resin residue is not present, and then inspect the seals for cracks, wear or swelling.
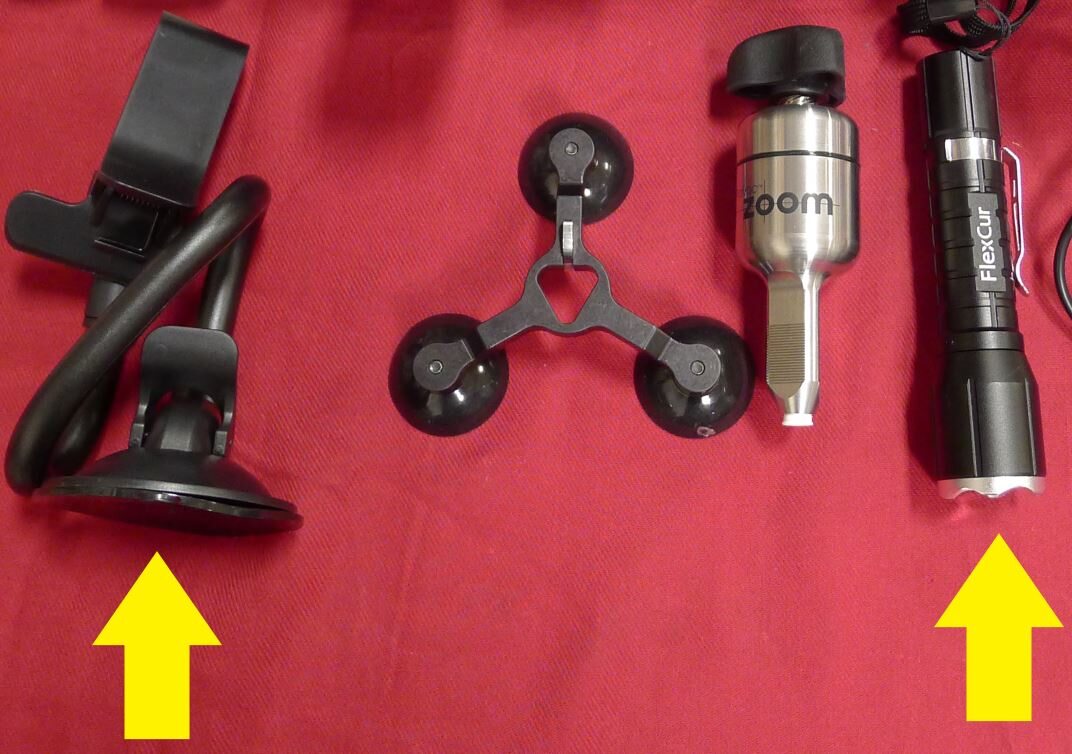
TIpUse of the following tool(s) is recommended:
- Glass crack repair kit

-
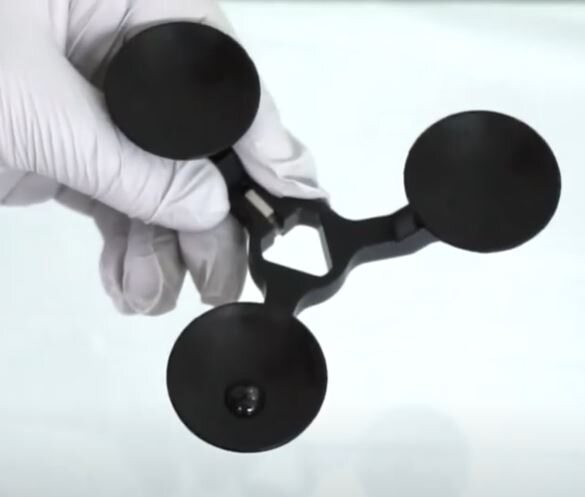
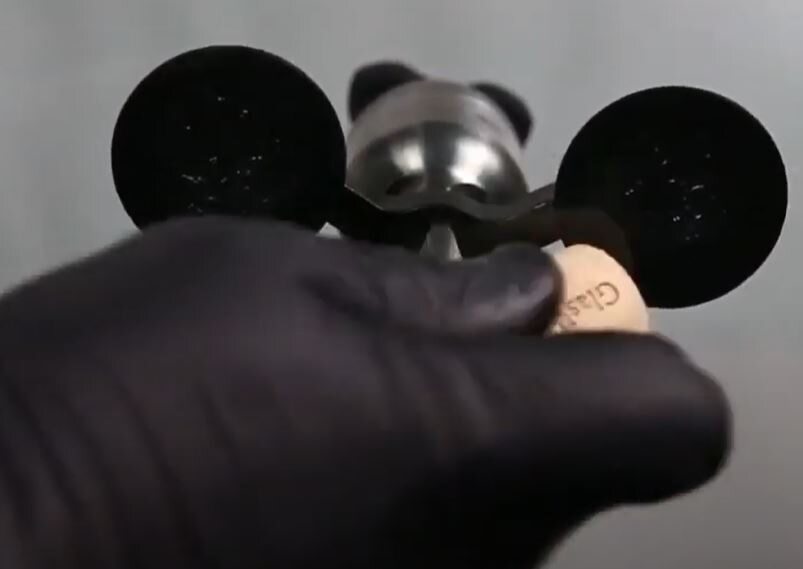
Use the suction cup to install the mirror on the inside of the windshield in front of the chip.

-
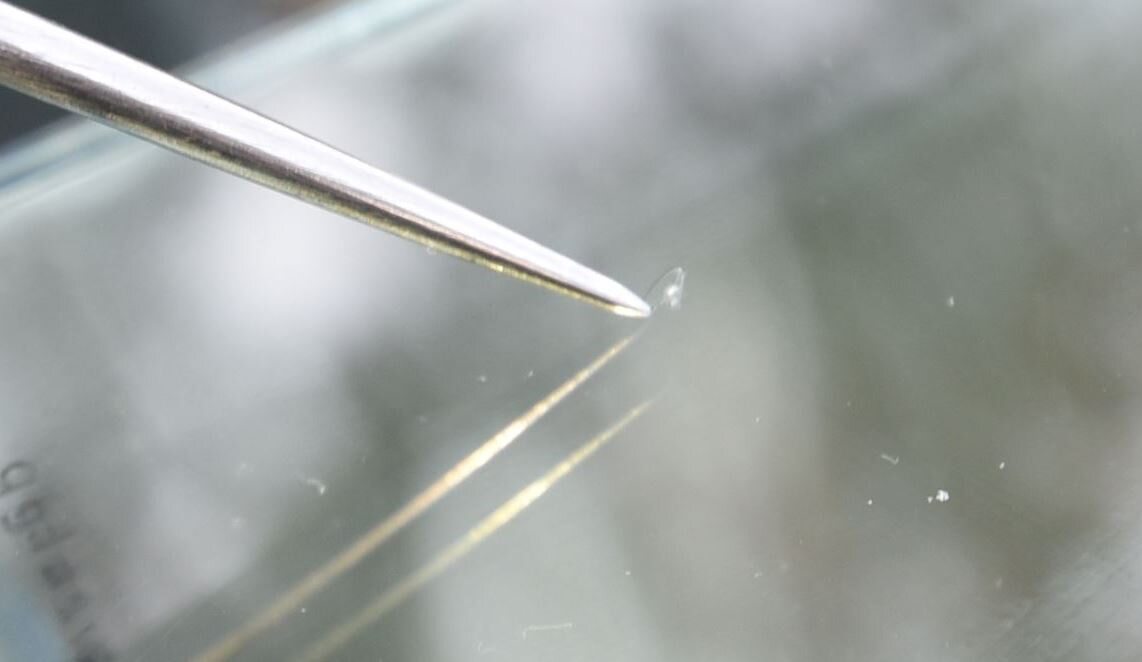
Use the pick and brush from the glass crack repair kit to clean out any residual debris from the chip in the windshield.
-
Apply one drop of suction sealant on each mounting stand suction cup, and then spread the sealant on each cup.
NoteThe suction sealant will allow the stand to adhere to the glass and be adjustable for alignment.

-
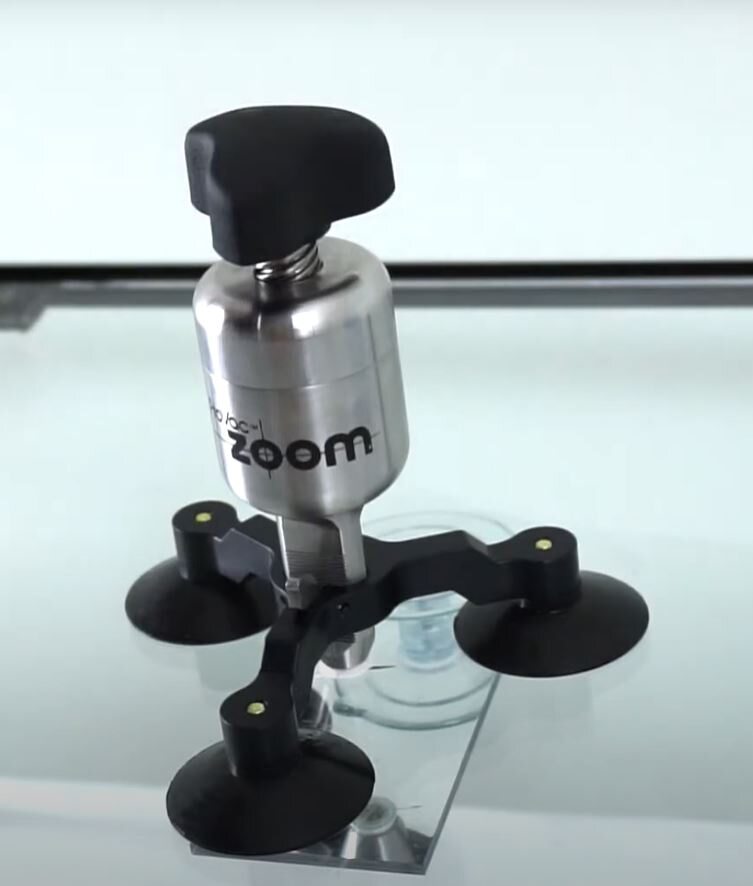
Install the mounting stand over the damaged area with the lower leg in the 6 o'clock position.
NoteThe 6 o'clock position allows excess suction sealant to flow downwards avoiding the chip during adjustment. Align the stand injector bracket with the chip.

-
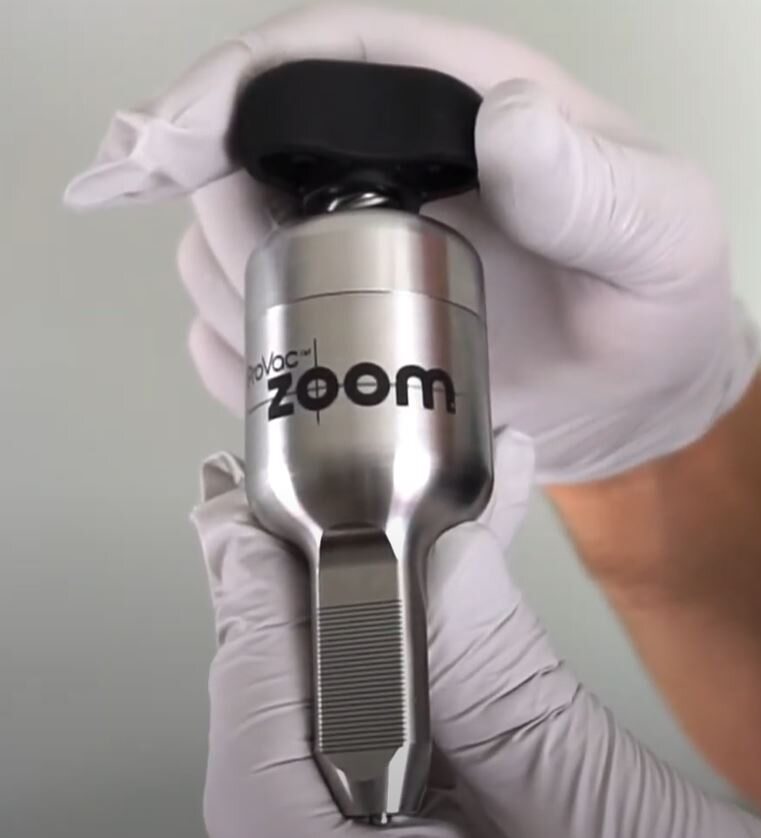
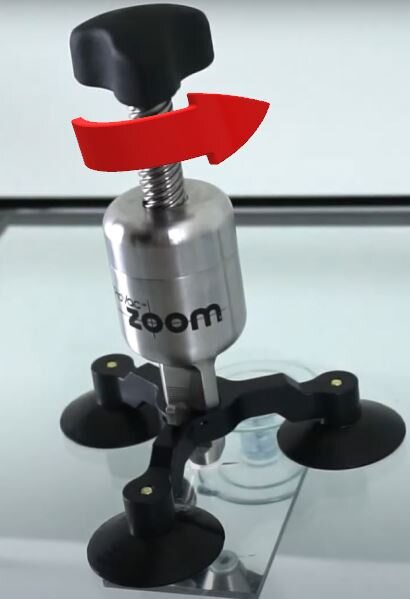
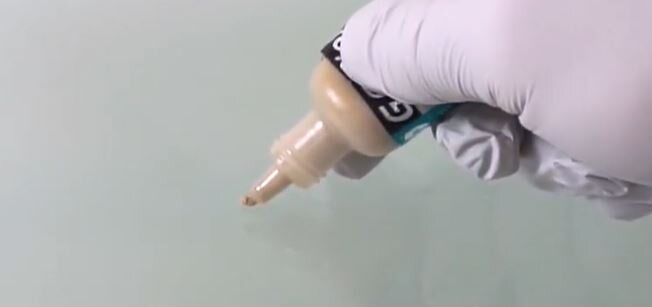
Prepare the resin injector as follows:
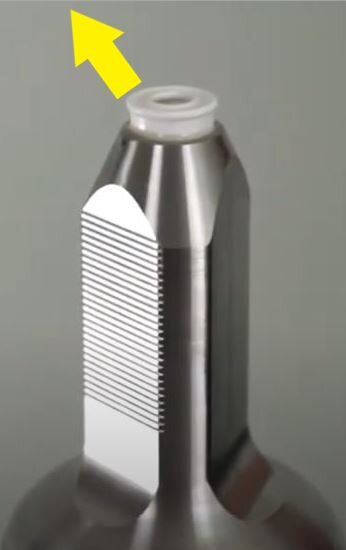
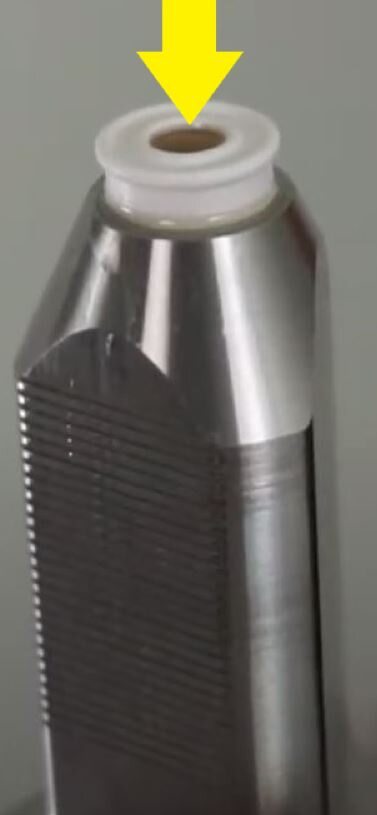
- Remove the white seal from the tip.
- With the injector piston turned fully clockwise, back the piston down by turning counter clockwise until there is approximately 1/2 inch space between the end of the injector and the piston.


-
Apply 4 to 6 drops of resin into the tip of the resin injector
CAUTIONUse latex gloves to protect skin from resin.


-
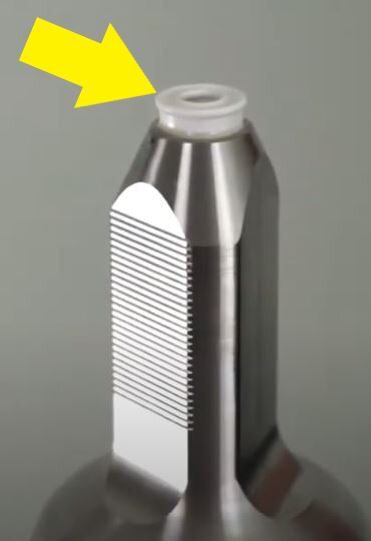
Install the white seal on the tip of the resin injector
NoteSeal can be installed in either direction.
-
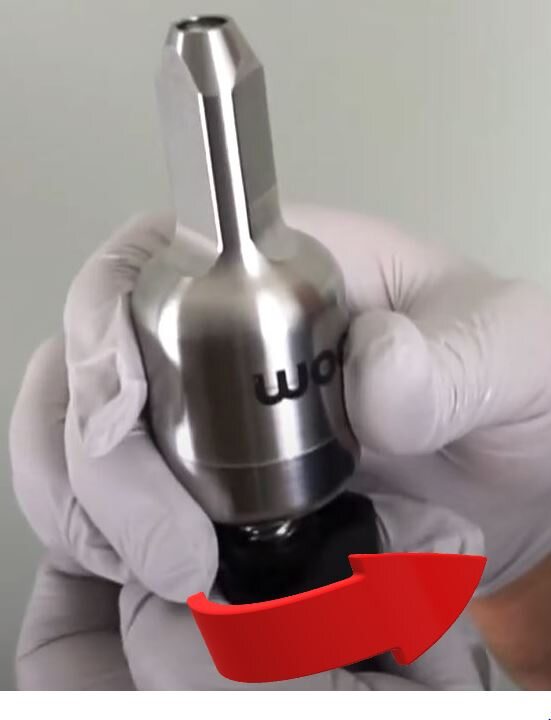
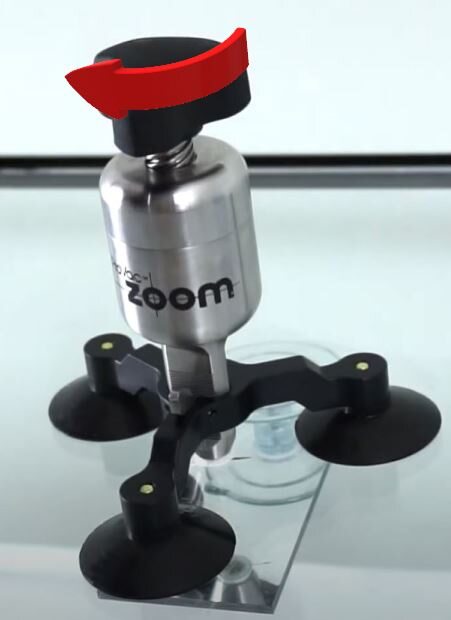
Turn the resin injector piston clockwise until the resin appears just above the bottom of the white seal.
NoteVerify the piston is positioned correctly. The resin must not flow out of the injector when turned over.
-
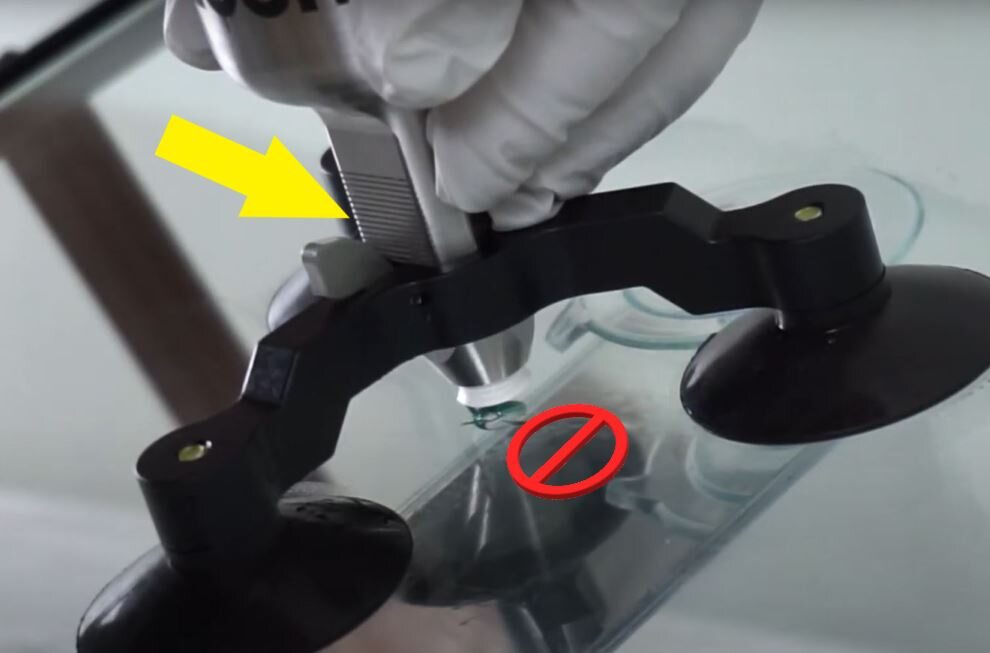
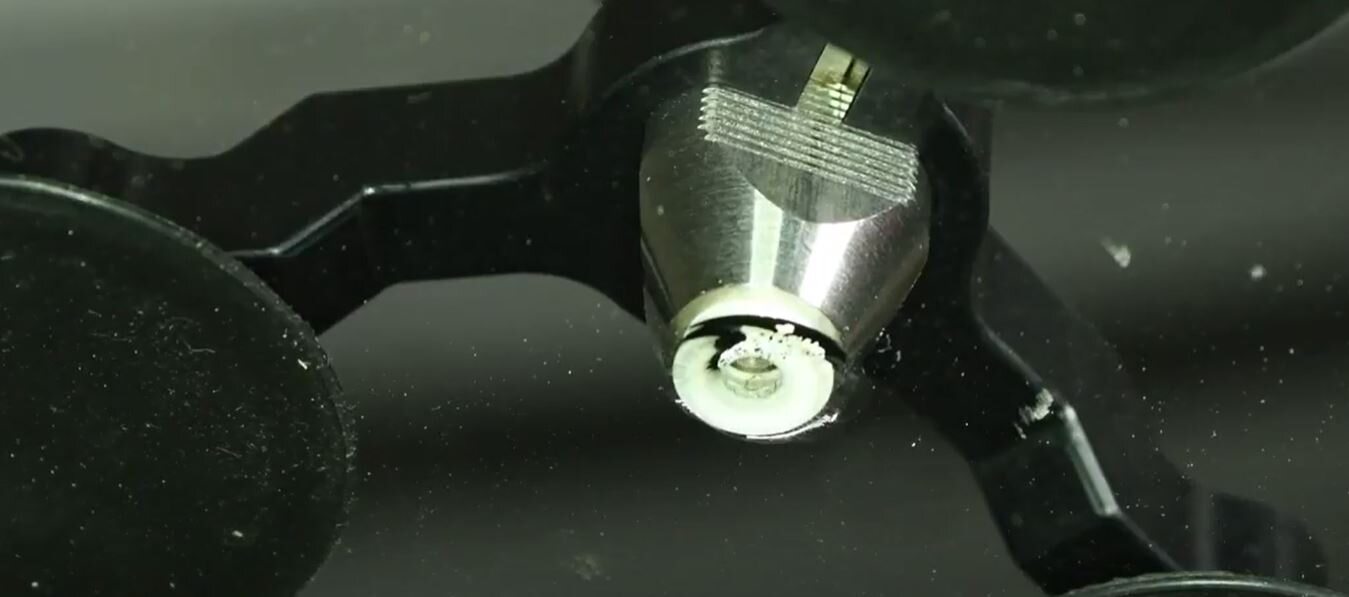
Install the injector on the mounting stand as follows:
- Align the injector teeth with the release lever.
- Press down until the white seal almost touches the glass.
- Do not install the injector on the glass at this time.
-
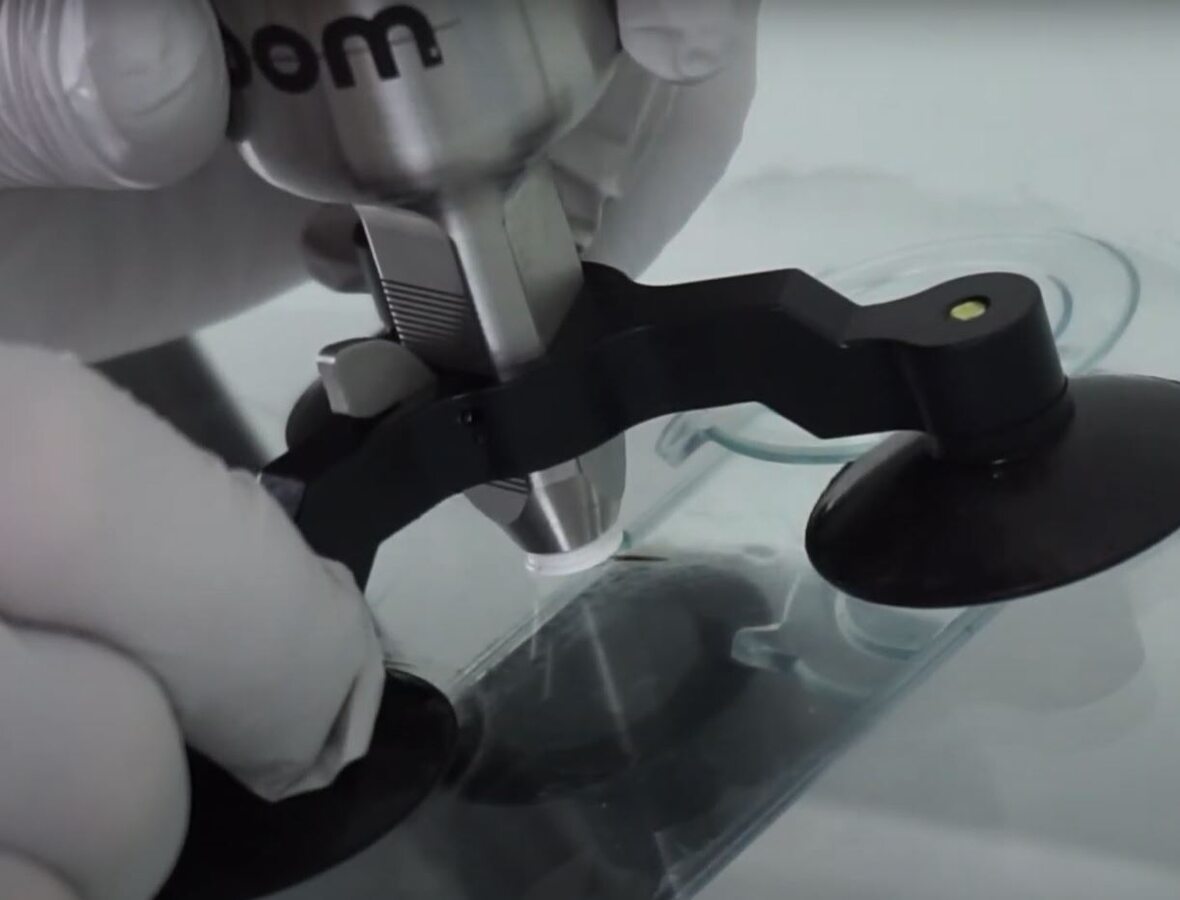
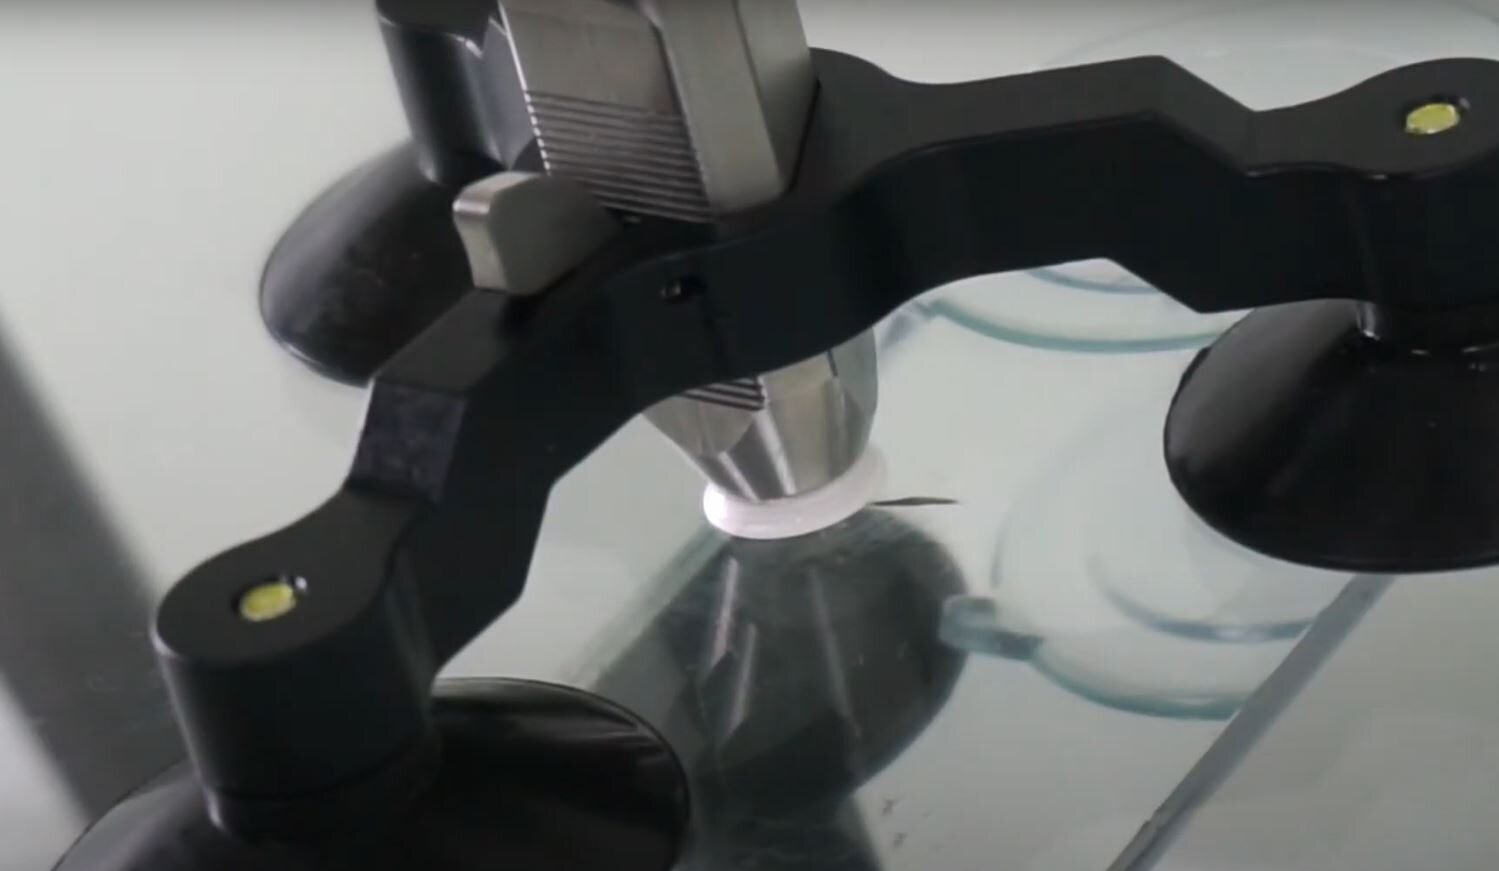
Align the mounting stand and injector with the chip.
NoteUse the mirror reflection to confirm the impact location.
-
Push in the injector until the white seal touches the glass, and then push 1 to 2 additional clicks to ensure a proper seal.
-
Stabilize the injector with one hand, and then turn the piston counter clockwise until the piston stops to remove the air from the injector.
NoteHold this initial vacuum stage for 1 to 2 minutes.


-
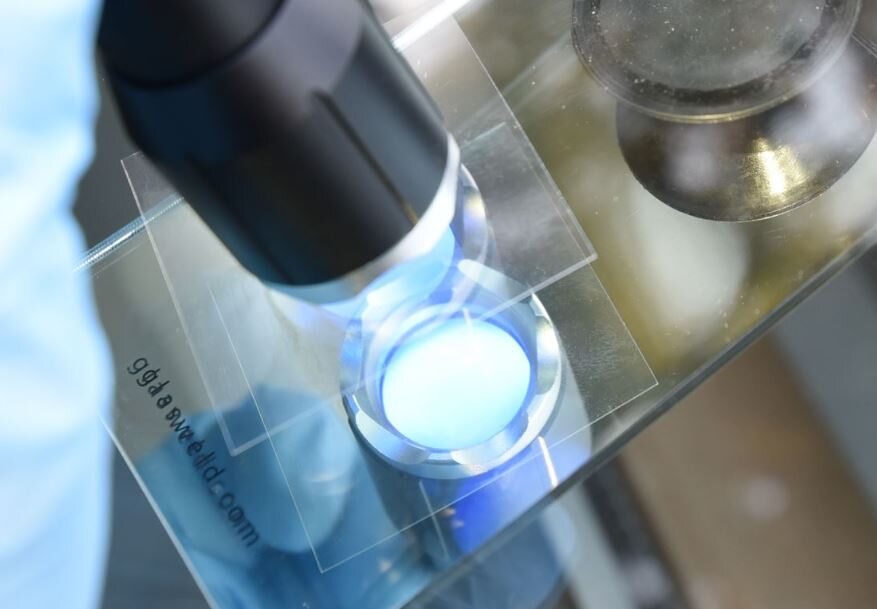
Stabilize the injector with one hand, and then turn the piston clockwise until the white seal swells to inject the resin.
NoteAllow the resin to flow for 1 to 2 minutes.


-
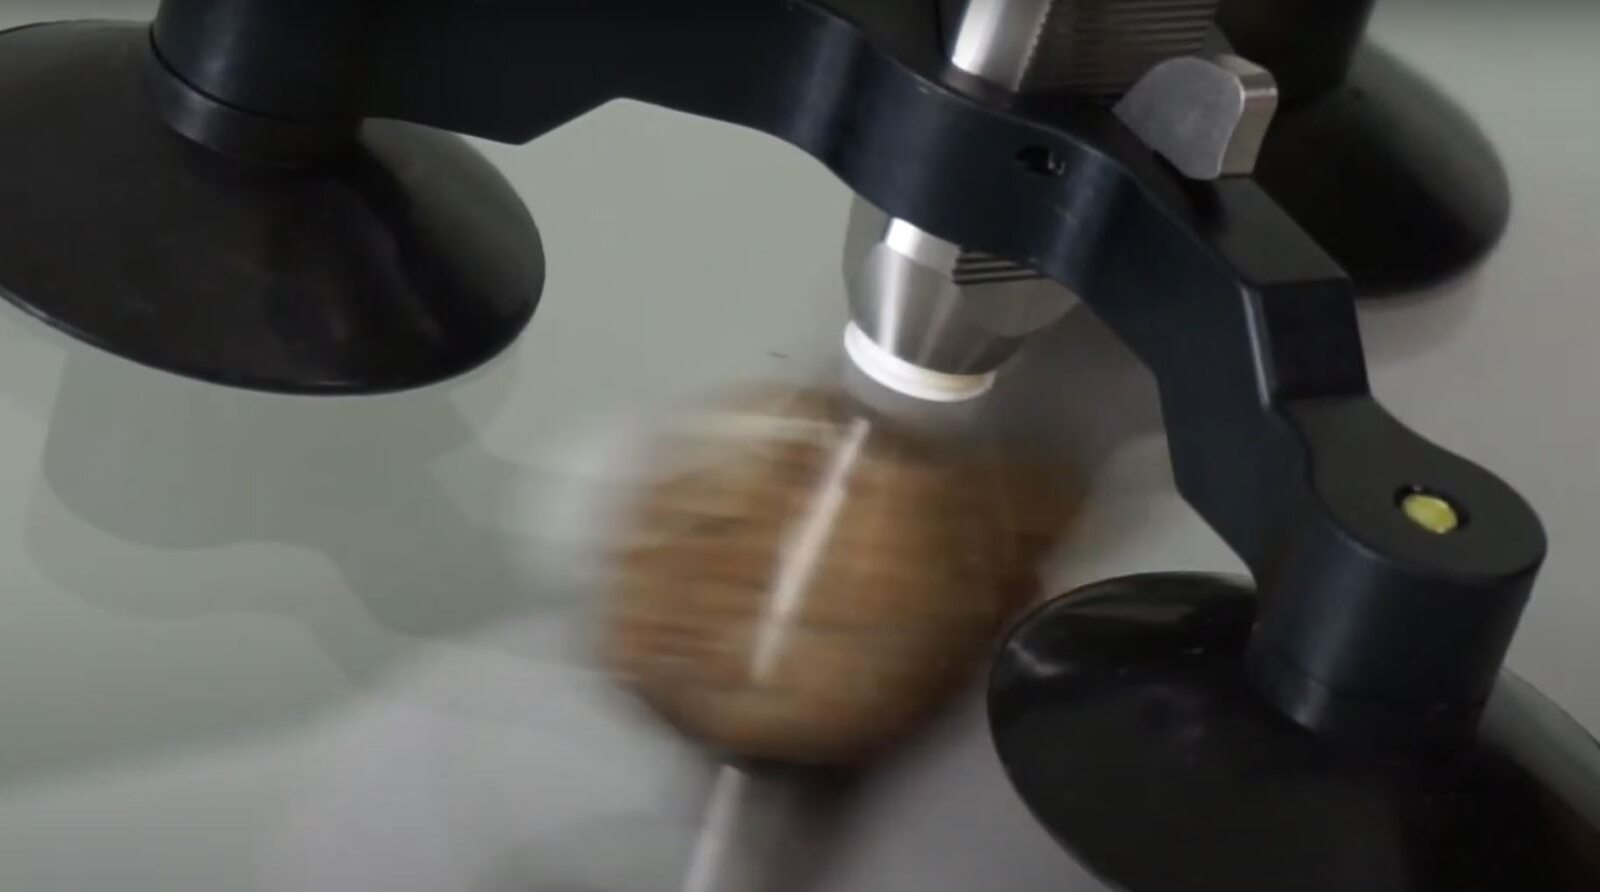
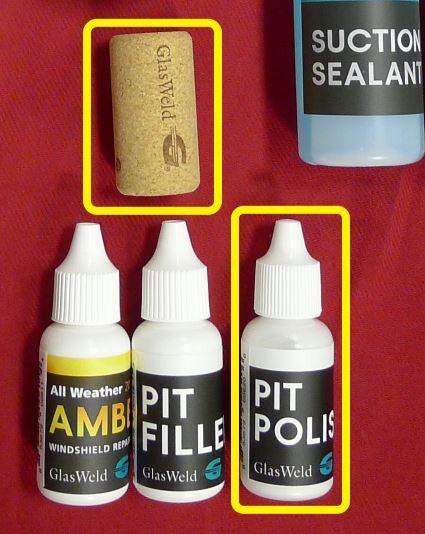
With slight pressure, use a cork on the inside of the windshield to flex and massage the damaged area to help the resin flow into the break.
NoteTemporarily move the mirror aside as required.

-
Repeat step 17 through step 19 until the last injection sequence is free of air and legs of the chip are filled with resin.
NoteMonitor inside of the seal for air bubbles.


-
Place the light 1.5 to 2 inches from the repair area for 45 seconds on each side of the mounting stand.
NoteThe injector should remain in place and under pressure during the curing process.


- Remove the curing light.
-
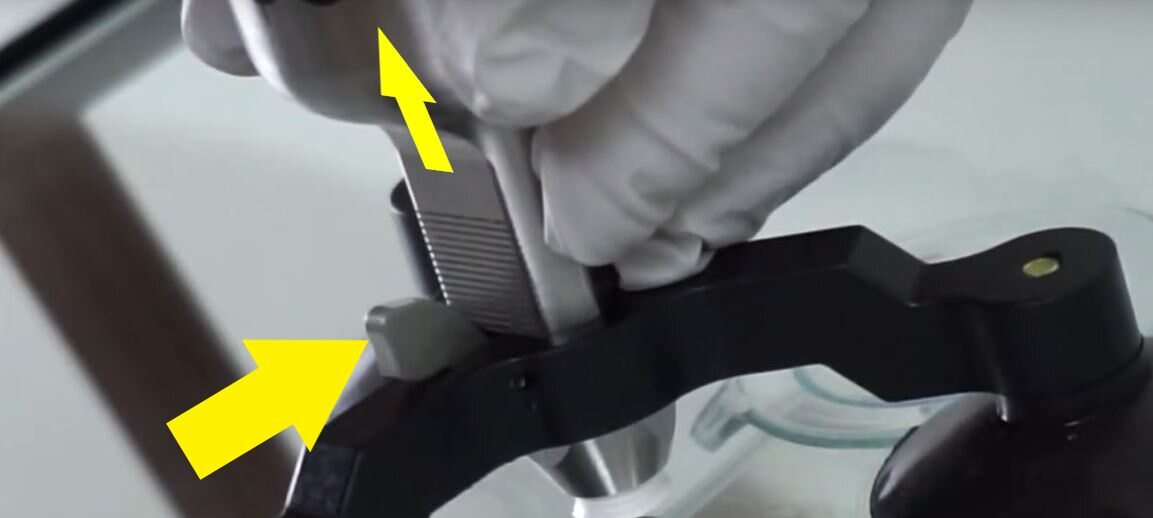
Remove the injector from the mounting stand by pushing on release lever and pulling up on injector, and then slide the tip of the probe under each suction cup to remove the stand.
-
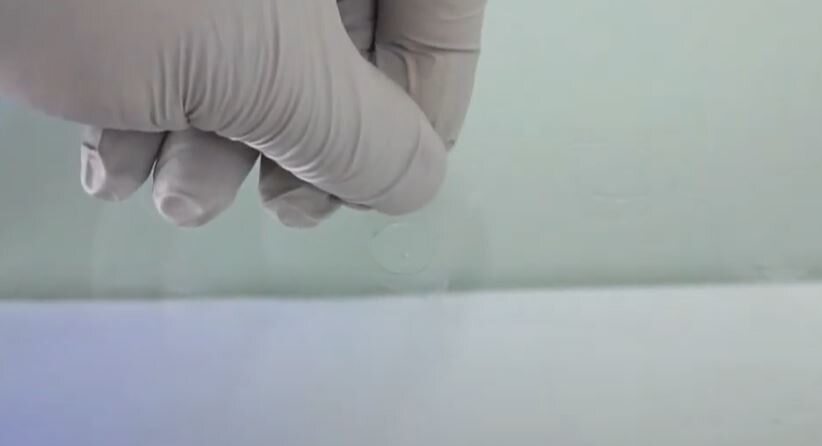
Clean excess resin from the impact point.
NoteDo not wipe any suction cup sealant into the unfinished pit.
-
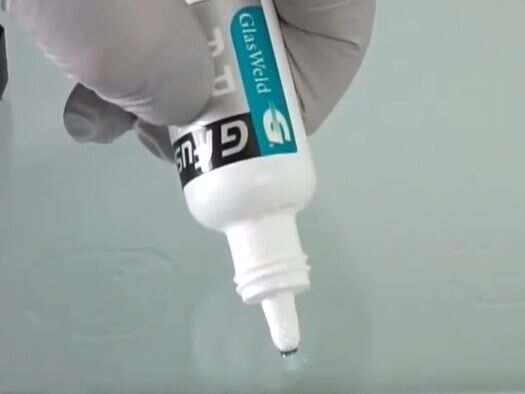
Apply one drop of Pit Filler just above the impact point, and then place a clean dry film tab over the filler.
NoteDo not press down on the film tab.


-
Position the curing light over the film tab for 1 minute.
NoteEnsure no air is present beneath the film tab. The resin requires anaerobic curing.
-
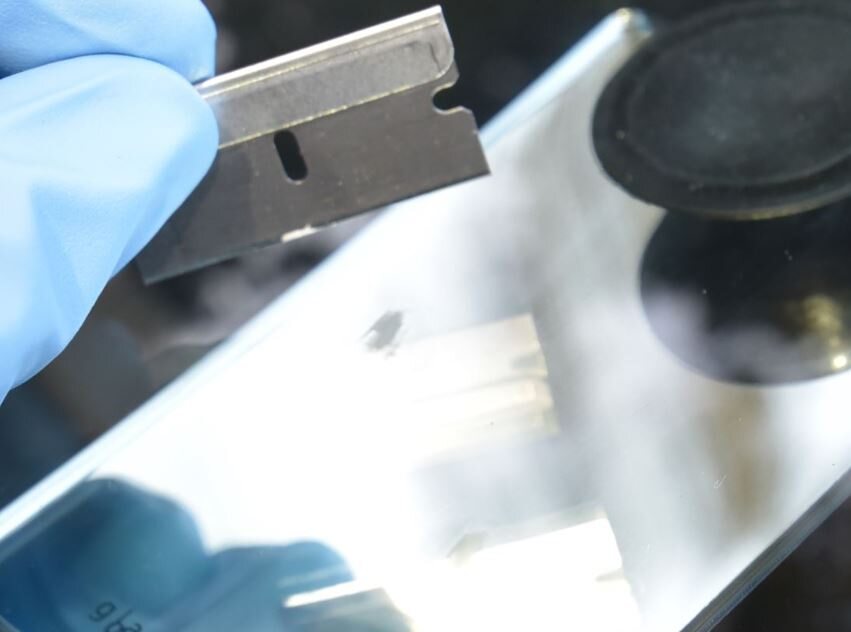
Use a razor blade to carefully remove the film tab.
-
Use a new razor blade to carefully remove the residual hardened resin.
NoteHold the blade at a 90 degree angle and scrape until the resin is level with the glass surface.
-
Apply 2 drops of Pit Polish over the filled pit, and then use a cork to polish the repair area.

-
Remove the mirror.

- Use IPA wipes to clean the windshield thoroughly.
- Raise the LH and RH front windows.
- Close the LH and RH front doors.