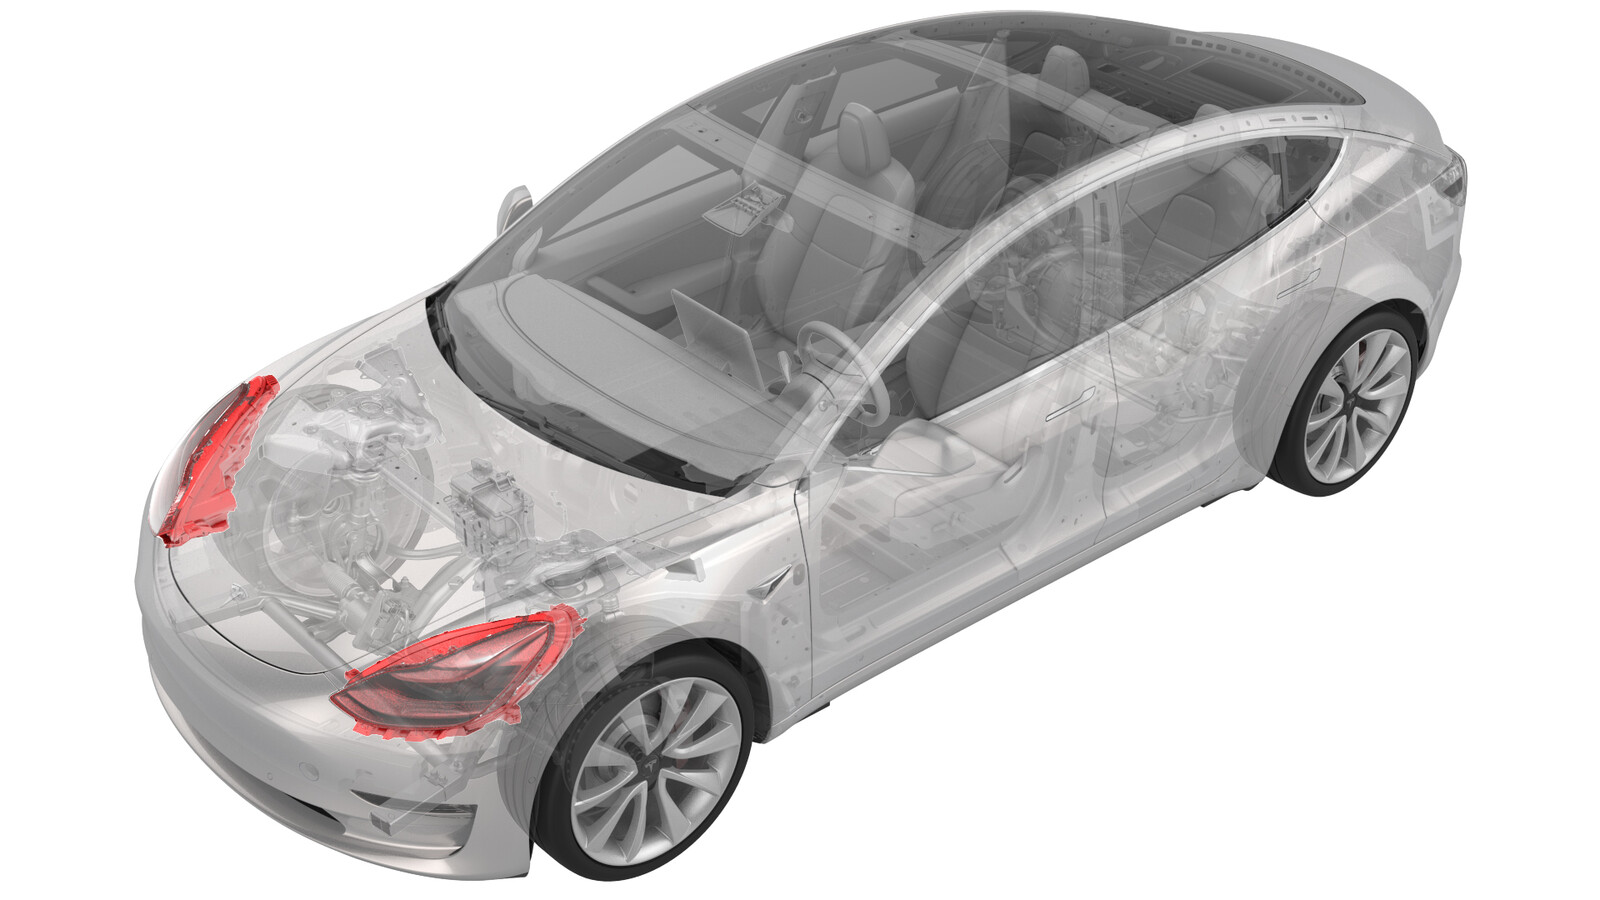
Headlights (Check Aiming) (Inspection)
 Código de corrección
17130100019
0.18
NOTA: Salvo que se indique lo contrario explícitamente en el procedimiento, el código de corrección anterior y el FRT reflejan todo el trabajo necesario para realizar este procedimiento, incluidos los procedimientos vinculados. No acumule códigos de corrección a menos que se le indique explícitamente que lo haga.
NOTA: Consulte Tiempos de tarifa plana (FRT) para obtener más información sobre los FRT y cómo se crean. Para enviar sus comentarios sobre los valores de FRT, escriba a ServiceManualFeedback@tesla.com.
NOTA: Consulte Protección personal para asegurarse de llevar el EPI adecuado al realizar el siguiente procedimiento.
NOTA: Consulte Precauciones ergonómicas para ver información sobre prácticas de trabajo seguras.
- 2025-10-08: Updated procedure.
- 2025-08-08: Released new procedure.
Special tools required for this procedure:
| Supplier | Part Number | Description |
| Tesla | 1133367-00-A | Beissbarth Headlight Tester, Model 815 |
Identify Headlight Type
Headlight Inclination
Check Headlights Aiming
- Park the vehicle on a flat and level surface.
- Make sure that the tire pressures are set to specification.
- Open the hood.
- Power on the headlight tester.
-
Position the headlight aimer in front of the LH headlight.
NotaDistance approx. 30 cm from the surface of the headlight lens. Adjust height as necessary to match the center point of the headlight at approximately (70cm). Make sure that the headlight aimer is on a surface, level with the vehicle.
-
Use the knobs on the base of the headlight aimer to adjust the tester level.
-
Position the headlight aimer perpendicular to the vehicle.
NotaUse visor/laser to line up the tester perpendicular to the axis between the hood strut furthest fender bolts. If the headlight aimer can move between the RH and LH headlights while maintaining the same laser angle projected onto the hood struts, it is set correctly (perpendicular) to the vehicle.
-
Initiate test on the headlight aimer: select .
-
Select the vehicle model on the headlight aimer:
- If headlight type is ECE or SAE, set Vehicle to Car
- If headlight type is Global, set Vehicle to Tesla 3
-
Select Headlight (LHD or RHD option) on the headlight aimer:
- For LHD vehicles, select Headlight and adjust to EU Asym using the + / - buttons
- For RHD vehicles, select Headlight and adjust to UK using the + / - buttons
NotaConfirm that the button to the right of "Headlight" is set to -. These settings are for inspection only. Do not use these for adjustment. -
Select the headlight type on the headlight aimer.
NotaSelect Light and adjust to Bi-LED using the +/- buttons.
-
Select Inclination on the headlight aimer.
NotaSelect Inclinat and adjust to -1.0 % using the +/- button.NotaMake sure the inclination value corresponds to your country's tolerance.
-
Select Height on the headlight aimer.
NotaSelect Height and adjust to approximately 70 cm as indicated on the aligner marker on the aligner post, using the +/- button, and then select OK.
-
Adjust the headlight aimer to the LH headlight marking.
NotaTurn on the laser aimer to adjust the tester horizontal and vertical position to the LH headlight marking. Set to apprximately 70 cm height on the post. A piece of paper can aid in finding the center point. Turn off the laser aimer before proceeding to the next step. Some early headlight production will not have hash-marks on the lens; align by measuring 14.7 cm from the corner of the fender to the bottom edge of the lens.
-
Check the headlight beam aiming.
NotaSelect which light to be checked. Specification: -1 to -1.5 degrees vertical, 0 to 2 degrees horizontal.
-
Note the headlight aiming values in SCA.
NotaNote down the Headlight "V" and "H" values in internal notes in SCA. State which headlight side the values are for (LH or RH).
-
Select the Save icon to record the results.
-
Position headlight aimer in front of the RH headlight.
NotaPosition at approx. 30 cm distance from the surface of the headlight lens.
-
Adjust the headlight aimer to the RH headlight marking.
Turn on the laser aimer to adjust the tester horizontal and vertical position to the LH headlight marking. Set to approximately 70 cm height on the post. A piece of paper can aid in finding the center point. Turn off the laser aimer before proceeding to the next step. Some early headlight production will not have hash-marks on the lens; align by measuring 14.7 cm from the corner of the fender to the bottom edge of the lens.
-
Check the headlight beam aiming.
NotaSelect which light to be checked. Specification: -1 to -1.5 degrees vertical, 0 to 2 degrees horizontal.
-
Note the headlight aiming values in SCA.
NotaNote down the Headlight "V" and "H" values in internal notes in SCA. State which headlight side the values are for (LH or RH).
-
Select the Save icon to record the results.
-
Select the save icon again to view the test results.
- If the headlight aiming values are out of specification, adjust the headlights. See one of the following sections: